Are you looking for a way to add new WooCommerce customers to your Mailchimp email list automatically?
Email marketing remains one of the most effective ways to engage with customers and drive sales. By adding new WooCommerce customers to Mailchimp, businesses can simplify their email marketing, build better relationships with customers, and send special offers that customers might like, thereby increasing revenue.
Manually transferring customer data from WooCommerce to Mailchimp can be time-consuming and prone to errors. That’s where the integration of WooCommerce and Mailchimp comes in handy. By automating the process of adding new customers to Mailchimp, businesses can focus their time and energy on creating compelling content and nurturing customer relationships.
In this article, we’ll explore how to add new WooCommerce customers to Mailchimp after they checkout using the powerful FuseWP plugin.
Why FuseWP Plugin?
FuseWP is an excellent WordPress automator plugin that connects your online shops and e-commerce websites powered by WooCommmerce to various popular email marketing software, marketing automation tools, and CRM such as Mailchimp, ActiveCampaign, Salesforce, Constant Contact, Campaign Monitor, AWeber, Zoho CRM, Zoho Campaigns, Kit (ConvertKit), Drip, Brevo (Sendinblue), HubSpot, MailerLite, Sendy, Klaviyo, Google Sheets, Keap (Infusionsoft), EmailOctopus, Flodesk, HighLevel, Omnisend, Ortto, GetResponse, Mailjet, Encharge, beehiiv, Sender.net, BirdSend, Bento, Mailercloud, Engage.so, SendPulse, Copper CRM, FluentCRM, MailPoet, Groundhogg.
But why should you choose FuseWP over other integration options? Let’s explore the compelling reasons:
Time-Saving Automation: Manually transferring customer data between WooCommerce and Mailchimp can be time-consuming, especially as your business grows. FuseWP automates this process, allowing you to focus your time and energy on more critical tasks.
User-Friendly: One of FuseWP’s most notable features is its user-friendliness. It has been meticulously designed to cater to users of all levels, including business owners who may not possess extensive technical expertise.
Data Synchronization: Data consistency and accuracy are paramount for successful marketing and CRM activities. FuseWP excels in data synchronization. It automatically subscribes WordPress and WooCommerce users to your email list based on their user roles upon registration, and any profile updates they make are automatically synchronized with your email marketing software and CRM. Additionally, FuseWP supports syncing with other membership, e-commerce, and LMS plugins.
Custom Field Mapping: FuseWP offers custom field support to map user profile information to custom fields or attributes in Mailchimp or your preferred email marketing integration.
Now that you understand the reasons to use FuseWP to add new WooCommerce customers to Mailchimp, let’s look at the steps to set this up.
Setting Up FuseWP to Connect WooCommerce to Mailchimp?
The first step to getting started is to purchase a FuseWP license. Once you’ve made your purchase, you’ll receive an email containing your plugin download link and license key. Use this link to download the plugin.
After downloading the FuseWP plugin to your computer, install it on your WordPress website.
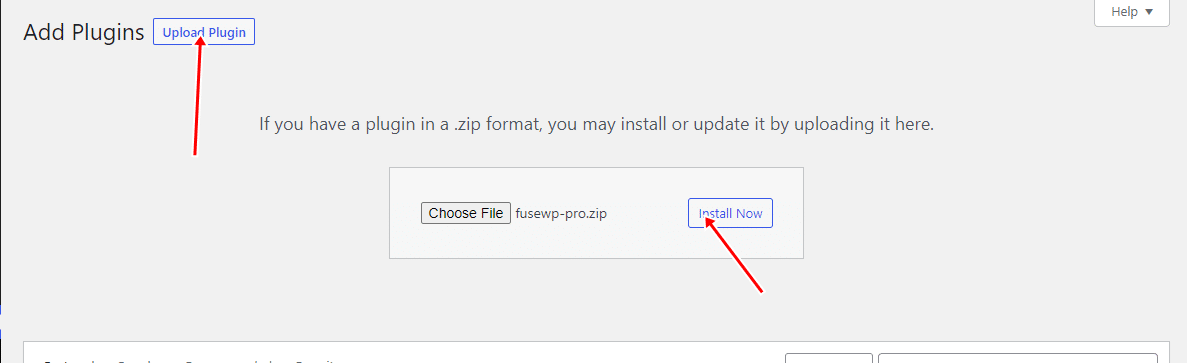
Access your WordPress admin dashboard and navigate to the ‘Plugins’ page. From there, click the ‘Add New’ button and choose ‘Upload Plugin.’
Then, click ‘Choose File‘ to locate and select the plugin zip file you downloaded earlier. Once selected, click ‘Install Now’ to complete the installation process.
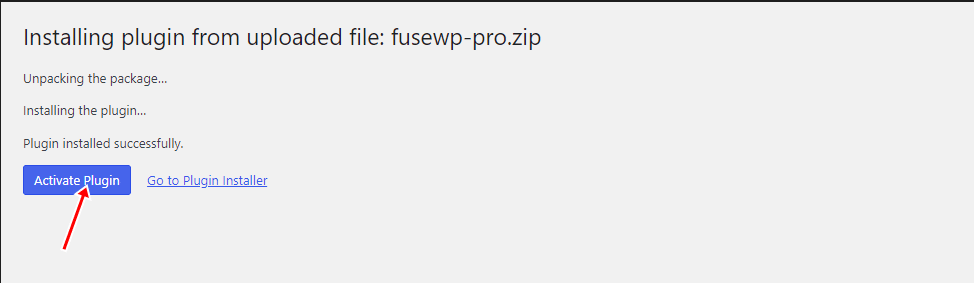
Wait a few seconds for the installation to complete. Once the plugin is installed, click ‘Activate Plugin‘ to enable it on your site.
Connecting WordPress to Mailchimp via FuseWP
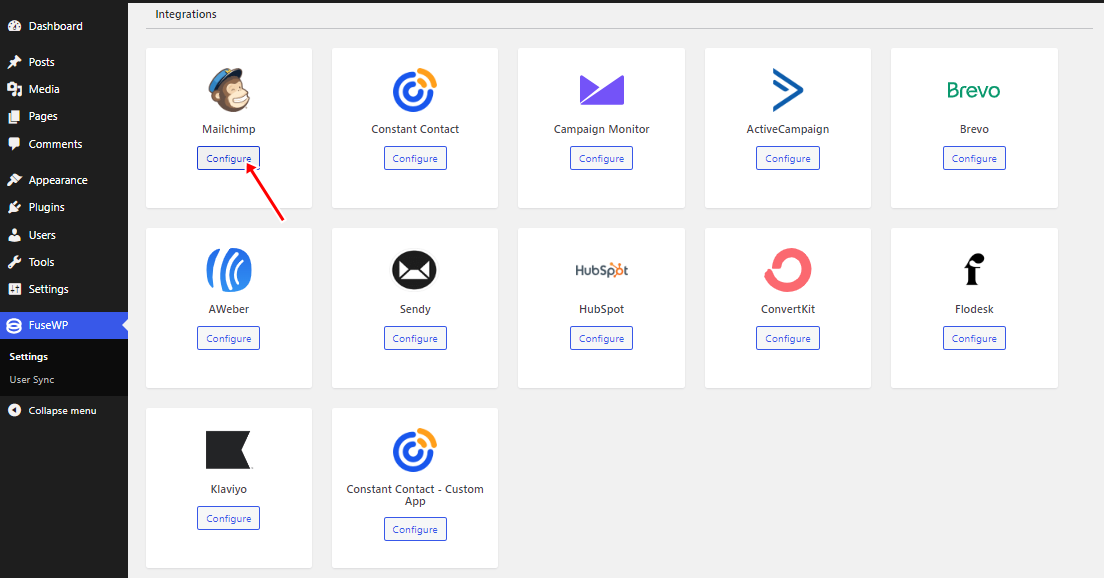
Next, you’ll connect FuseWP to your Mailchimp account. Click ‘Settings‘ on the FuseWP dashboard menus and proceed to the ‘Integration’ section.
Click the “Configure” button in the Mailchimp section.
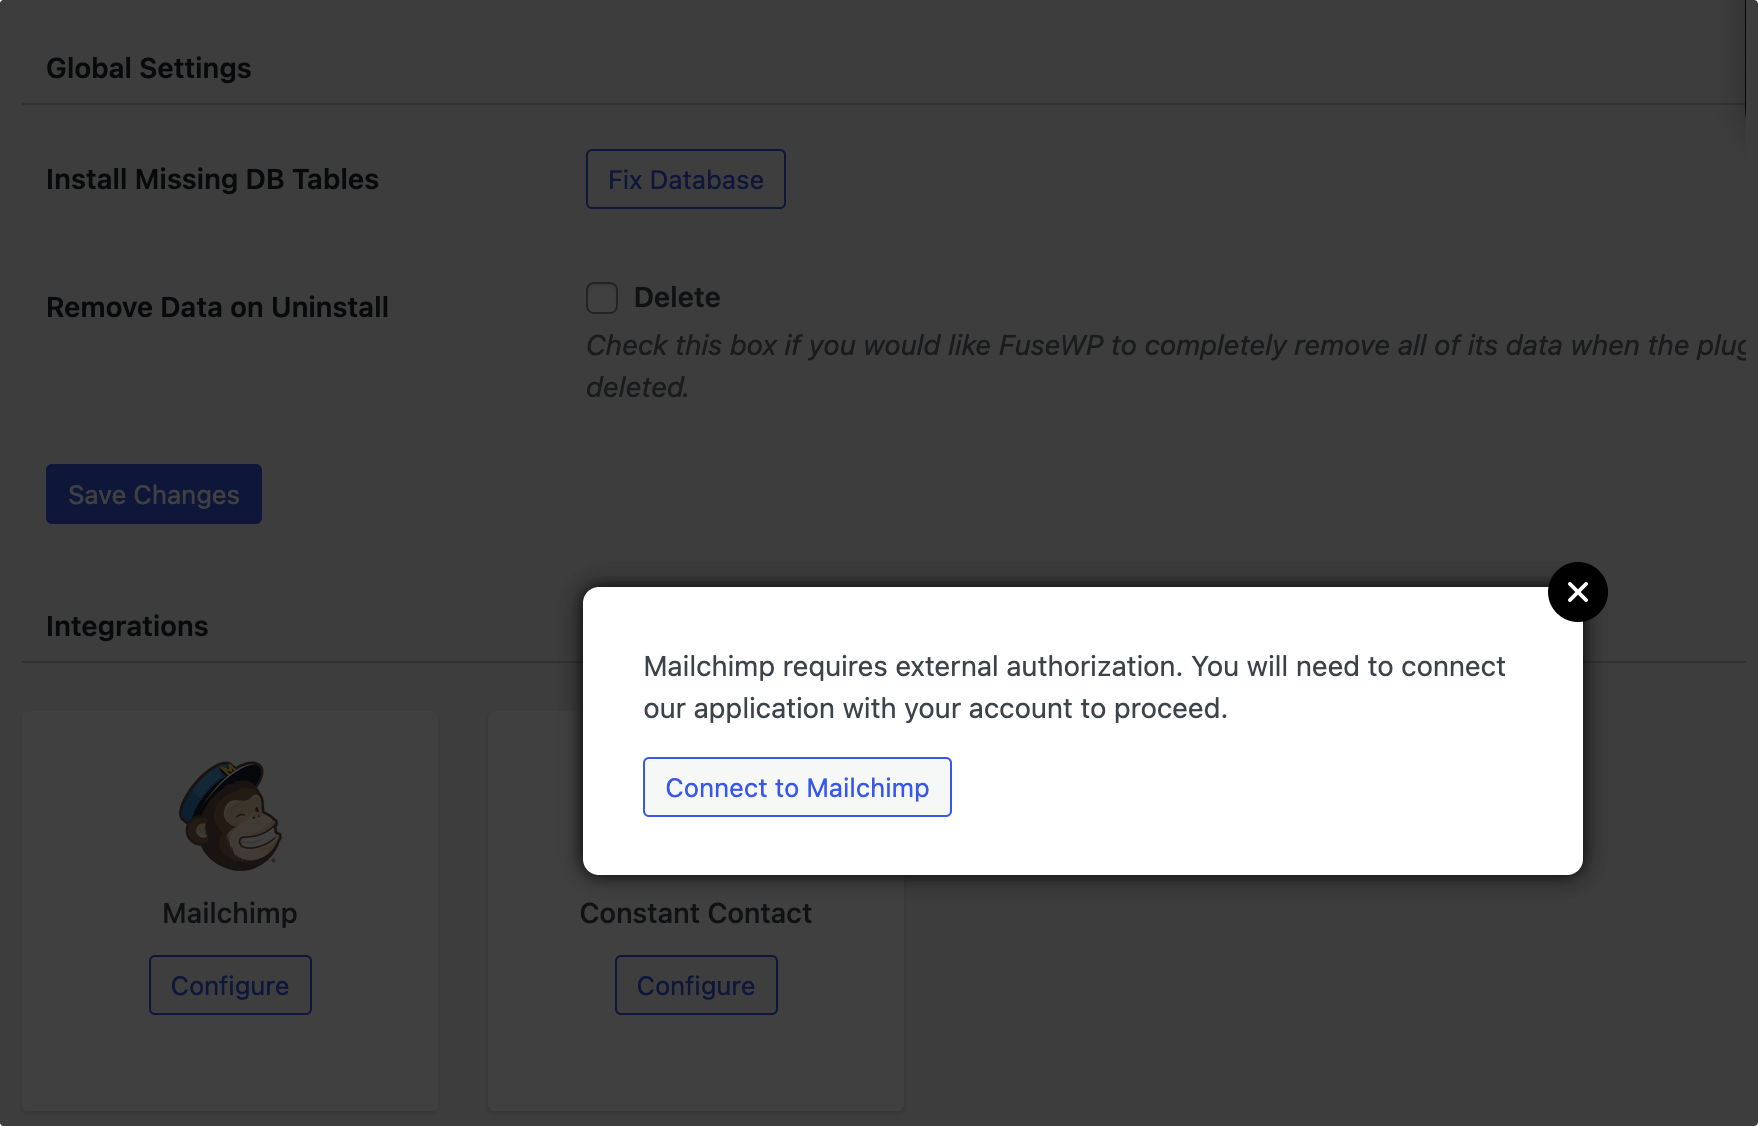
On the configuration modal, click on “Connect to Mailchimp“.
Next, you’ll be directed to the authorization page, where you’ll be prompted to log in to your account if you haven’t already.
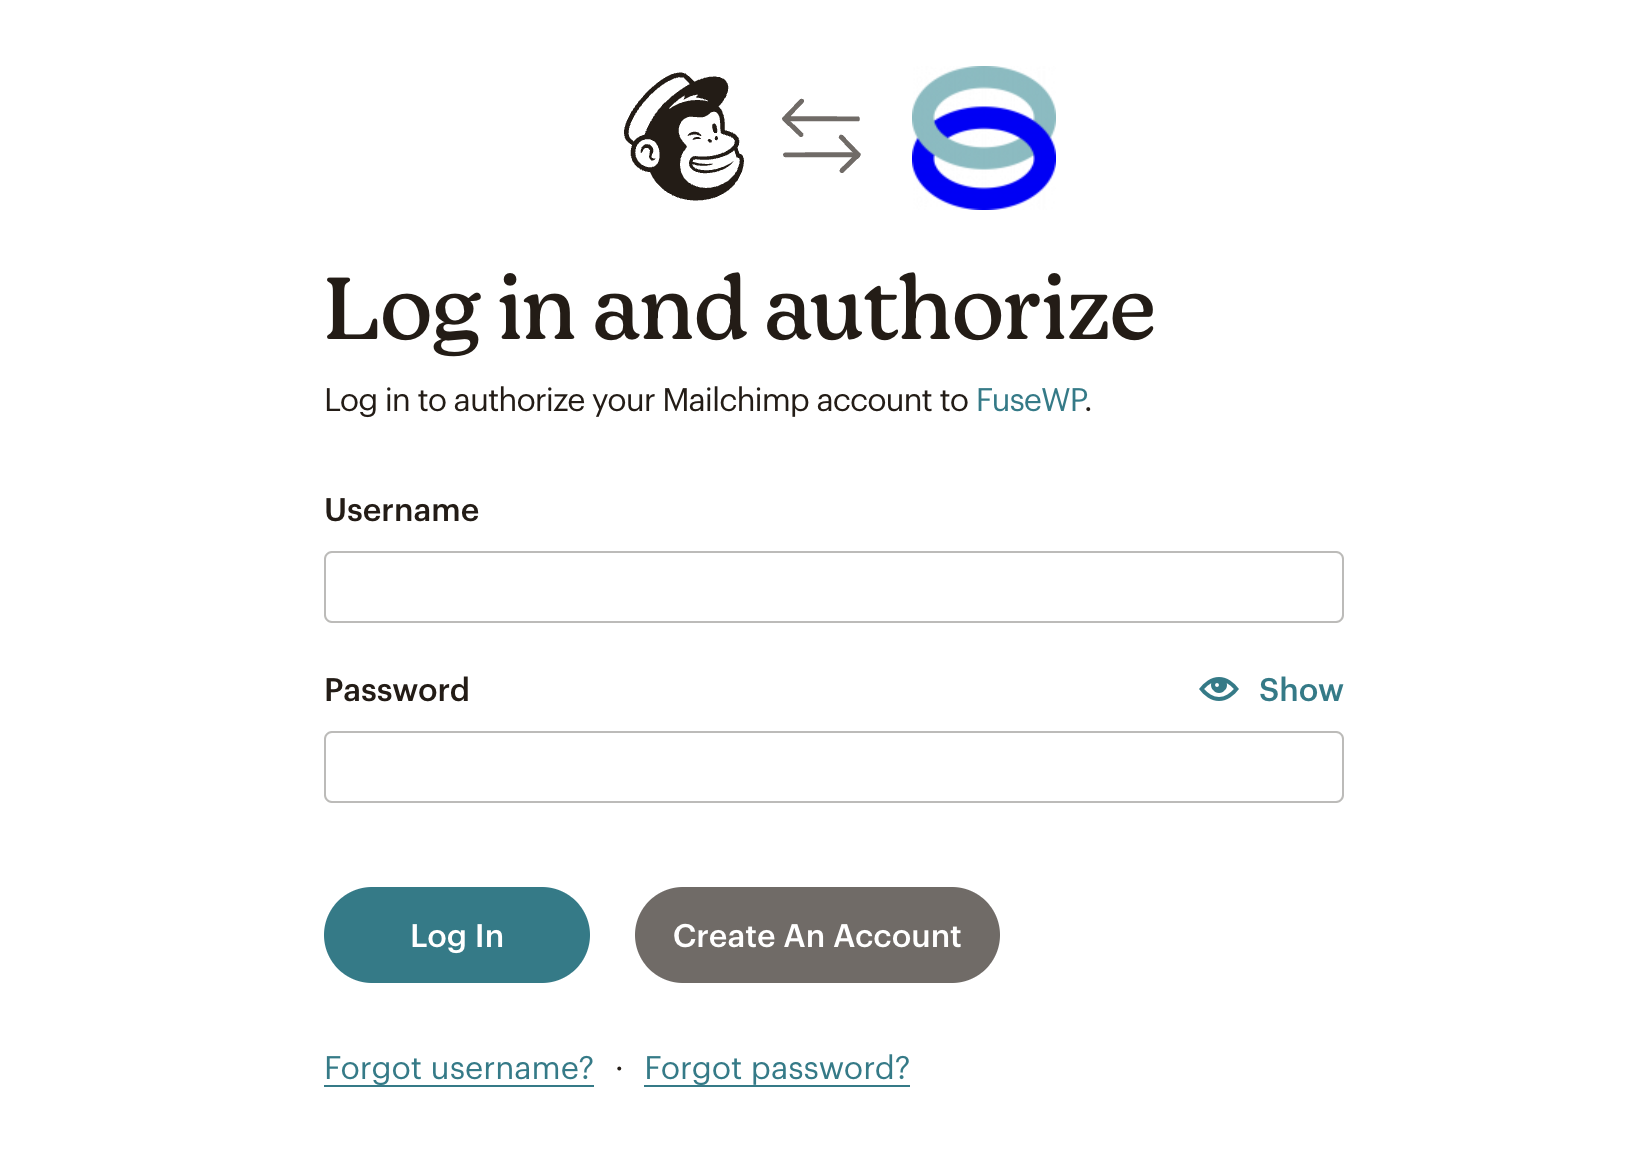
After you log in, you will need to grant FuseWP access to your account.

You will be redirected to the FuseWP integrations settings page when done.
Adding WooCommerce Customers to Mailchimp After Any Purchase
FuseWP offers various sync settings to customize how customer data is transferred between WooCommerce and Mailchimp.
This section will teach you how to add new WooCommerce customers to your Mailchimp audience based on their purchased products.
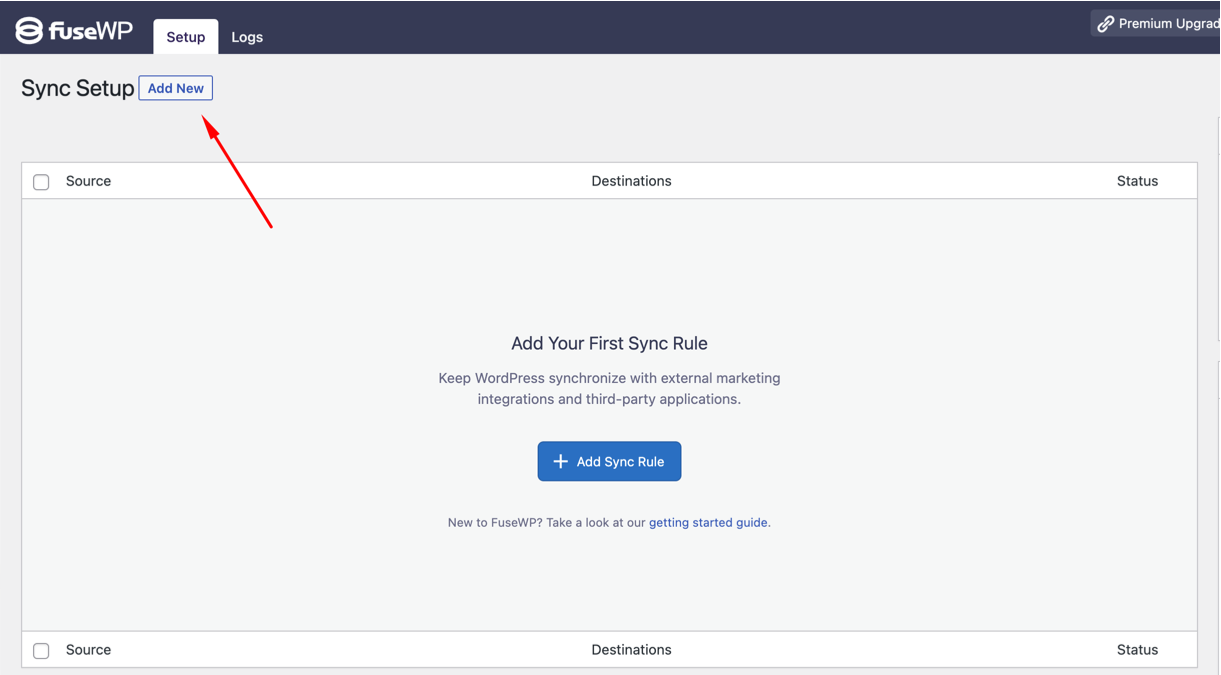
To do this, go to FuseWP >> User Sync and click the Add New button.
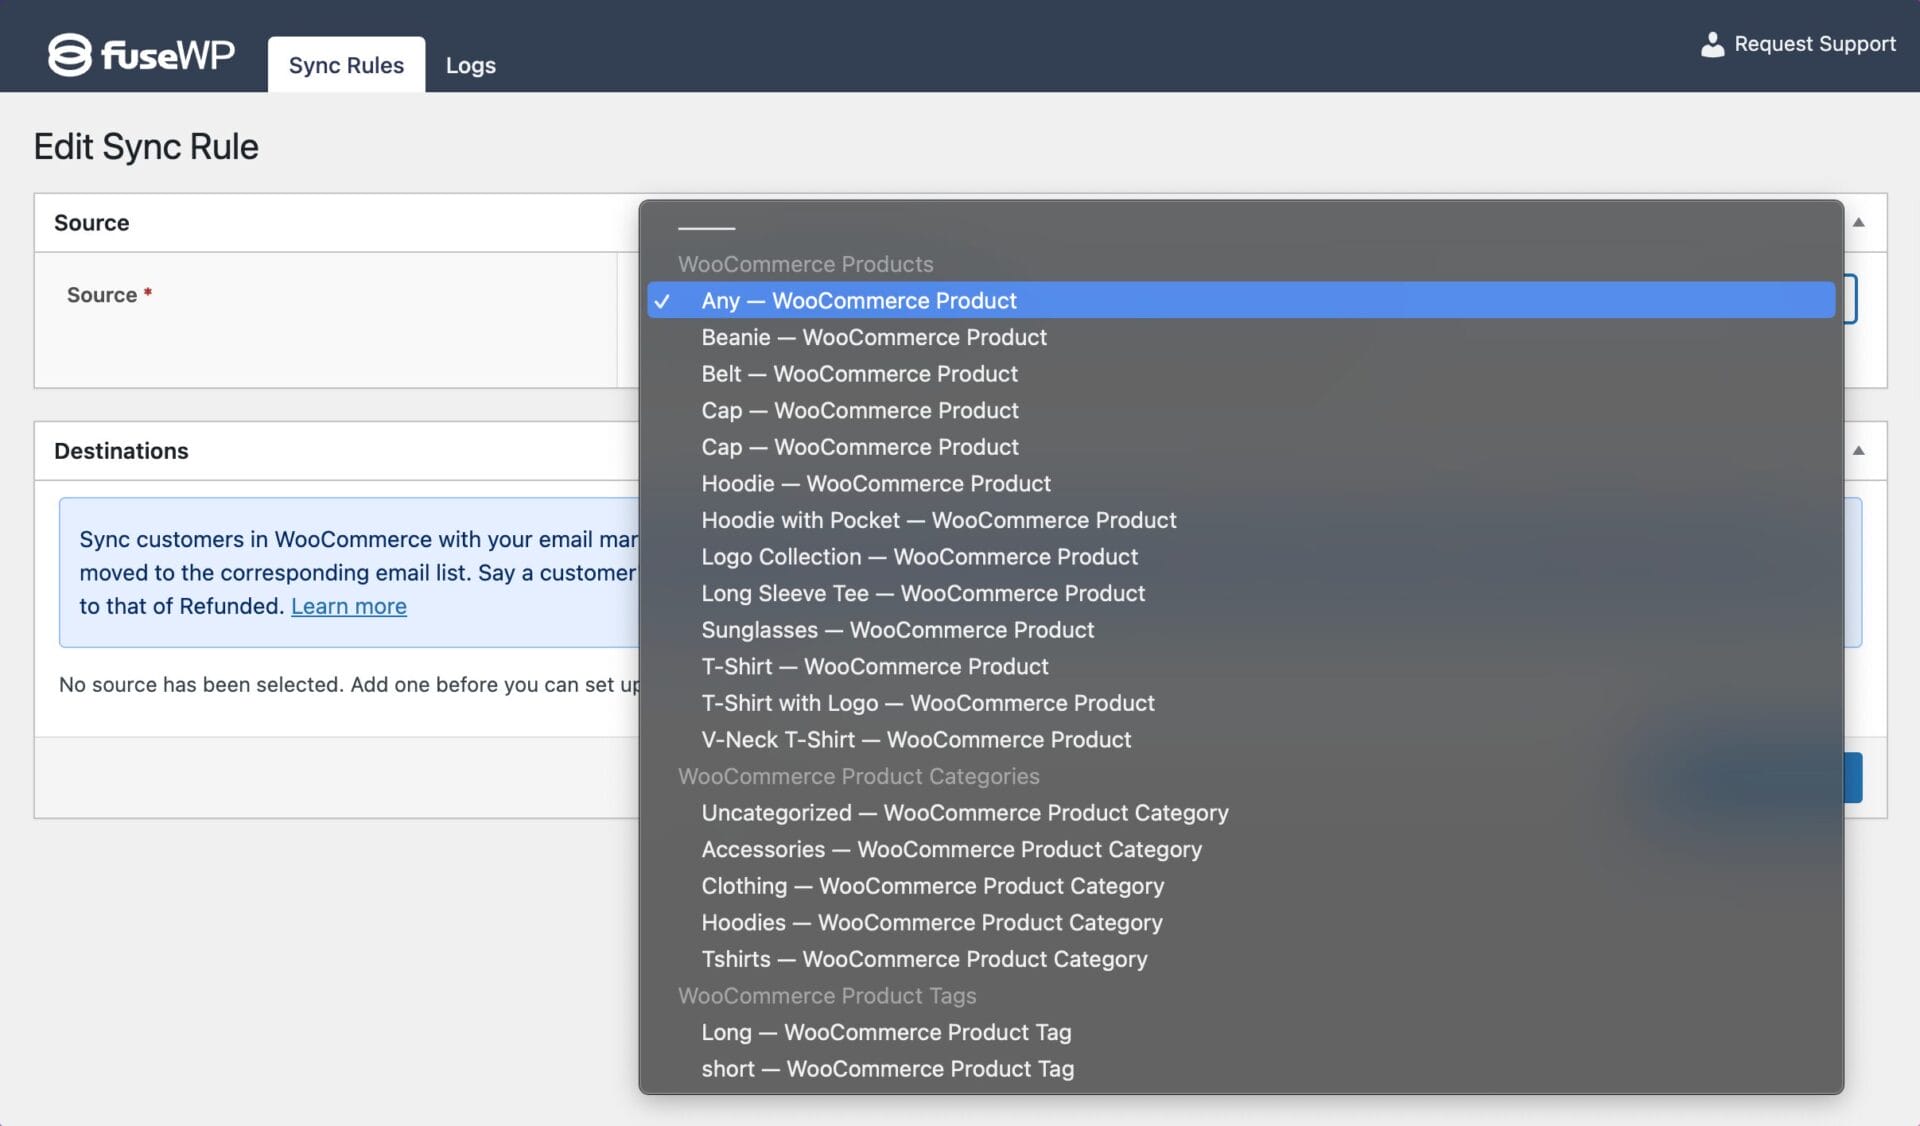
On the page to add user sync rules, choose a WooCommerce product as the source.
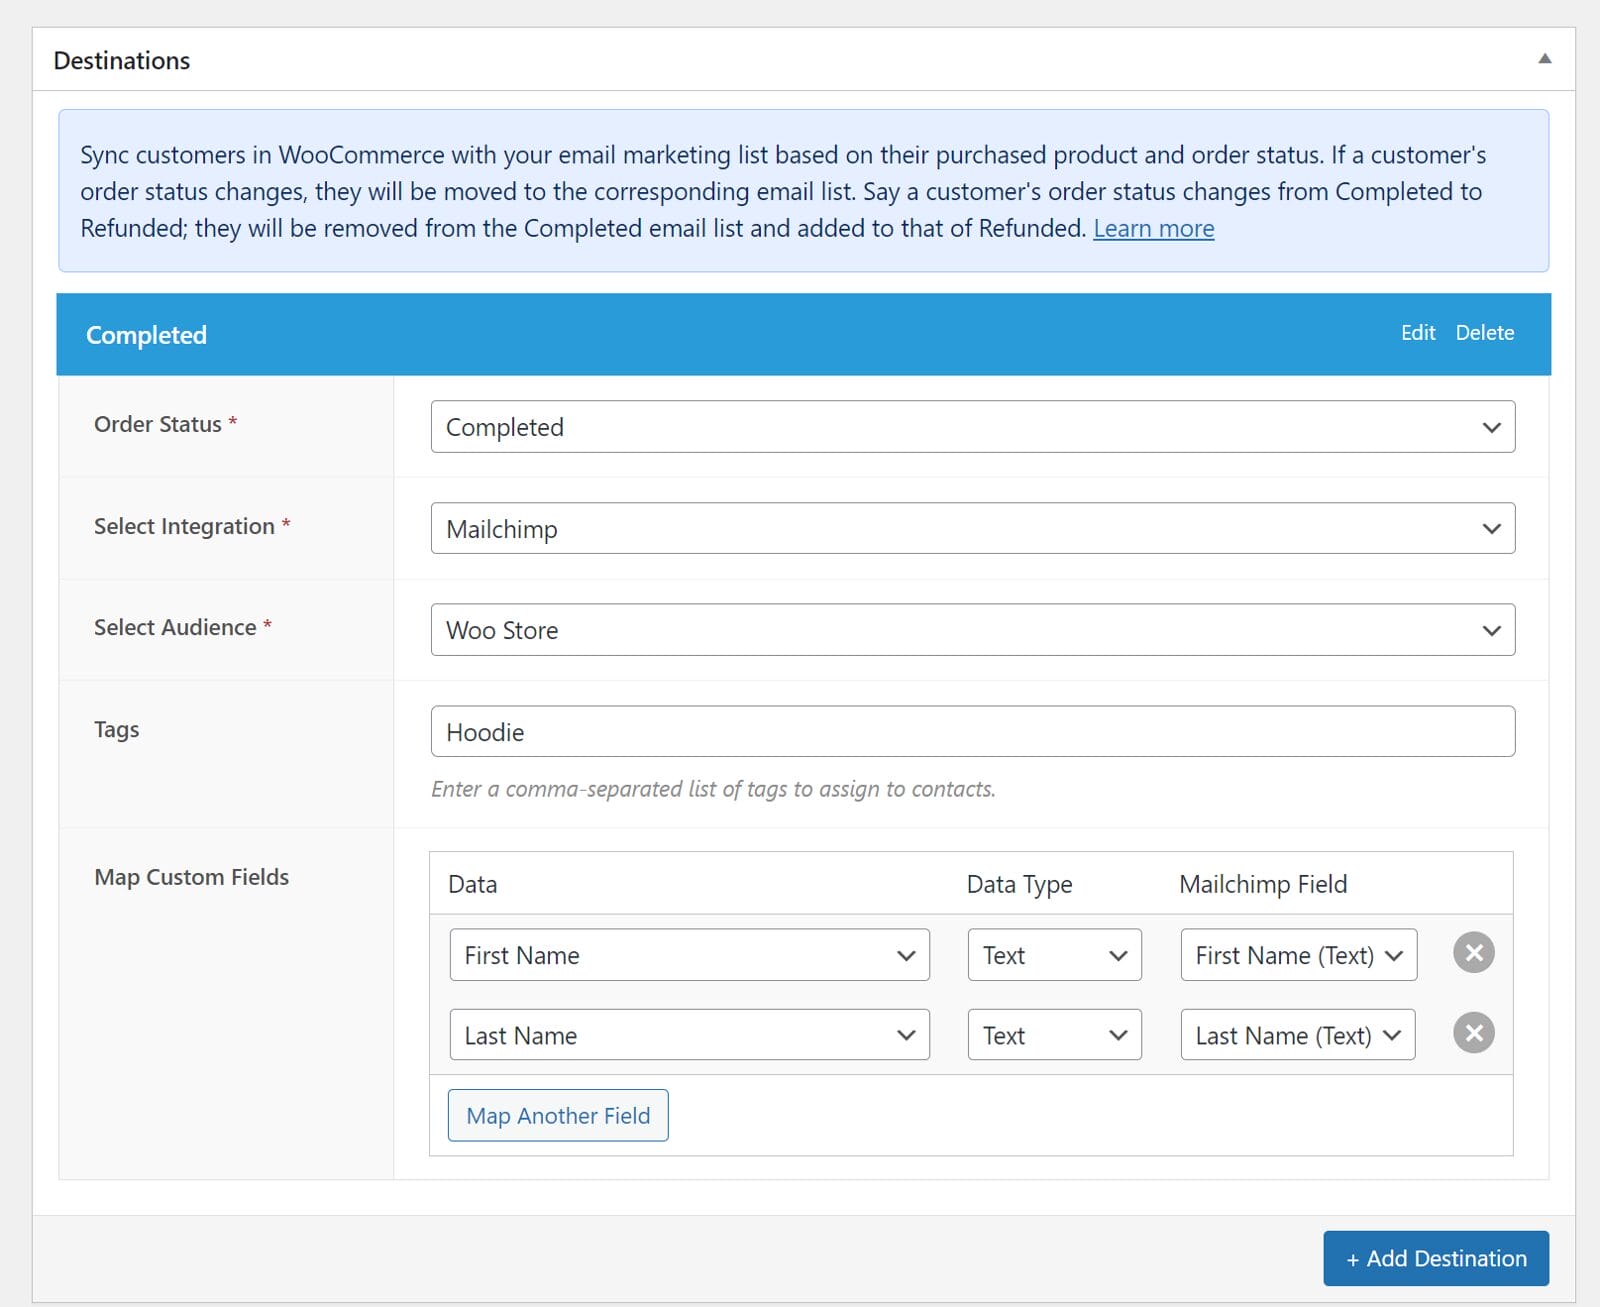
The Destinations metabox is where we configure the different order statuses of the selected WooCommerce product and their respective email marketing integrations.
Here, you can choose order status, your CRM (Mailchimp in our case), and the email list or audience to which to add WooCommerce customers. You also have the option to assign tags and map fields.
When done, save changes.
In the setup above, when a customer successfully purchases any WooCommerce product, they will automatically be added to the selected Audience.
Adding WooCommerce Customers to Mailchimp Based on Product Category
To build on what you’ve already learned about adding new WooCommerce customers to Mailchimp with any purchase, this section will focus on adding a customer to Mailchimp specifically when they purchase a product from a particular product category.
To do this, navigate to FuseWP >> User Sync and click the ‘Add New’ button.
Once on the page for adding user sync rules, choose a WooCommerce Product Category as the source and configure the Destination.
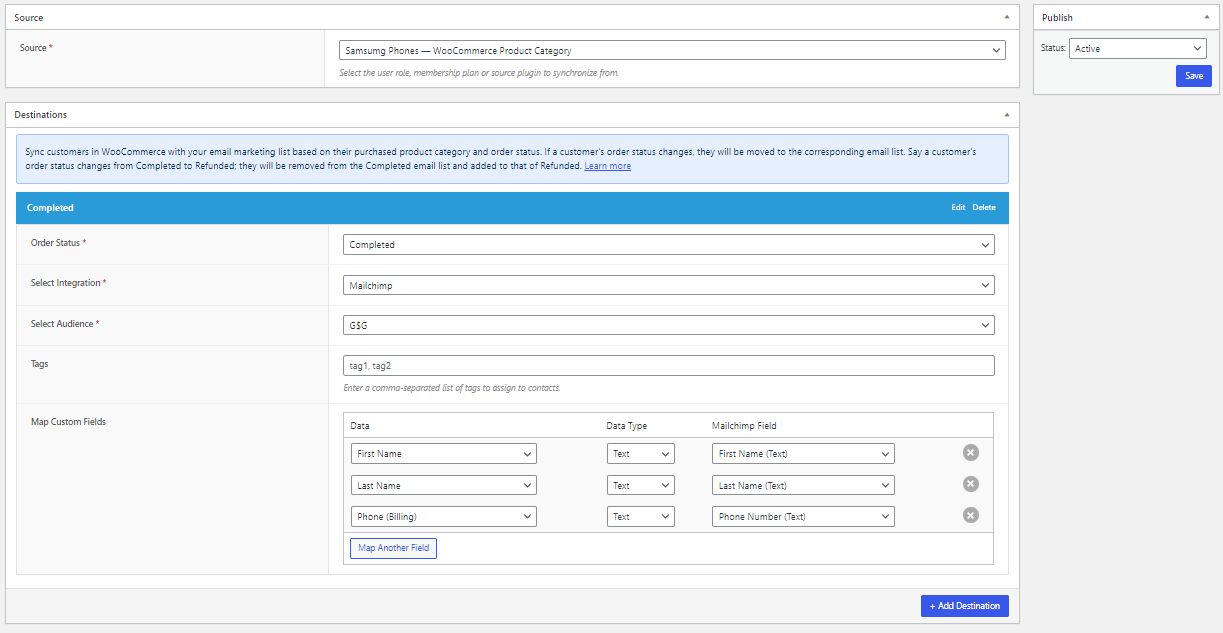
In the screenshot above, customers who purchase from the Samsung Phones category will be subscribed to the “G&G” email list.
Say you also added a destination and selected the Order Status as “Failed” If your customer’s payment fails while making a payment on the WooCommerce checkout page, they will be added to the audience defined in the “Failed” order status destination.
Add New Customers to Mailchimp Based on Product Tags
To add a customer to your mailing list based on product tags, go to FuseWP >> User Sync and click the ‘Add New’ button.
Once on the page for adding user sync rules, choose a WooCommerce Product Tag as the source, and configure the Destination.
In the screenshot below, when a customer purchases a product tagged “Long”, they will be added to the “Customers” audience. If the order status changes to Refunded, they will be removed from the Completed audience and added to that of Refunded.
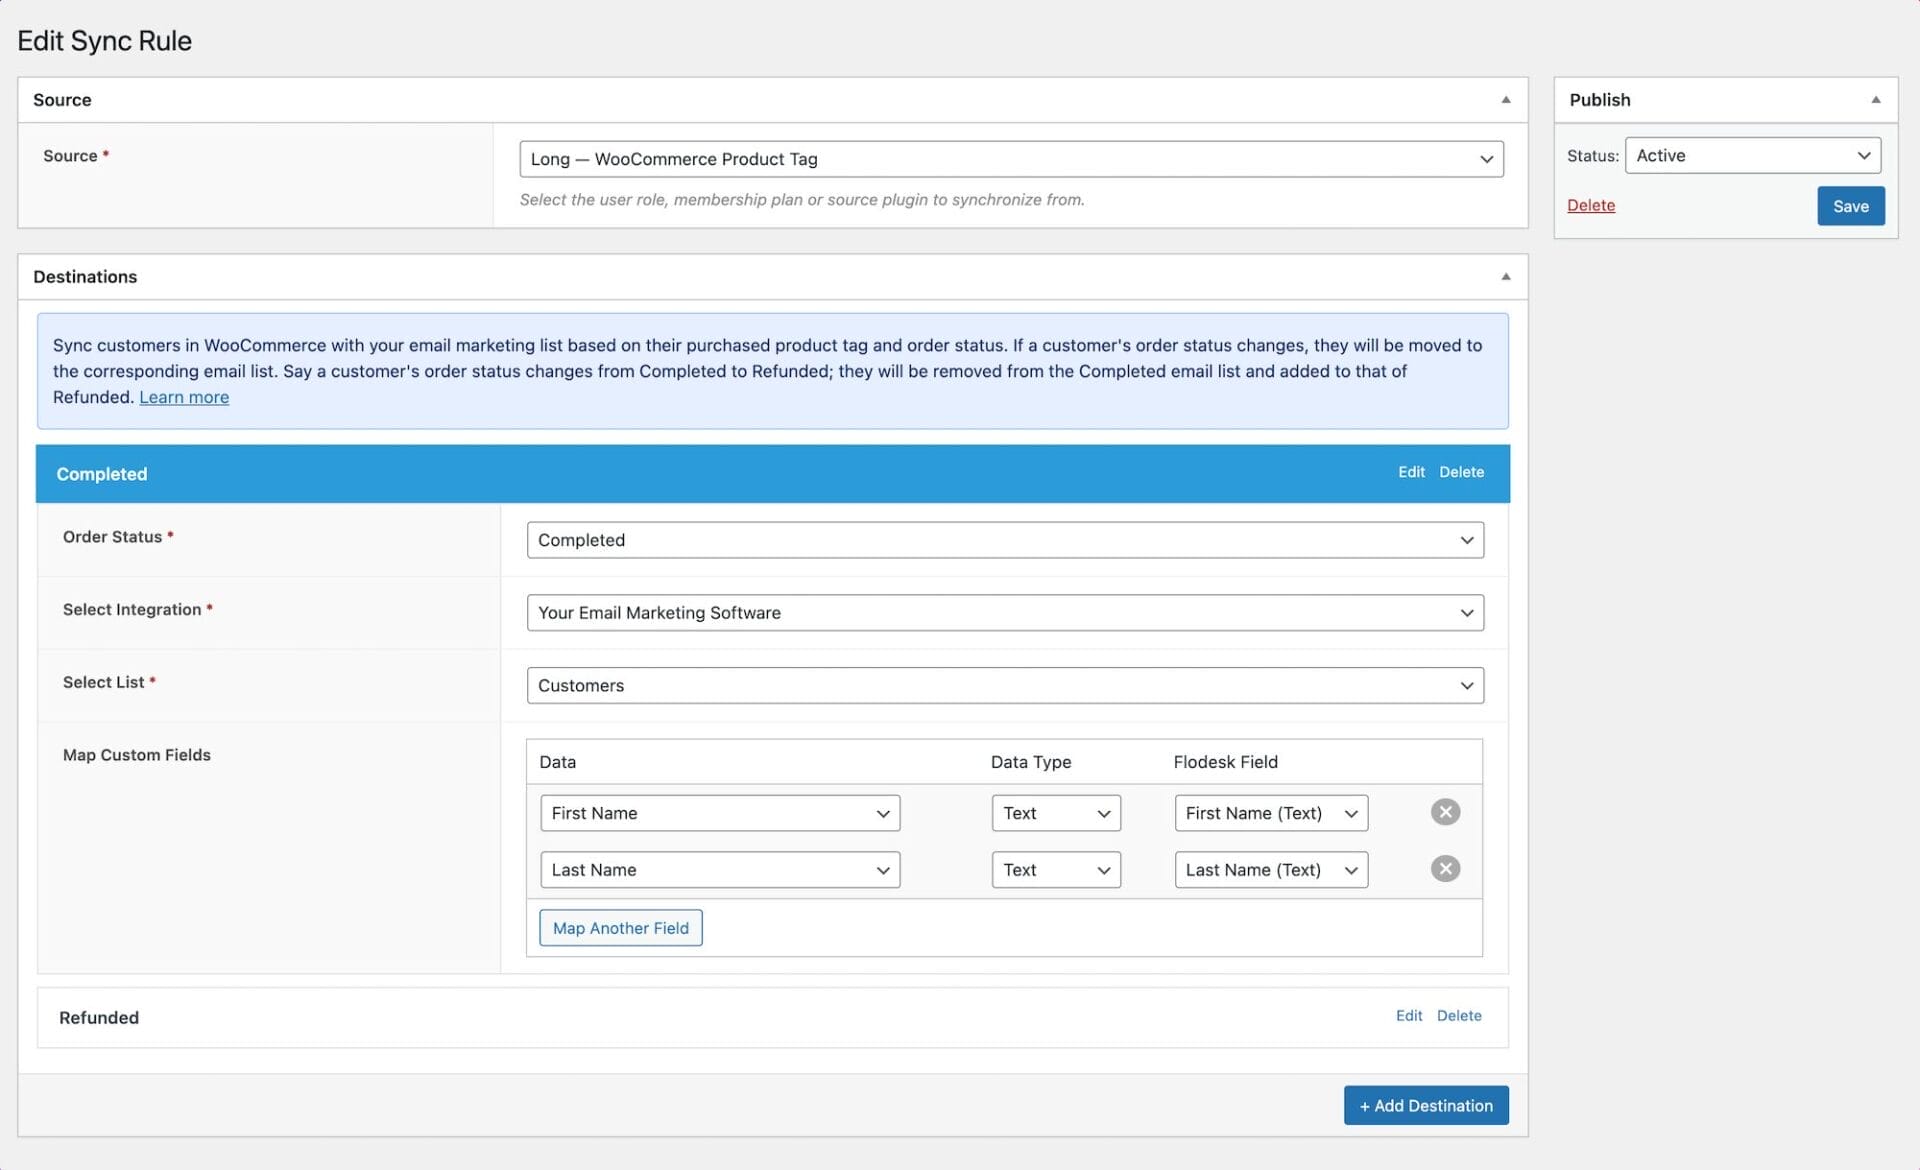
Once you’re finished, save your changes and ensure the rule is active.
Use FuseWP to Add WooCommerce Customers to Mailchimp Today
With every click, every sale, and every new customer, you’re presented with an opportunity to deepen your connection, strengthen your brand, and ultimately drive revenue.
Connecting WooCommerce to Mailchimp using FuseWP offers an excellent solution for businesses seeking to expand their email marketing efforts. By automating the process of adding new customers to Mailchimp, companies can save valuable time and resources.
We hope this article helped you learn how to add new WooCommerce customers to your Mailchimp email list.
So, why wait? Start leveraging FuseWP today!