Are you looking to create a community website using WordPress?
Creating a community website is a fantastic way to connect with individuals who share similar interests. It allows people to communicate, exchange ideas, and share information. WordPress is an ideal platform for building a community website since it is user-friendly and does not require technical expertise.
This comprehensive article will guide you through creating a community website using WordPress. We will discuss everything from selecting the appropriate plugin to configuring various features on your website.
Let’s begin!
Creating a WordPress Community Website
Now that we know why WordPress is a top choice for building community websites let’s take a closer look at how you can create one for your community.
1. Choosing the Right Theme and Plugins
When it comes to building a community website, WordPress stands out for its remarkable flexibility in customization. With an extensive collection of themes and plugins, you can effortlessly craft a personalized experience that aligns with your community’s unique objectives and requirements.
When it comes to choosing a plugin, we recommend ProfilePress. It offers a range of features ideal for building a community website, such as user registration and moderation, member directory, and custom user profiles.
Aside from selecting the appropriate plugin, it is crucial to pick a suitable theme. There are numerous popular themes to choose from that are lightweight and offer an extensive array of customization options.
2. Setting Up the ProfilePress Plugin
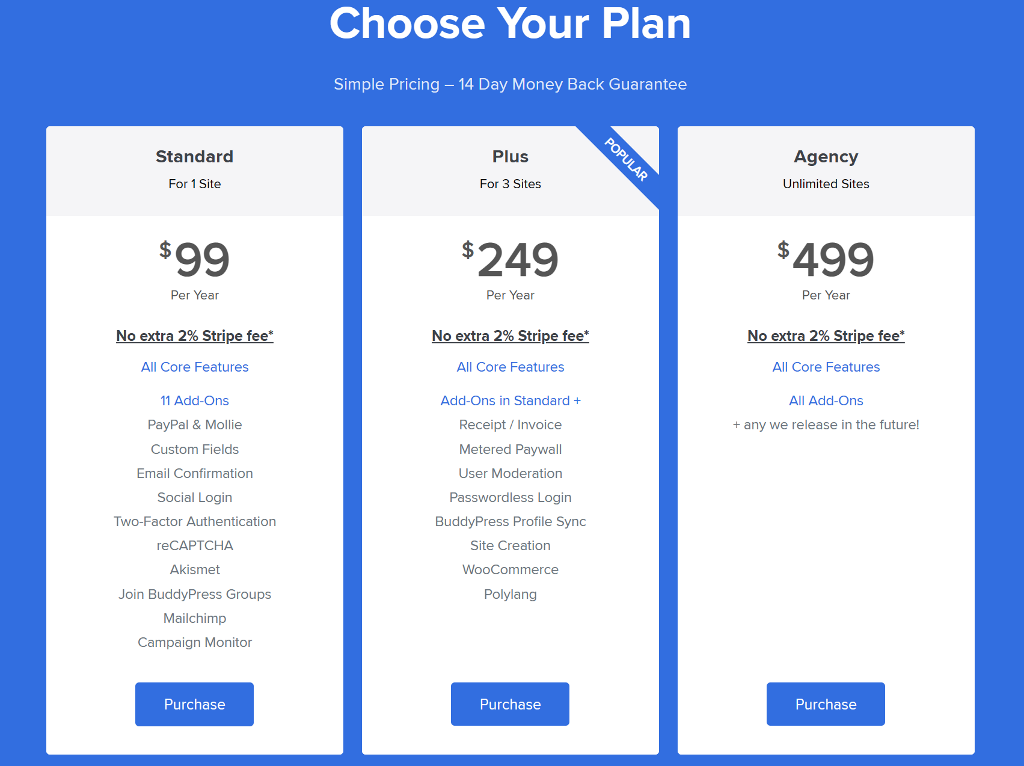
ProfilePress is a premium plugin, so you must purchase it from its official website. Head over to the ProfilePress website and purchase the Plus plan or higher, which includes all the features we’ll need to build a community website.
Install the Plugin
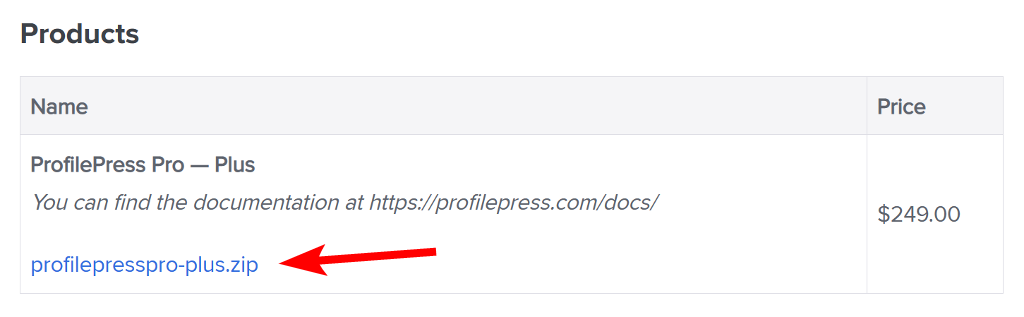
After you purchase the plugin, download the ZIP file from your account section onto your local computer.
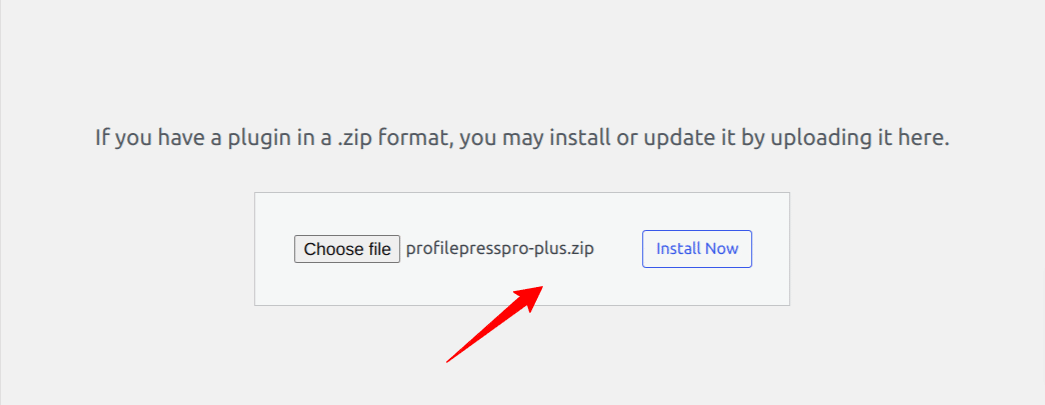
Next, log in to your WordPress dashboard and go to the Plugins page. From there, click the Add New button and upload the plugin to install and activate it.
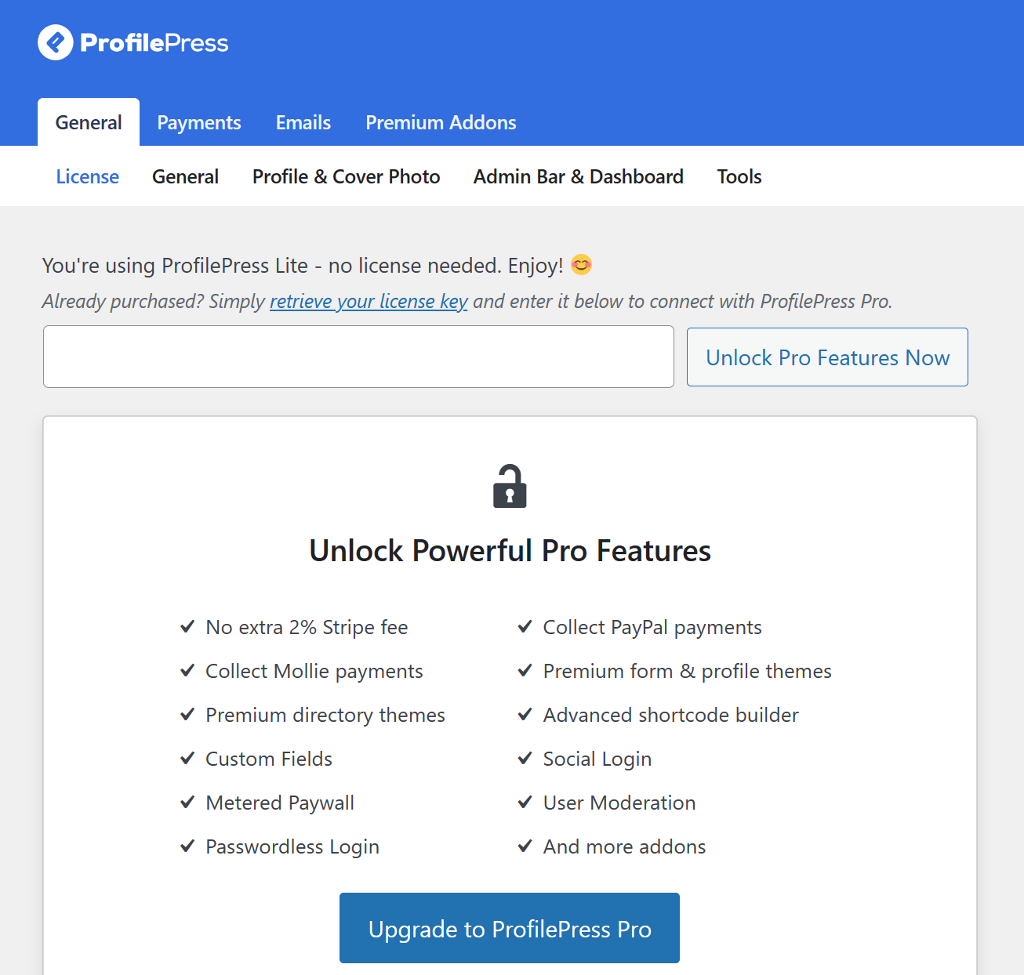
The next step is to activate your license key. You can do this by navigating to the plugin’s settings and switching to the License tab. Insert your license key in the designated field and click Save Changes.
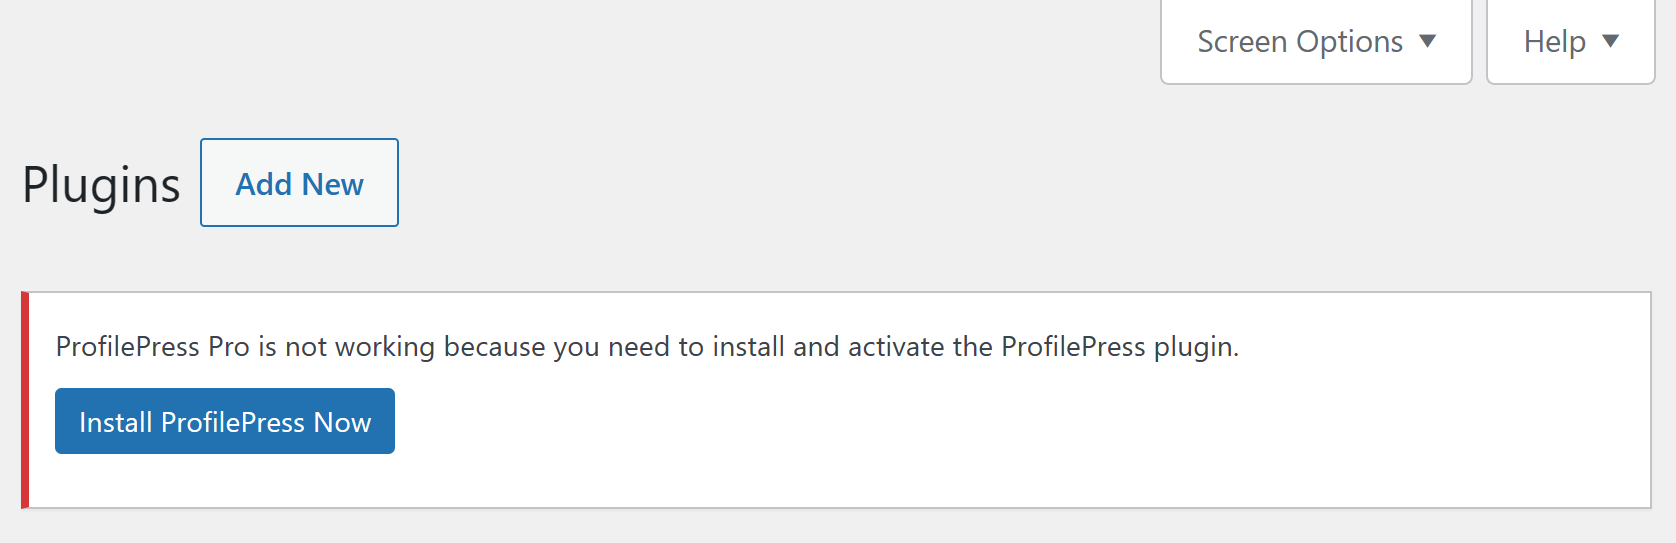
After ProfilePress plugin installation, a notice will prompt you about the core plugin version requirement. Press the Install ProfilePress Now button and activate it.
To make the process seamless, the plugin allows you to create the necessary pages automatically. Navigate to ProfilePress > Dashboard and click Create Pages at the top.

After these pages are created, you’ll be taken to the plugin’s settings page, where you must select the newly created page next to each name.

Once done, click the Save Changes button at the bottom.
Enable Required Addons
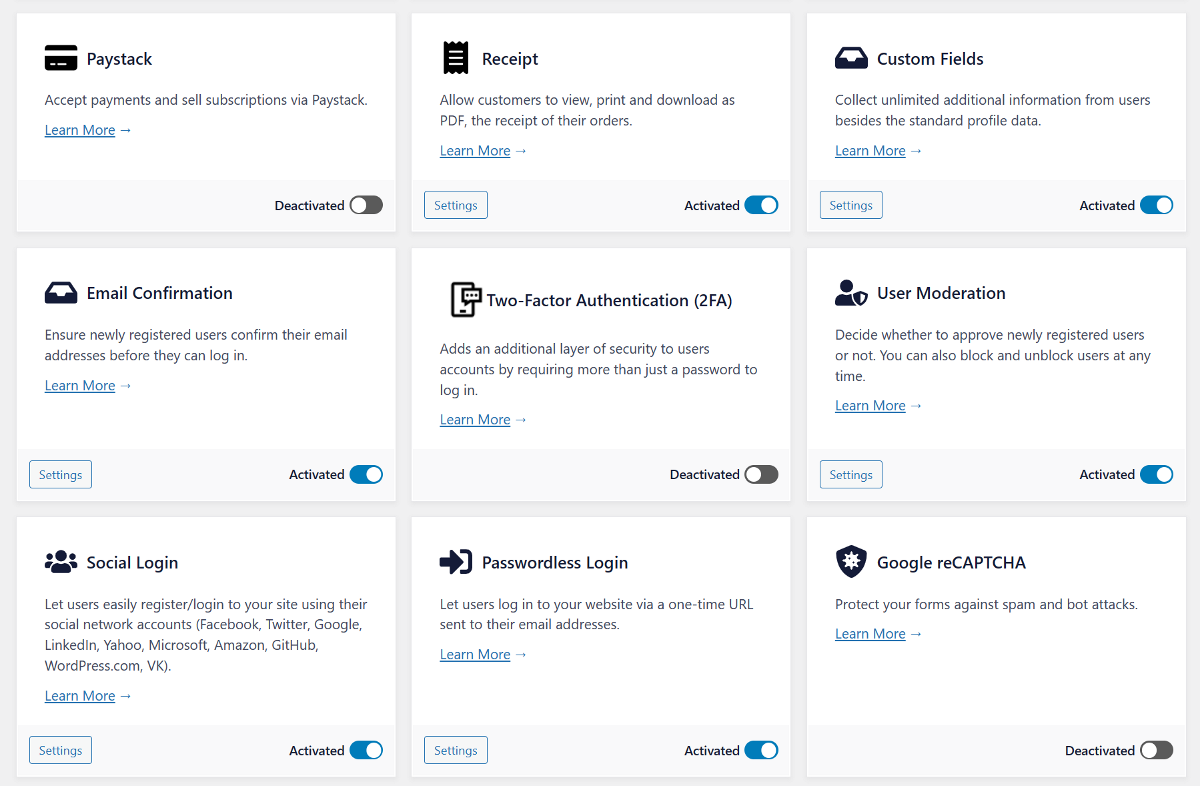
To add more features to the community website, we will need to activate some premium add-ons. To accomplish this, go to ProfilePress > Addons and enable the desired add-ons by toggling the button next to them.
- Custom Fields
- Email Confirmation
- User Moderation
- Social Login
- Passwordless Login
- Google reCAPTCHA
Let’s now look at how to let members join your community website.
3. Let Members Join Your Community Website
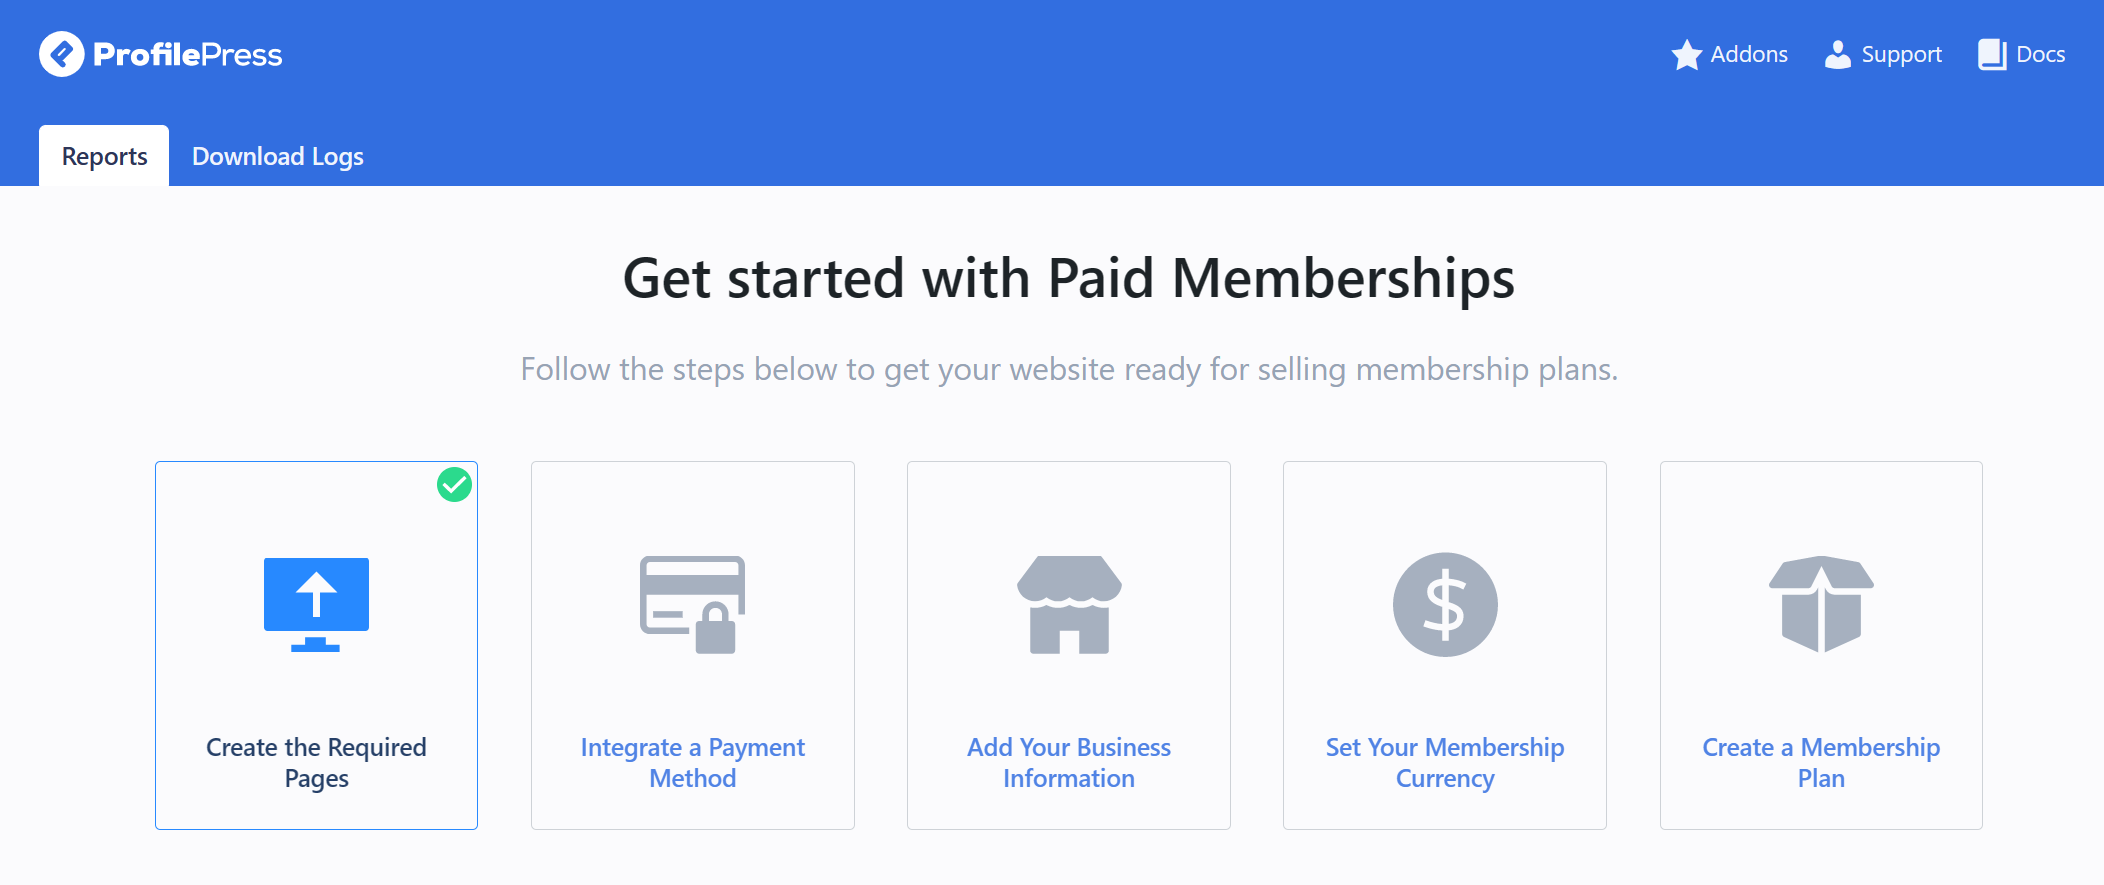
ProfilePress is primarily a WordPress membership plugin, but we can also use it to create a community website. It offers a user-friendly 5-step Get Started walkthrough within the plugin dashboard to help you with the setup. We have already completed the first step, so let’s proceed to the next one.
Connect to a Payment Gateway
The next step is to link up with a payment gateway. This will enable you to levy members a one-time or recurring fee for accessing your community website. If you prefer to offer free membership, you can still allow users to sign up at no cost.
To add a payment method, click the “Integrate a Payment Method” button to redirect you to the Payments page.
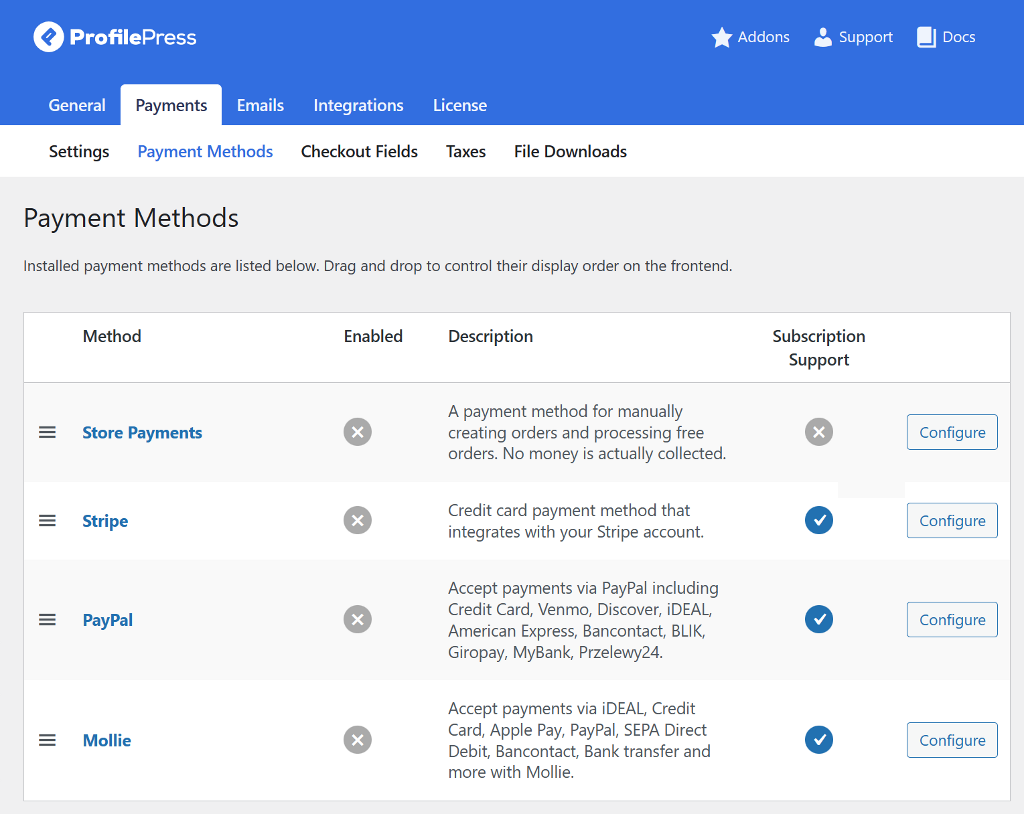
ProfilePress supports multiple payment gateways, including Stripe, PayPal, Mollie, and RazorPay.
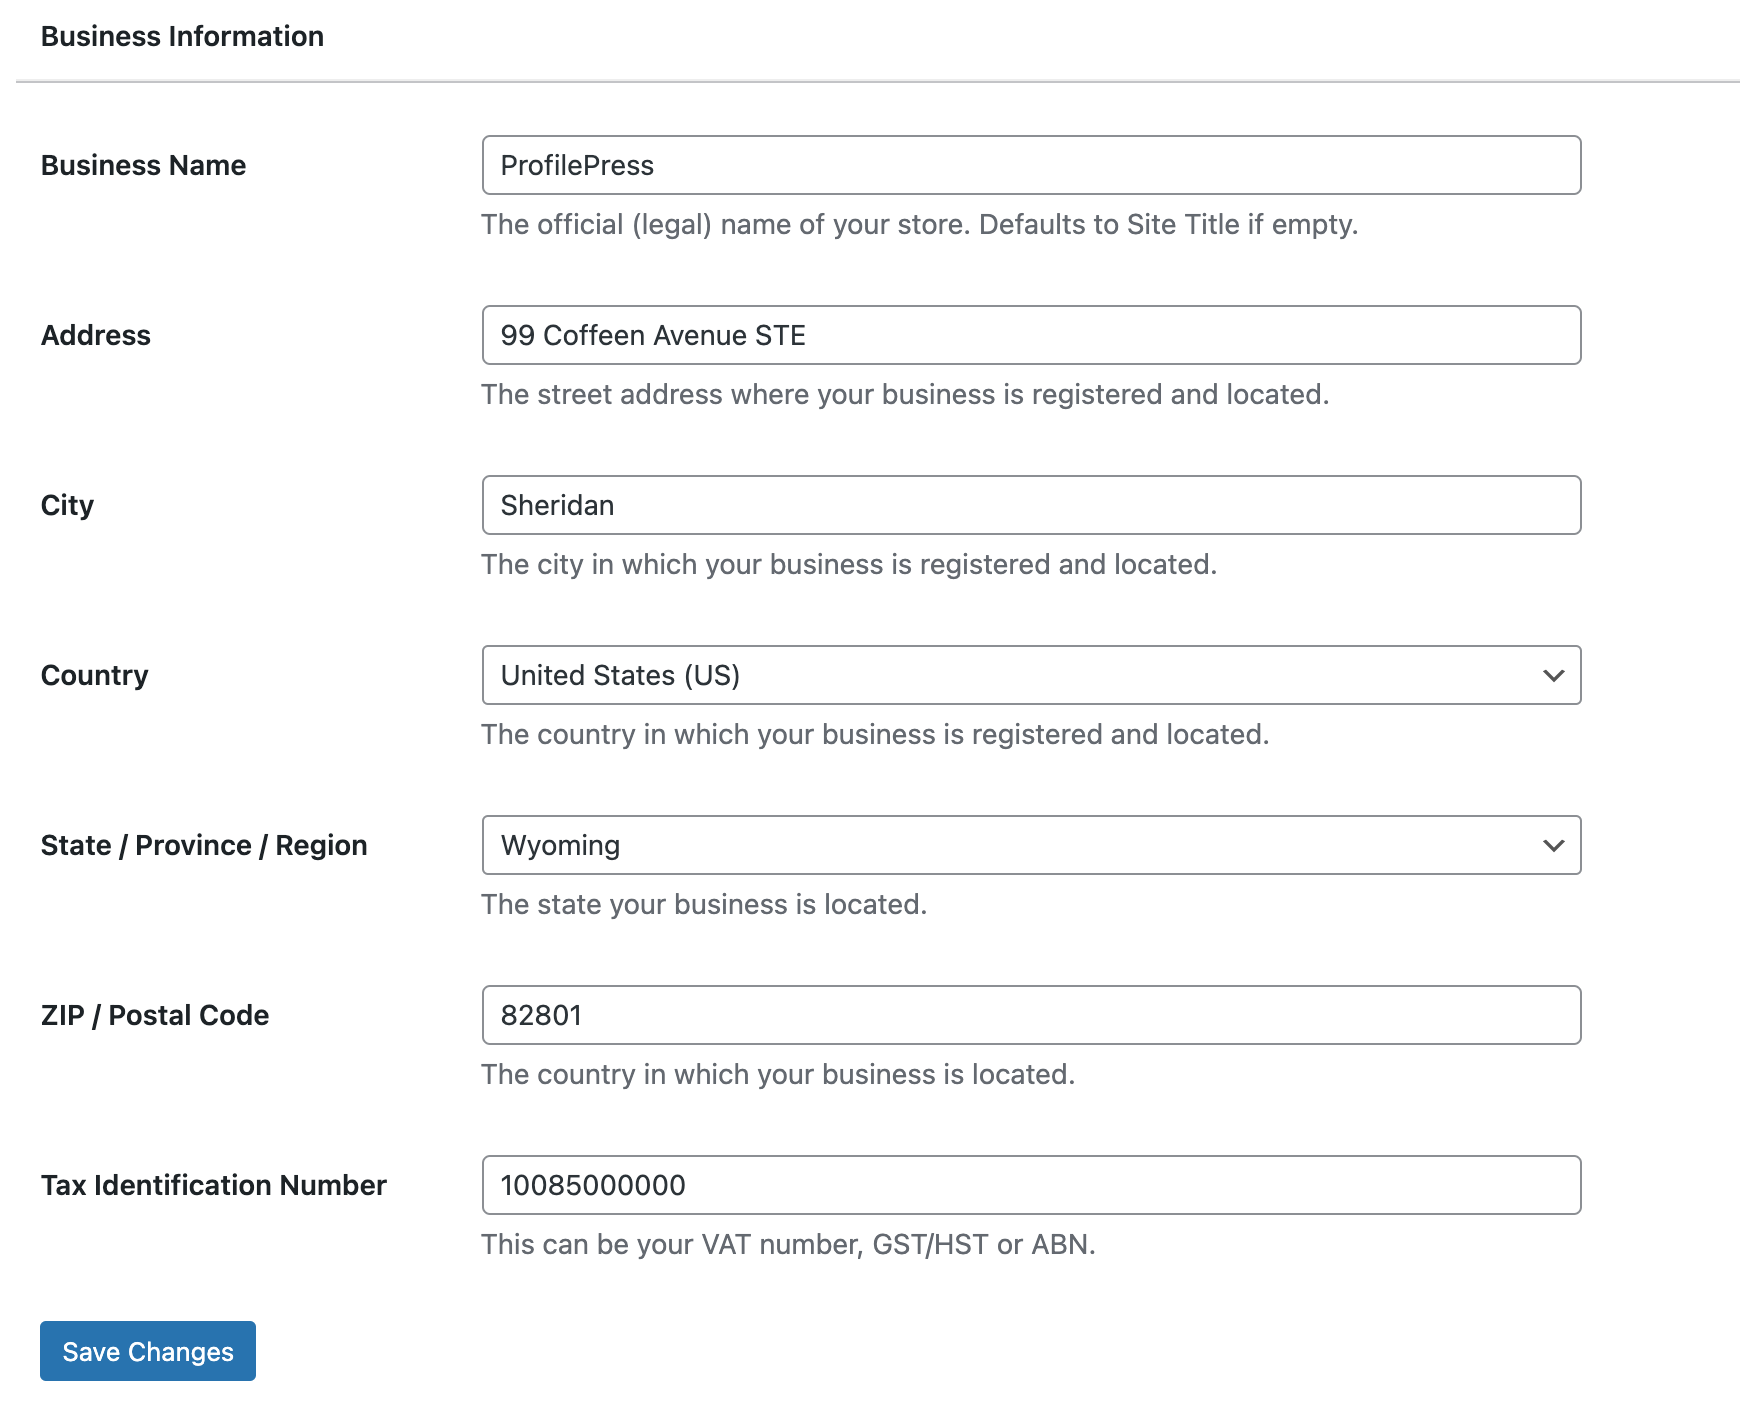
Add Your Business Information
After successfully connecting the payment gateway, navigate to ProfilePress > Dashboard and select the “Add Your Business Information” button. Input your business name, complete address, and tax identification number in the appropriate fields, then finalize the process by selecting the “Save Changes” button.
Set Up your Checkout Page
Enhance Your Checkout Experience
ProfilePress offers the option to customize your checkout page. You can choose your preferred currency and decide which fields to display during checkout.
Start by setting up your currency, then customize the checkout fields. Return to the ProfilePress dashboard and click the “Next Step” button to get started.

You can set up the currency and checkout settings by following the steps in the documentation link.
Create Membership Plans
The next step is to create different plans that members can join based on their preferences. These plans will assign them a user role that we can later use to create a community member directory website.
To create a membership plan in ProfilePress, go to the plugin’s dashboard and click the Create a Membership Plan button in the Getting Started walkthrough. From there, click on the Add New Plan button and then follow the steps in our membership plan creation documentation page.
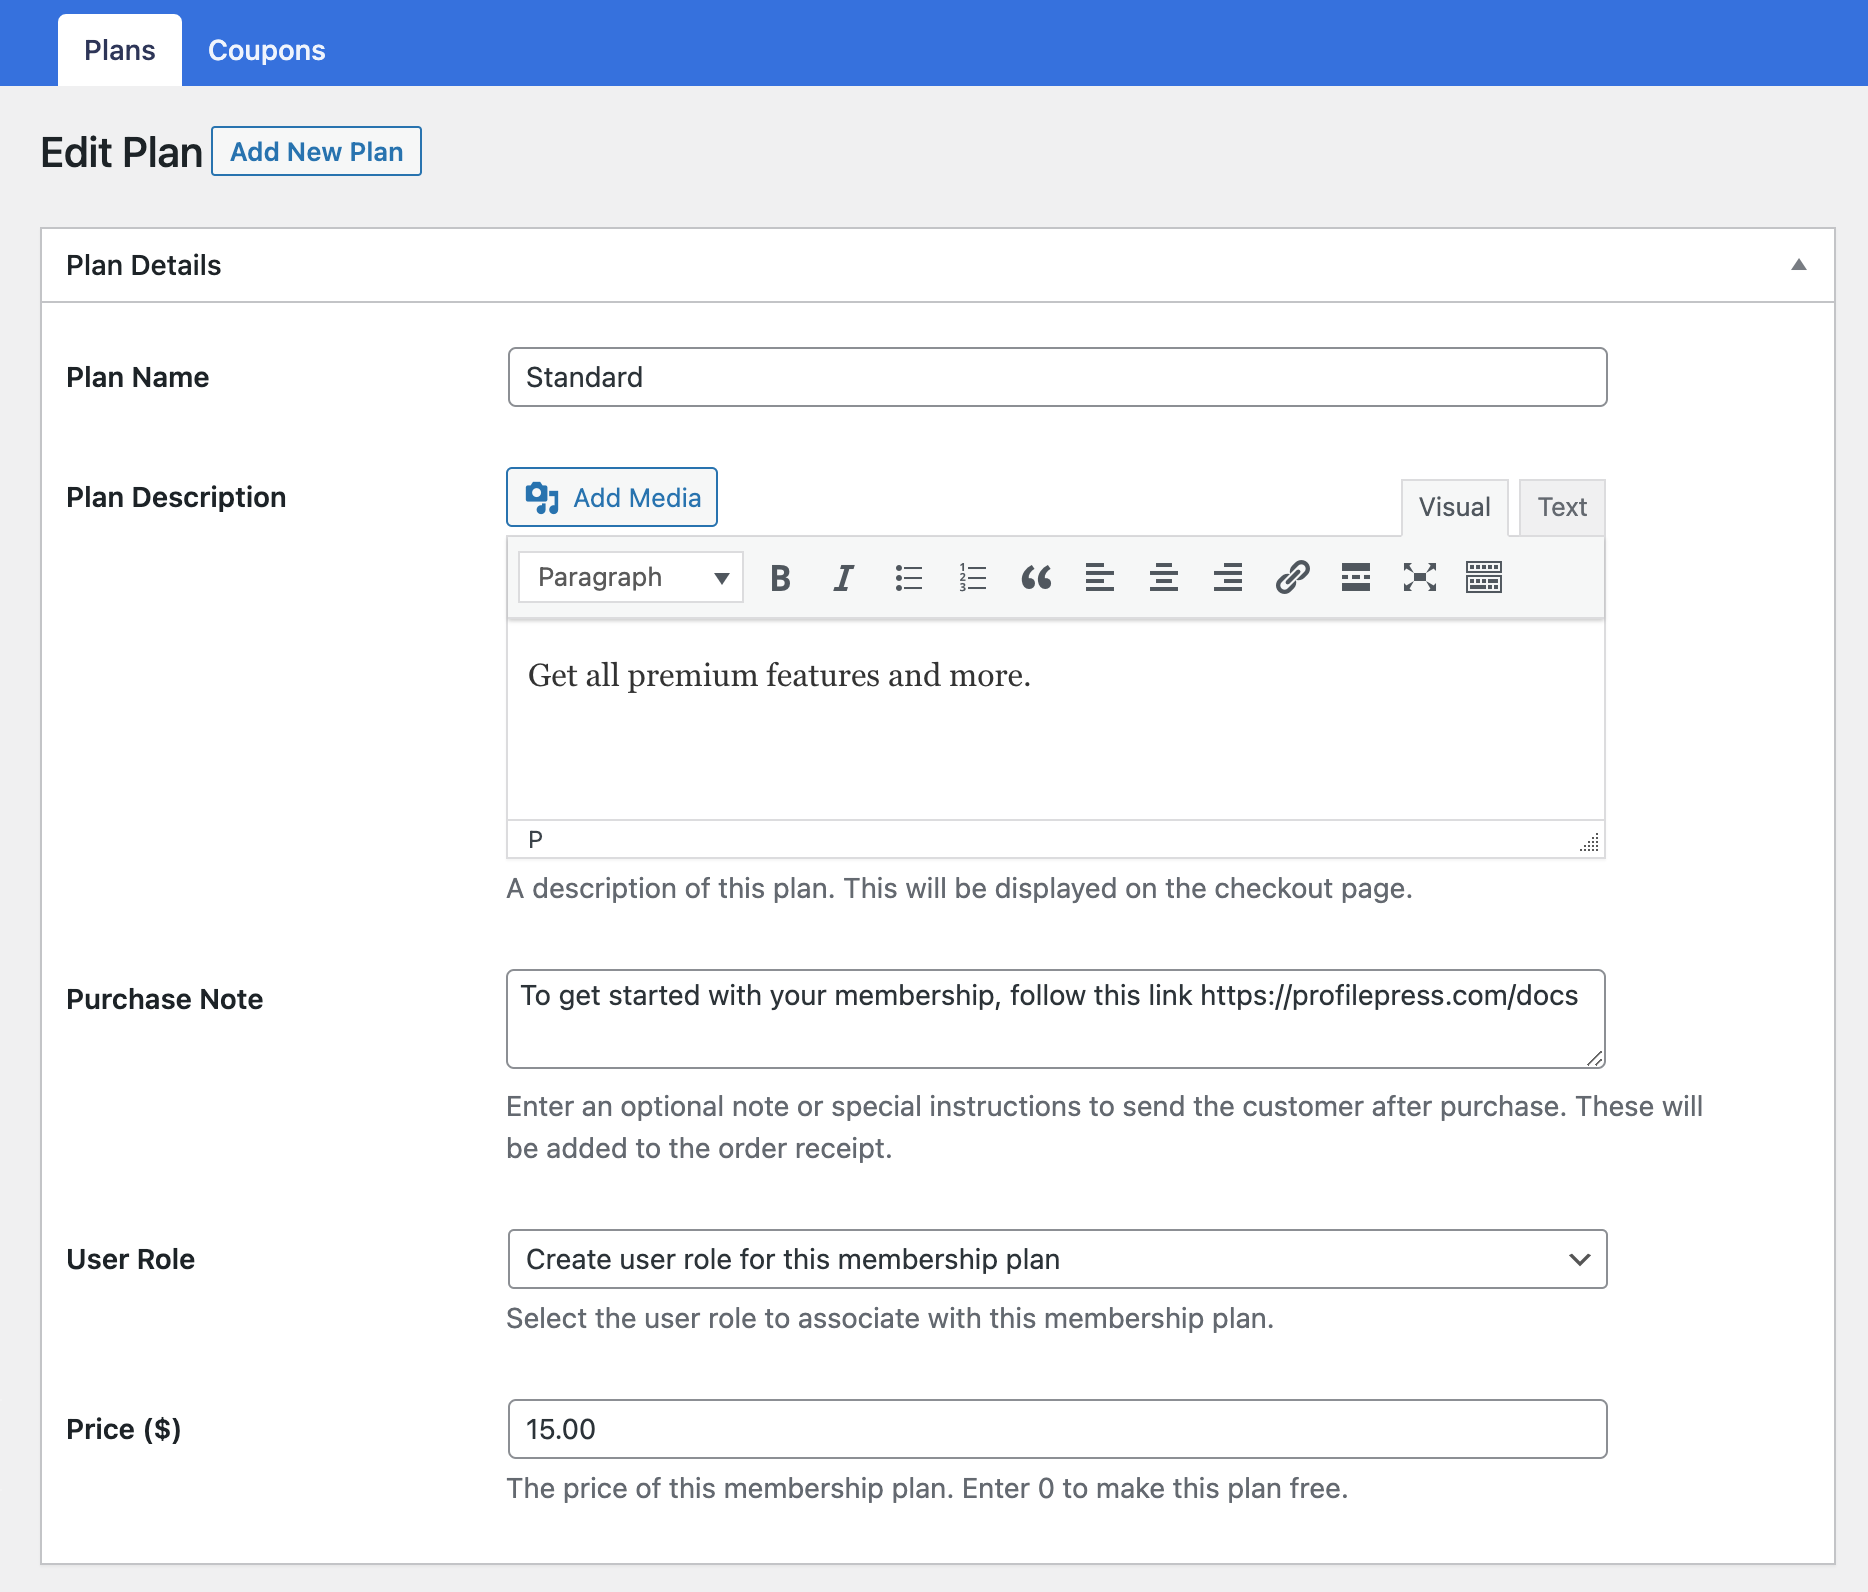
You can assign user roles, configure subscriptions, and set restrictions throughout the process.
If you want to allow people to join your community website for free, enter 0 as the price and make the plan available to everyone.
Once your plan is published, you’ll receive a link that can be added to your website, making it easy for people to sign up and join your community. Additionally, you can create custom registration and login forms to personalize the user experience further.
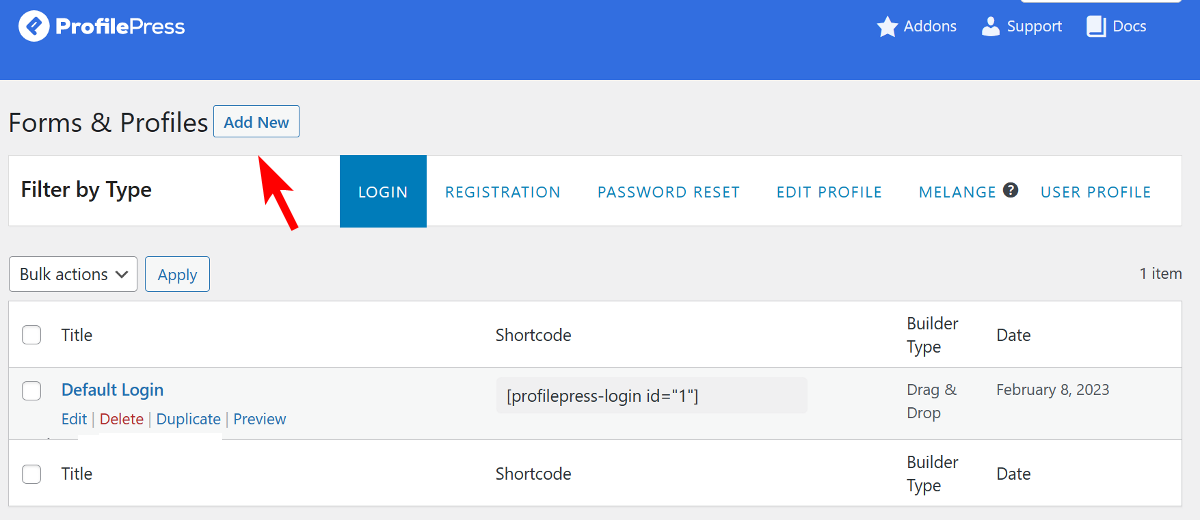
4. Create Custom Registration and Login Forms
A community website enables members to log in and access community information. ProfilePress, by default, creates a login and registration form. You can either edit these forms or create a new one from scratch. To create a new login and registration form from scratch, navigate to ProfilePress > Forms & Profiles, and under the Login tab, click the Add New button.
Select the drag-and-drop form builder and then choose from the available form templates. It’ll load the form builder with fields displayed on the right sidebar. You can add new fields or edit the existing ones by clicking on the gear icon.
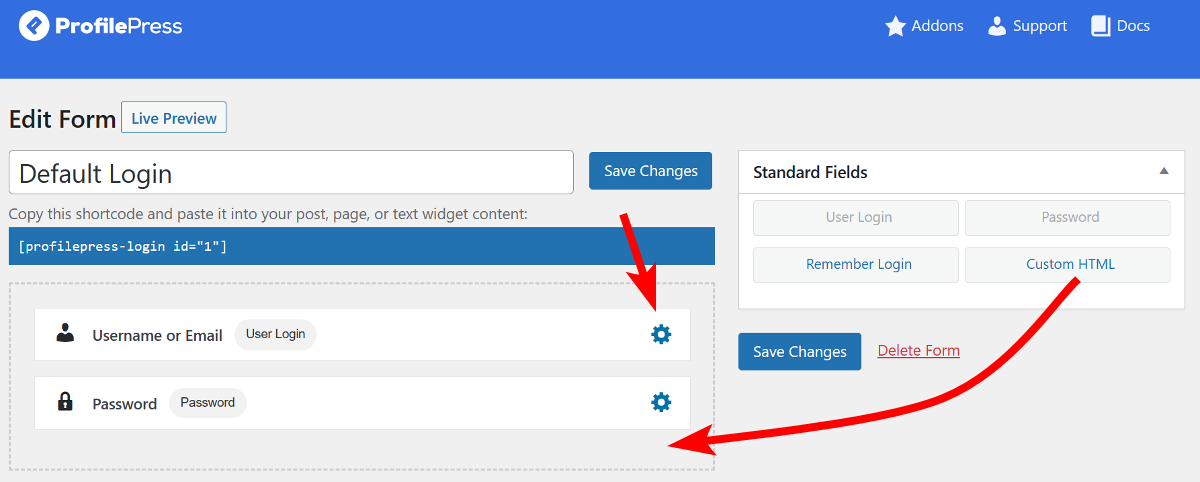
Once your modifications are complete, click the Apply Changes button to save your work. Similarly, you can create or edit forms such as registration, password reset, edit profile, melange, and user profile.
Note: Allow users to register on your website by navigating to Settings > General and checking the box next to “Anyone can register” under the Membership section.
5. Create Community Member Directory
ProfilePress gives you the ability to create a customizable online community website. This makes everyone’s contact information and other vital details available for convenient communication.
To create a new community website using ProfilePress, navigate to ProfilePress > Member Directories and click the Add New button.
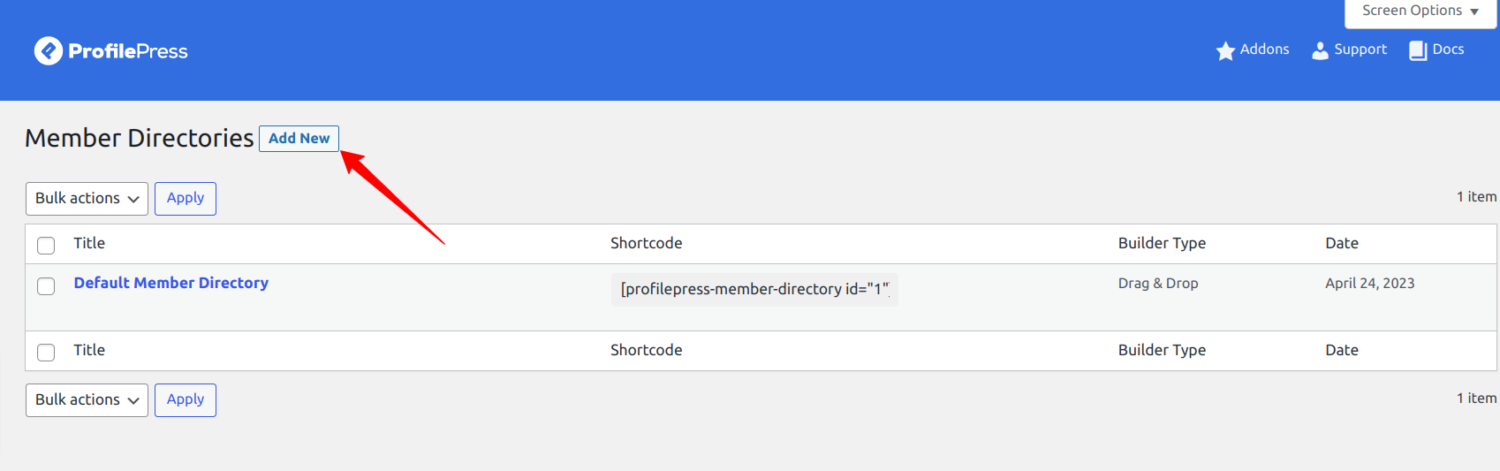
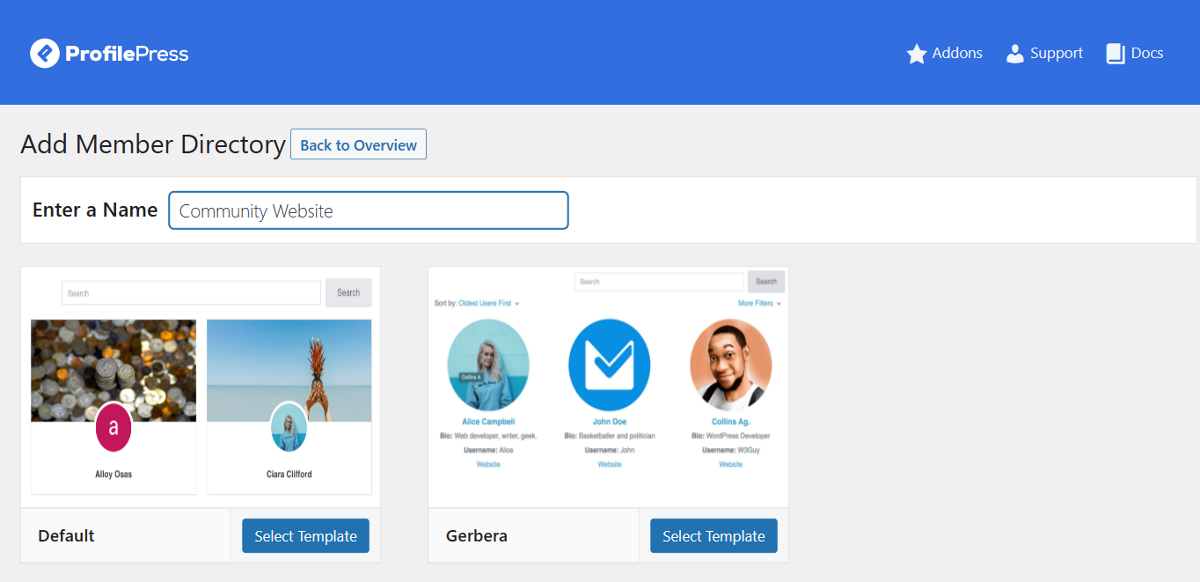
Enter a name for your community directory and click the Select Template button to create the directory.
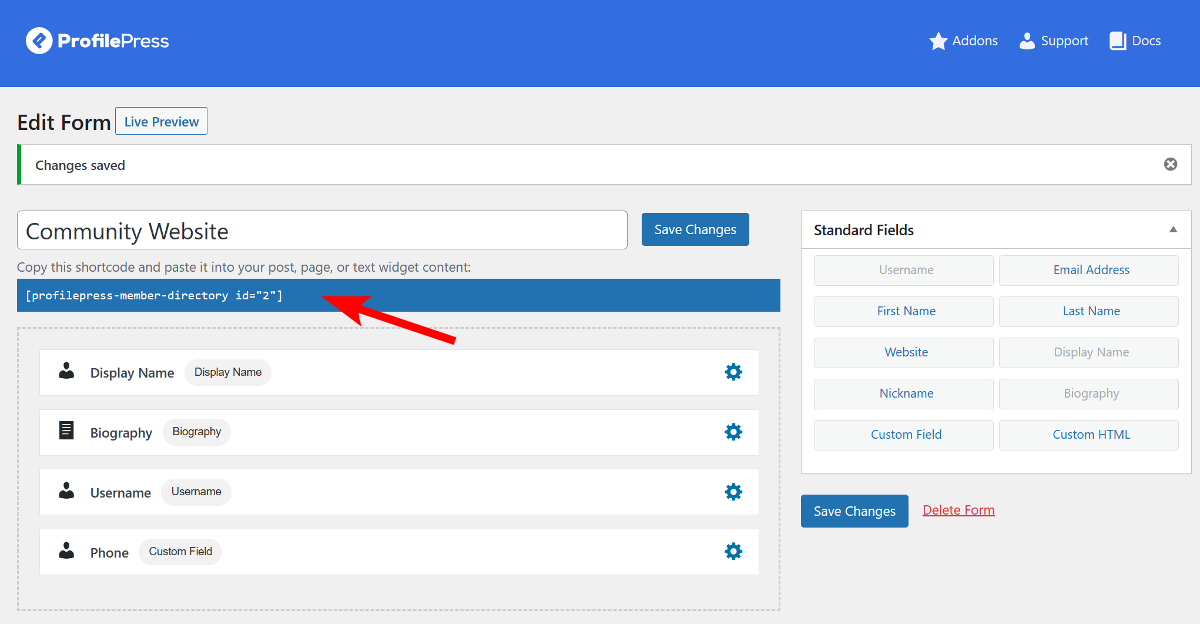
You will be taken to a new page, where you can specify which fields to display in the directory. Like the form builder, you can drag and drop the fields from the right sidebar. Click the gear icon on the respective field to edit the field settings and data.
You can also rearrange the added fields simply by hovering over them and dragging them to rearrange them in the desired order.
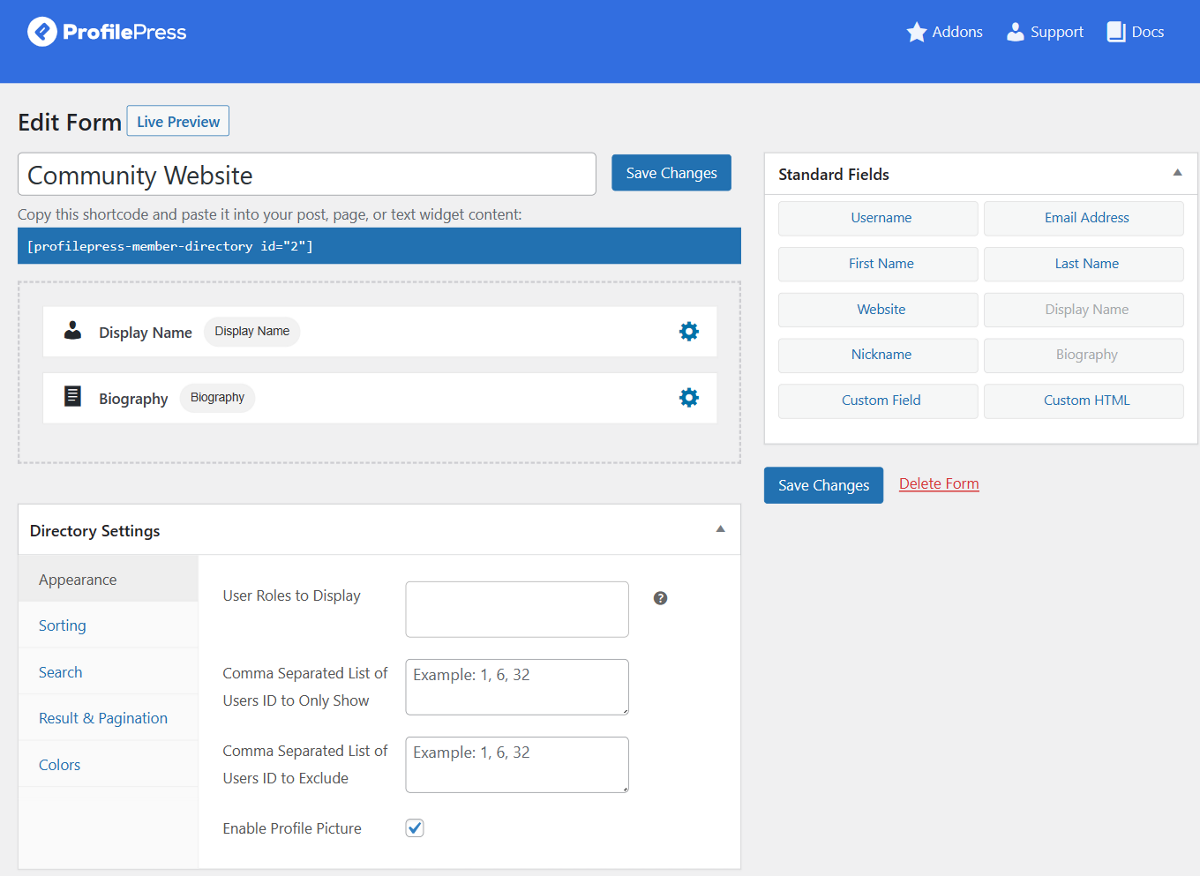
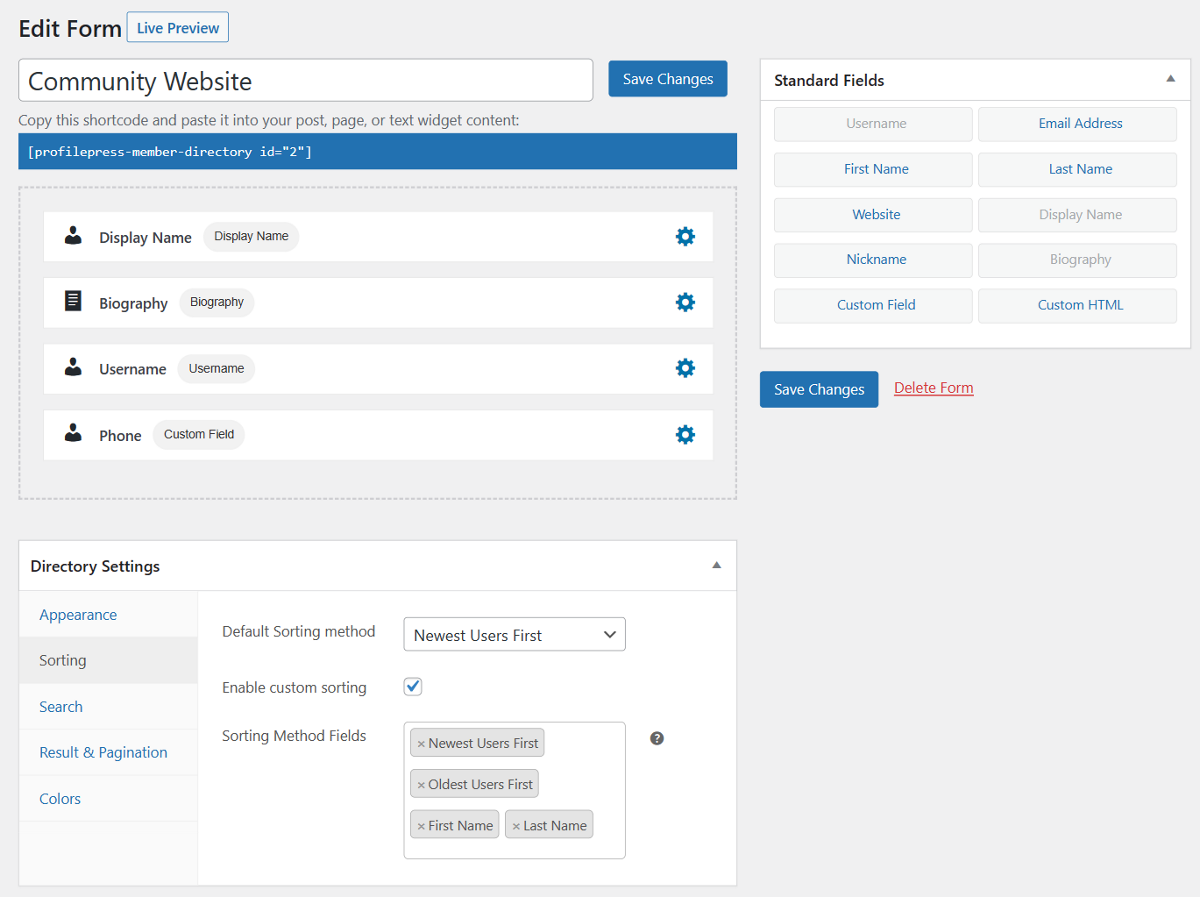
If you have the custom field addon enabled, you can use it to add custom fields and display them on the community website. After you’ve added all the necessary fields, click the Save Changes button on the right sidebar. You can then Live Preview it to see how it looks on the front end of the website.
Configuring the Community Member Directory Settings
On the same page, you can scroll down to the Directory Settings section to configure various rules and filters. The settings section consists of five settings that are:
- Appearance
- Sorting
- Search
- Result & Pagination
- Colors
The appearance section lets you control which members to show on the website. This can be done by selecting the specific user roles or user IDs. You’ll also find the settings to enable the profile picture to appear on the website.
The next is sorting, which lets you control how members are sorted on the website. You can choose from a list of fields to sort the members or enable custom sorting on the frontend.
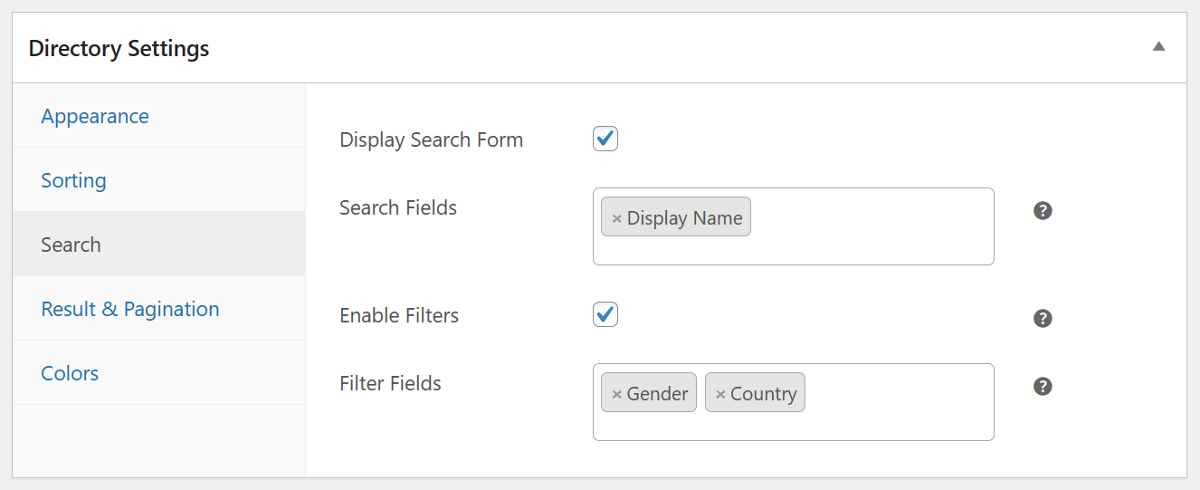
Switching to the next tab lets you control how members search or filter out other members in the directory. You can display a search form and specify which fields to search in. It also lets you enable the filters and specify which fields to add to the filter.
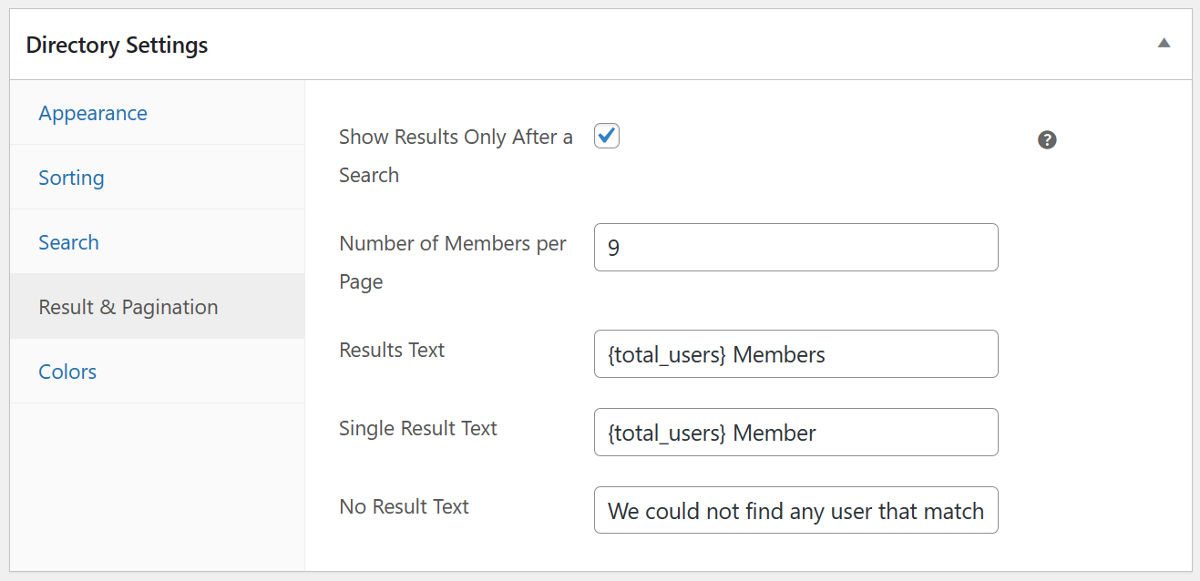
The Result & Pagination tab comes next, allowing you to specify the number of members to display, the text to appear for results, and the no results page.
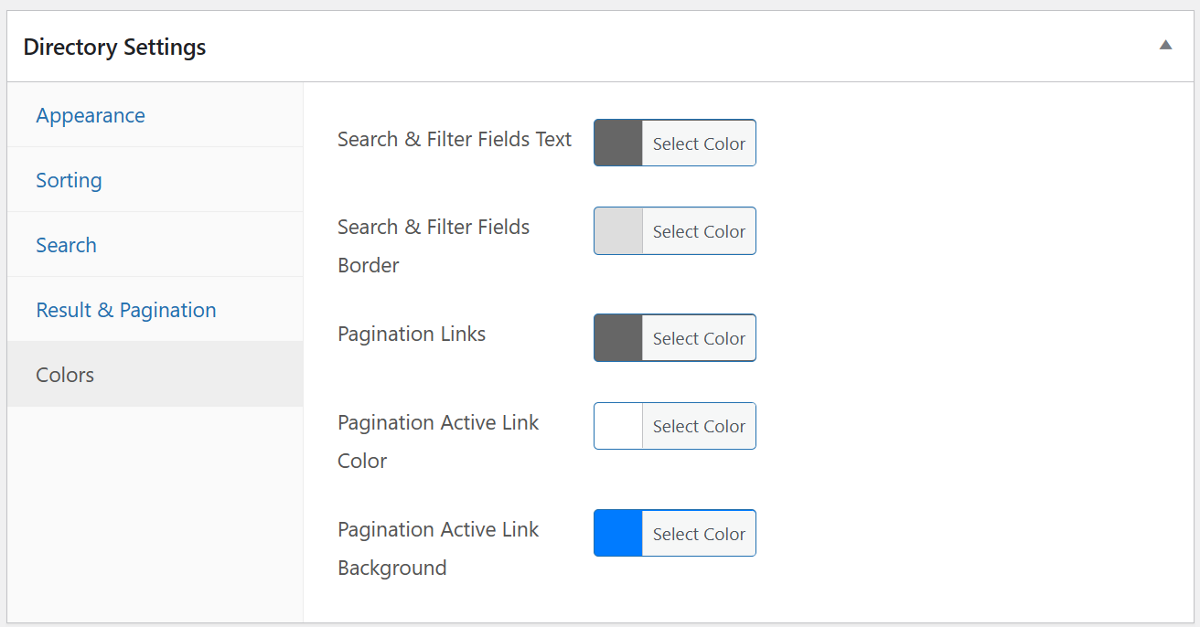
Finally, the last tab is the Colors tab, which lets you customize the search and filter page colors.
After making all your changes, click the Save Changes button to apply them. Return to the Member Directories page, where you’ll see a column with the shortcode for the directory we created. You can add this shortcode to any page on the website, which will be converted to a community members directory page.
That’s it! Isn’t it easy to build a community website using WordPress and ProfilePress?
Conclusion
Creating a community website with WordPress is a simple process. Plugins such as ProfilePress simplify the procedure and make it easy to follow. You can effortlessly create an attractive and fully-functional online community by implementing the steps mentioned earlier.
The best part is that you don’t need coding or design expertise.