Do you want to create an online course website on WordPress? If yes, you are on the right page.
Recently, the eLearning industry has been experiencing rapid growth, with more people getting online to learn a skill and improve their earning potential.
As a course creator or online instructor, you need to put your content out there for students to access, and this is where you need an online course website. There are various established online course platforms, such as Udemy and Teachable. However, using these platforms to host your courses means that you are relinquishing your control and branding and are willing to part with some fees for their services.
Suppose you are a course creator or instructor who wants absolute control of your courses, system, and branding with a hundred percent ownership of their revenue. In that case, creating an online course website is a perfect solution.
Luckily for you, building an online course website is not rocket science. You can easily create an online course website with WordPress, LearnDash, and ProfilePress with little to zero learning curve and no coding or programming skills.
What is LearnDash?
You will need a learning management system (LMS) when building an online course website on WordPress. An LMS allows you to create and manage online course platforms from a central hub. It provides all the tools you need to create, deliver, sell, track, and manage various aspects of an online course website.
The WordPress platform does not have all of these LMS functionalities, so you need an LMS plugin such as LearnDash.
LearnDash is one of the most popular solutions for creating an online course website on WordPress. LearnDash has all the tools you need to create and manage an online course website. It also has a growing list of add-ons that will enable you to extend its capabilities.
LearnDash enables you to create courses, grant badges, issue certificates, send automated assignments, and more. It is a complete toolbox for building an online course website on WordPress with zero coding or technical knowledge.
In this guide, we will create an online course website on WordPress with LearnDash, we will follow a step-by-step approach, and by the end of this article, you will have built a functional online course website, created a course, and monetized your online course site.
How to Create an Online Course Website with LearnDash
So far, we have learned about Learning Management Systems and LearnDash; in the sections below, we will dive into building the online course website. We will cover everything you need to do, including the setup of the LearnDash plugin, starter site setup, and payment gateway integration.
1. Install and Activate LearnDash Plugin
The first step in this process is to install and activate the LearnDash plugin. To do this, you need to get a copy of the LearnDash plugin from their website, please note that LearnDash does not have a free version, so you need to purchase a license to use it.
After you have purchased the plugin, download the plugin zip file and log in to your WordPress dashboard, the file can be downloaded from your “My Account” page on the LearnDash website.
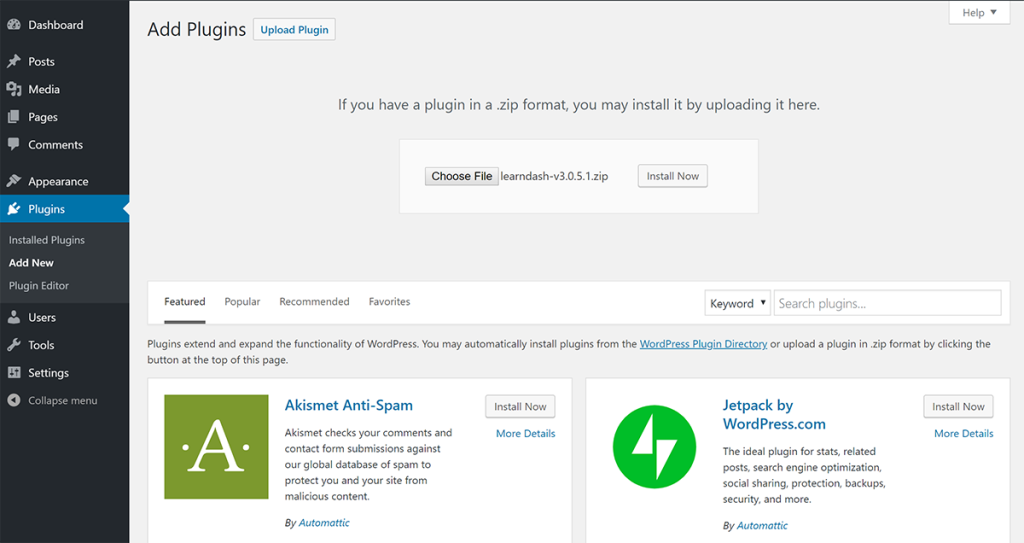
From the dashboard, navigate to Plugins > Add New.
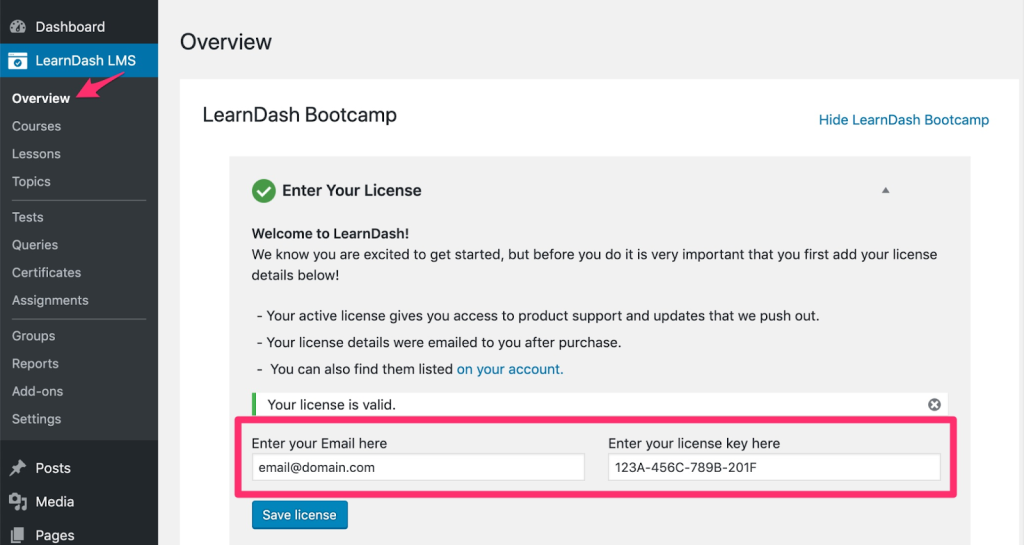
After installing LearnDash, the next thing is to activate your license. You will be required to enter your purchase email and the license key you got when you bought the LearnDash plugin.
2. Install a LearnDash Theme
Every WordPress website requires a theme, and a LearnDash online course site is no exception. For the uninitiated, WordPress themes controls the design, display, and layout of content on a WordPress website, the theme helps you to organize your website content and present it to your users.
To build your online course website, you will need to install and activate a LearnDash-compatible theme; luckily for us, there are a bunch of LearnDash themes out there, and they are available for free.
This guide will use the Astra theme, a free LearnDash theme.
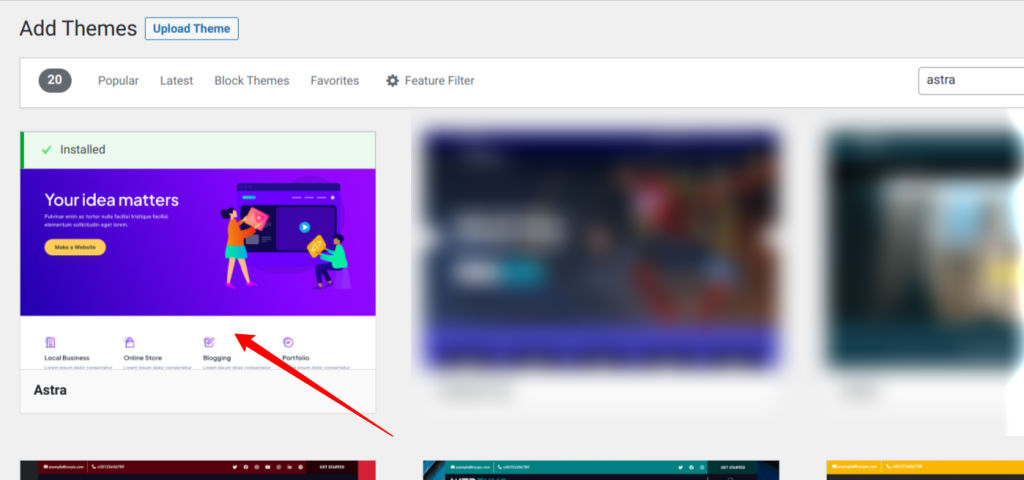
From your WordPress dashboard, navigate to Appearance > Themes, choose Add New and search for Astra. Install and Activate it.
Once you have installed and activated the theme, we need to install a companion plugin for this theme.
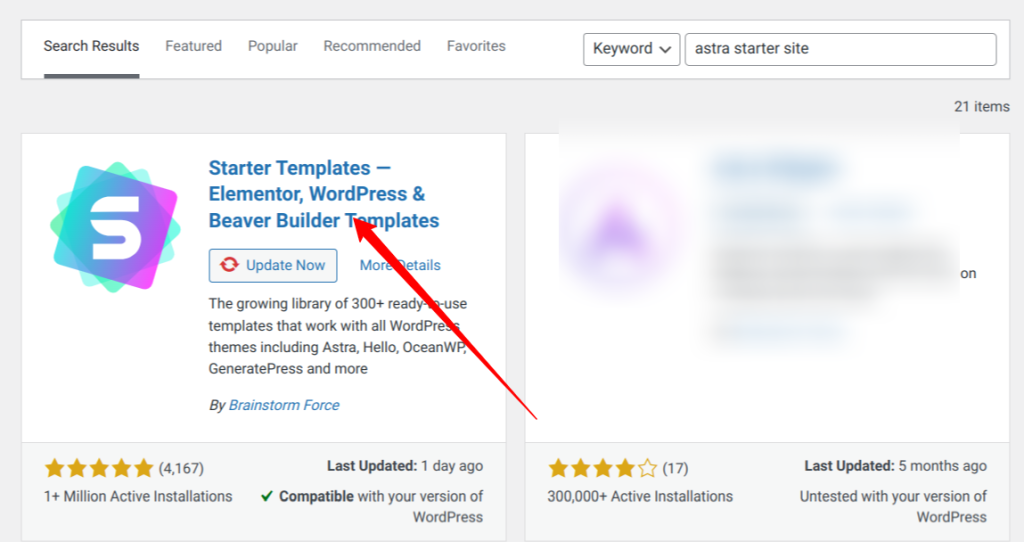
Navigate to Plugins>Add New, search for a plugin called Starter Templates, and install and activate it. The Starter Templates is an Astra theme companion plugin enabling us to import predesigned templates for faster development.
Setup a Starter online course Site
Now that our theme is installed and activated, we can import a starter template into our website.
Navigate to Appearance > Starter Templates from the left side admin panel. You will be presented with a page allowing you to choose your favorite site builder and search for prebuilt templates to import into your website.
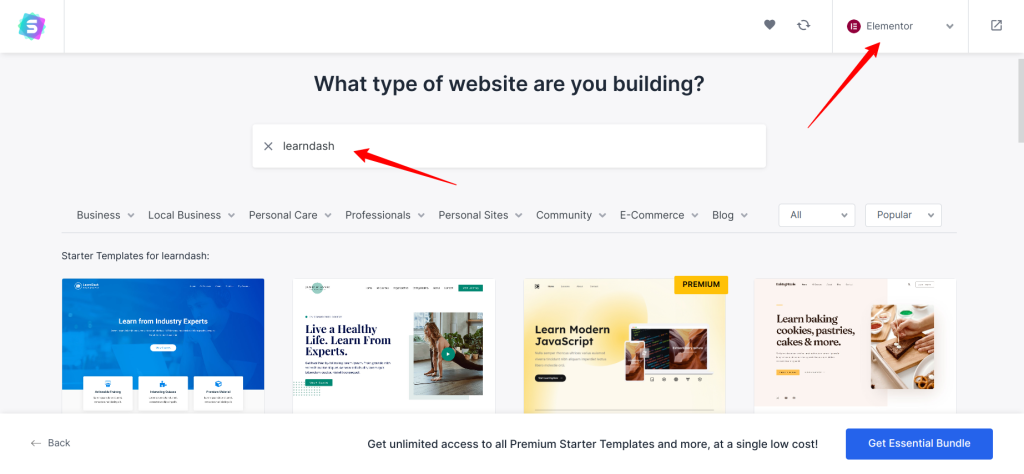
Using the search form on this page, search for LearnDash, and you will get a result with various templates compatible with LearnDash.
For this guide, we will be using the LearnDash Academy template. You can see a demo of each template by clicking on each template.
Follow the prompts to upload your logo and make any minor adjustments. If you are unsure about them, leave them default and click the Import Site button, and the template will be imported into your WordPress site.
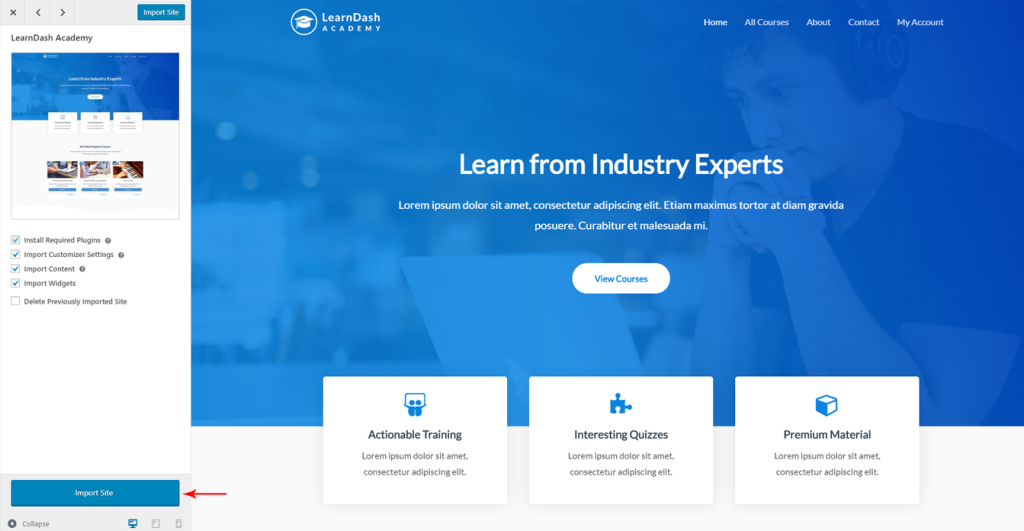
Once the import is complete, click View Site to see how your site will look. You will see that Starter Templates has created a beautifully-designed layout for your site, and what is left is to make some minor changes, and you are good to go.
Create a Course with LearnDash
Now that we have set up the LearnDash plugin and gotten an excellent starter design on our online course website, we can create a course for our students.
Creating a course with LearnDash is relatively easy. Navigate to LearnDash LMS > Courses, then click on Add New.
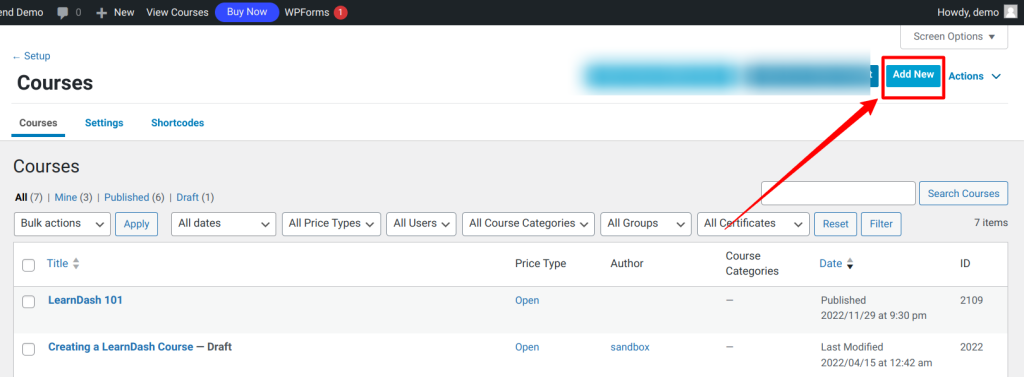
You will be presented with a course editor similar to the WordPress posts editor. Once you’re on the course editor page, fill in the course Title and add some description in the content editor. Then, navigate to the Builder tab to create your course’s content, including sections, lessons, and quizzes. See the image below:
You can create courses on the course builder tab and add sections, lessons, quizzes, assignments, and more.
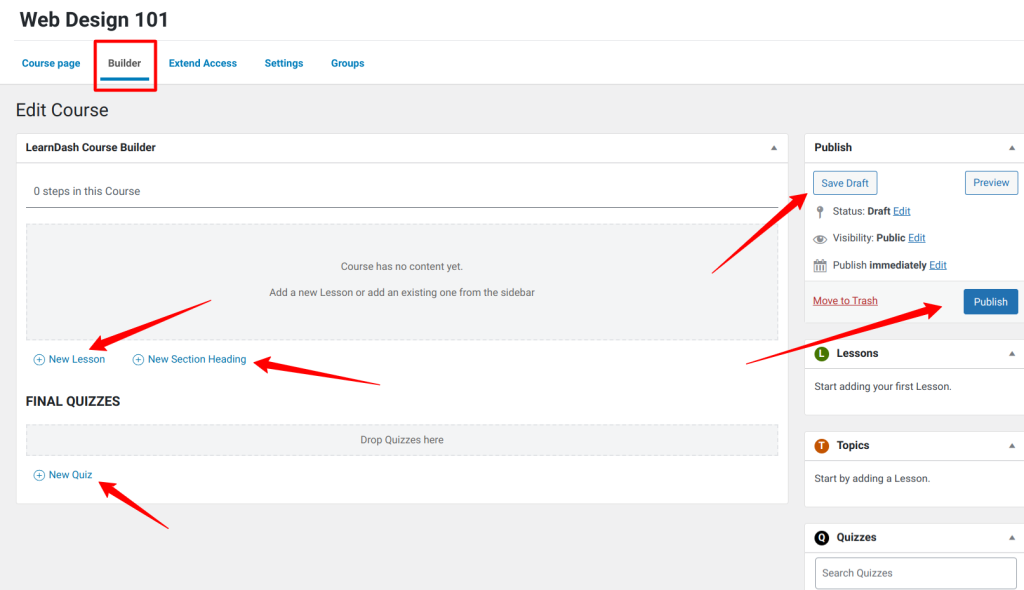
Each lesson can have various section headings under it. To learn more about how to use the course builder, check out this LearnDash Documentation.
Once you finish all modifications, click the Publish button, and your course will be live on the website. Now, students can enroll in your course and review the available topics.
Selling Your Courses with ProfilePress LearnDash Addon
Course monetization is an integral part of building an online course website, after you have spent hours and days creating a course, it is fair that you want to charge a fee for your course.
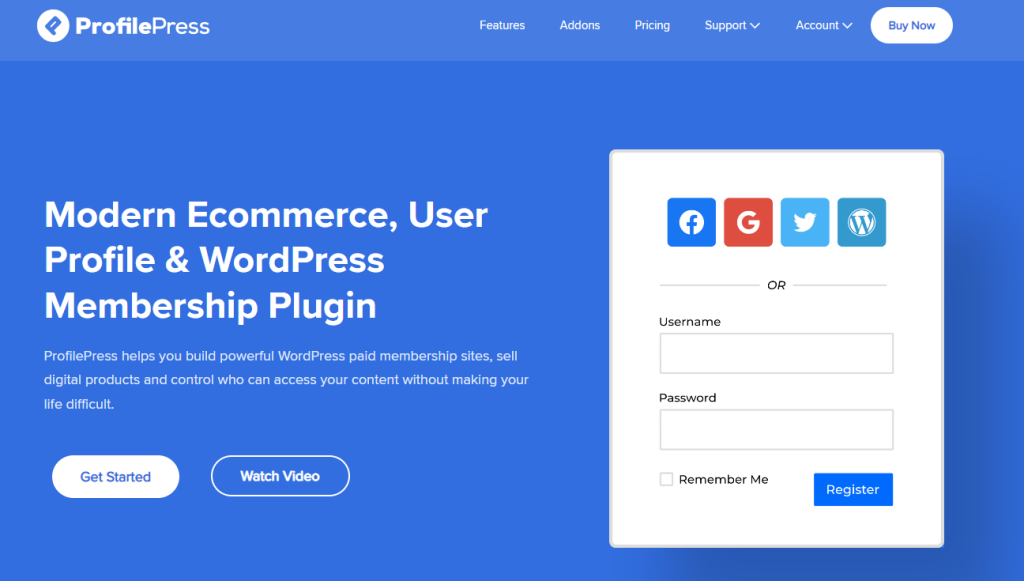
ProfilePress is an eCommerce and WordPress membership plugin that allows you to build powerful eCommerce websites. It is one of the best WordPress payment plugins and offers a simple and easy way to start accepting credit card payments on your website.
ProfilePress allows you to accept one-time or recurring payments via PayPal, Stripe, Paystack, Mollie, Razorpay, and more.
Integrating ProfilePress with LearnDash is relatively straightforward. The first step is to get your copy of ProfilePress and install it on your website.
After purchasing your copy of the ProfilePress Plugin, you will receive a confirmation email with a link to download the plugin zip file and your license key. You can also download the plugin from your account page on the ProfilePress website.
Once you have downloaded the plugin, login to your WordPress admin dashboard, and navigate to the Plugins page; click on the “Add New” button and click “Upload Plugin“.
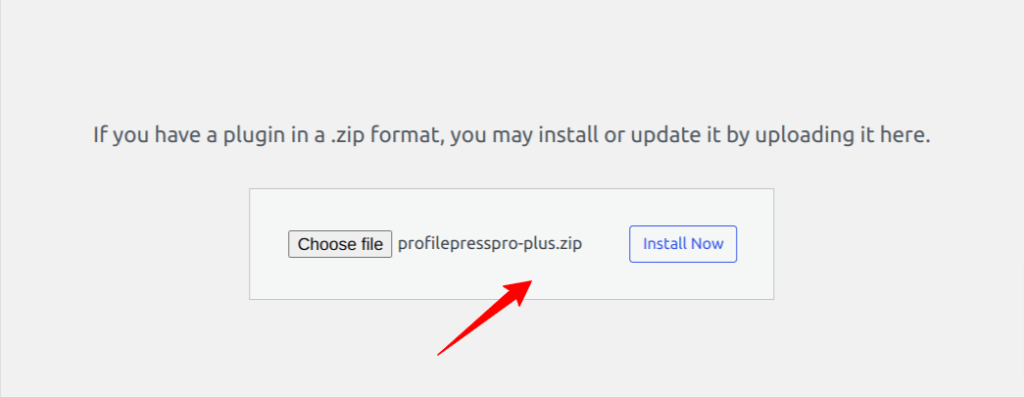
Next, click “Choose file” to select the previously downloaded plugin zip file. Click “Install Now.”
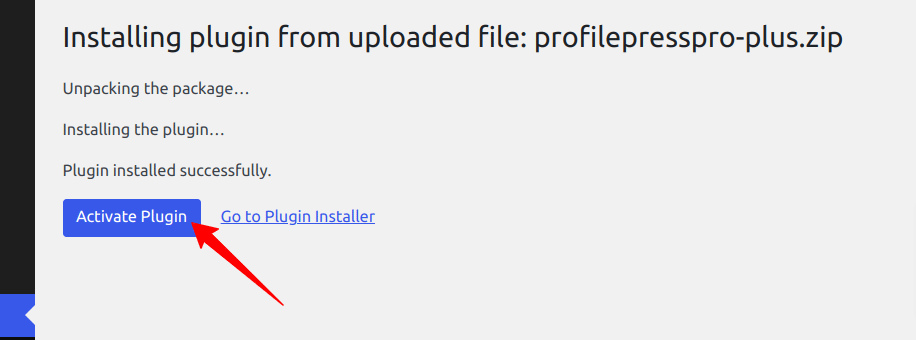
After installation is complete, click the Activate Plugin button.
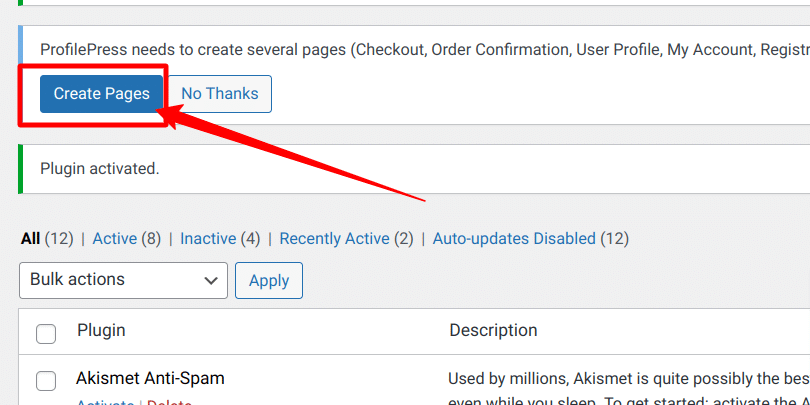
At the top of the page, you will see a notification that says, “ProfilePress needs to create several pages,” Click on the “Create Pages” button to complete the plugin setup.
If you do not see this notification, navigate to ProfilePress > Dashboard and click the “Create pages” button to complete the plugin setup.
With this done, we have completed the initial setup of the ProfilePress plugin on our WordPress site.
Integrate Stripe Payment Gateway
After installing and setting up ProfilePress, the next step is to set up a payment gateway. We will use the Stripe Payment gateway for our WordPress payment forms for this guide. You can configure the Stripe payments on your site by navigating to ProfilePress > Settings > Payments > Payment Methods and choosing Stripe.
Click on the “Connect Stripe” button, follow the prompts, and you are all set to start accepting payments from your customers.

If you don’t want to use Stripe, ProfilePress supports other popular payment gateways like PayPal, Razorpay, Paystack, and Mollie.
Activate LearnDash Addon in ProfilePress
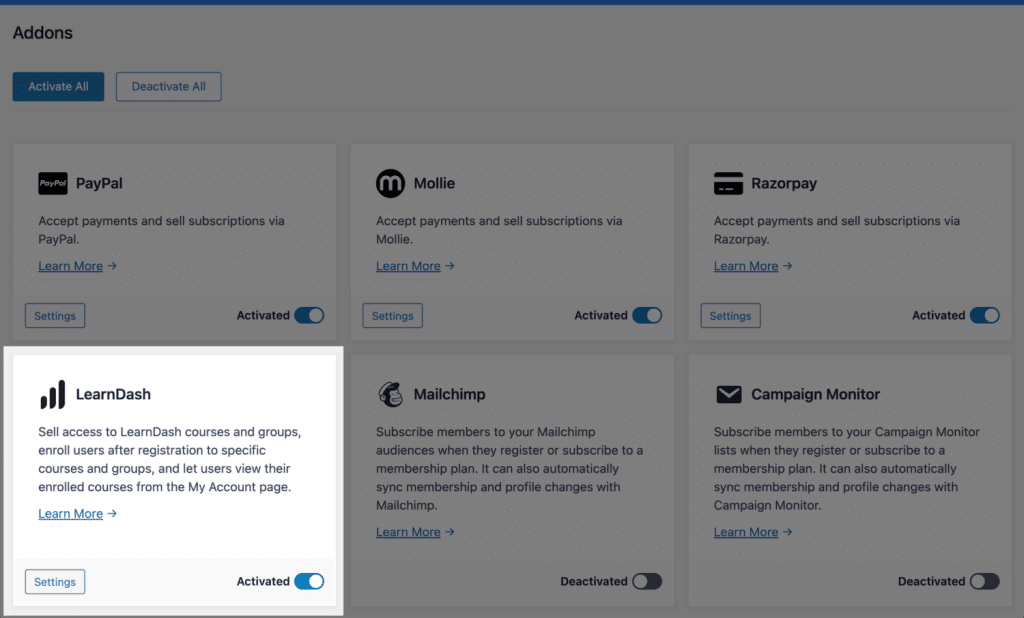
The next step is to activate the LearnDash Addon in ProfilePress. Navigate to ProfilePress > Addons, scroll until you find the LearnDash addon, and activate it.
After activating the addon, you can find its setting by navigating to ProfilePress > Settings > LearnDash.
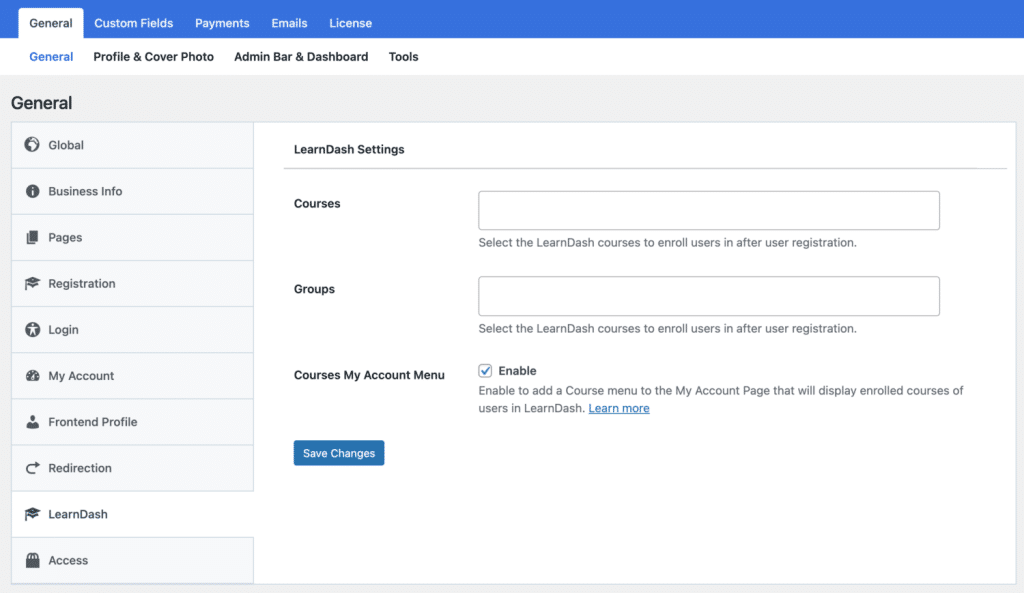
If you want to enroll users to specific courses and/or groups in LearnDash after registration, regardless of the custom registration form they registered through, use the Courses and Groups settings.
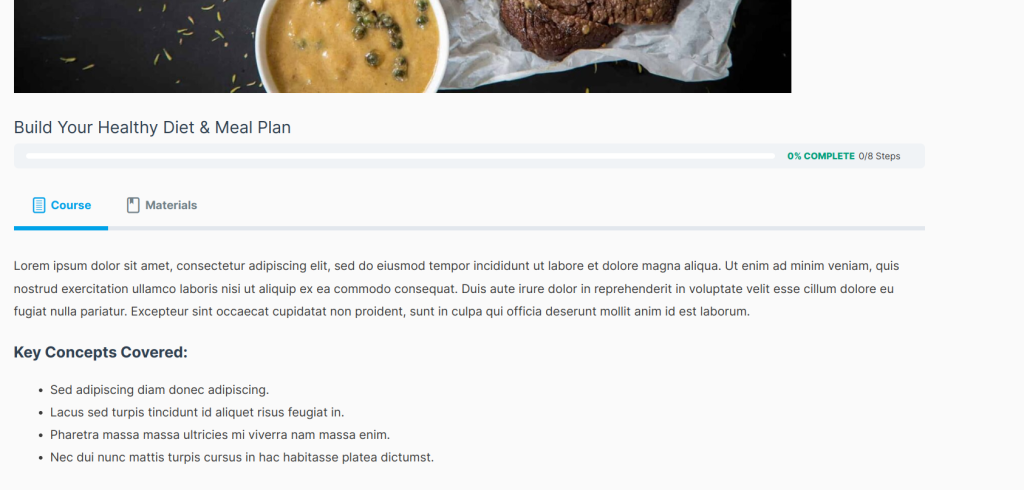
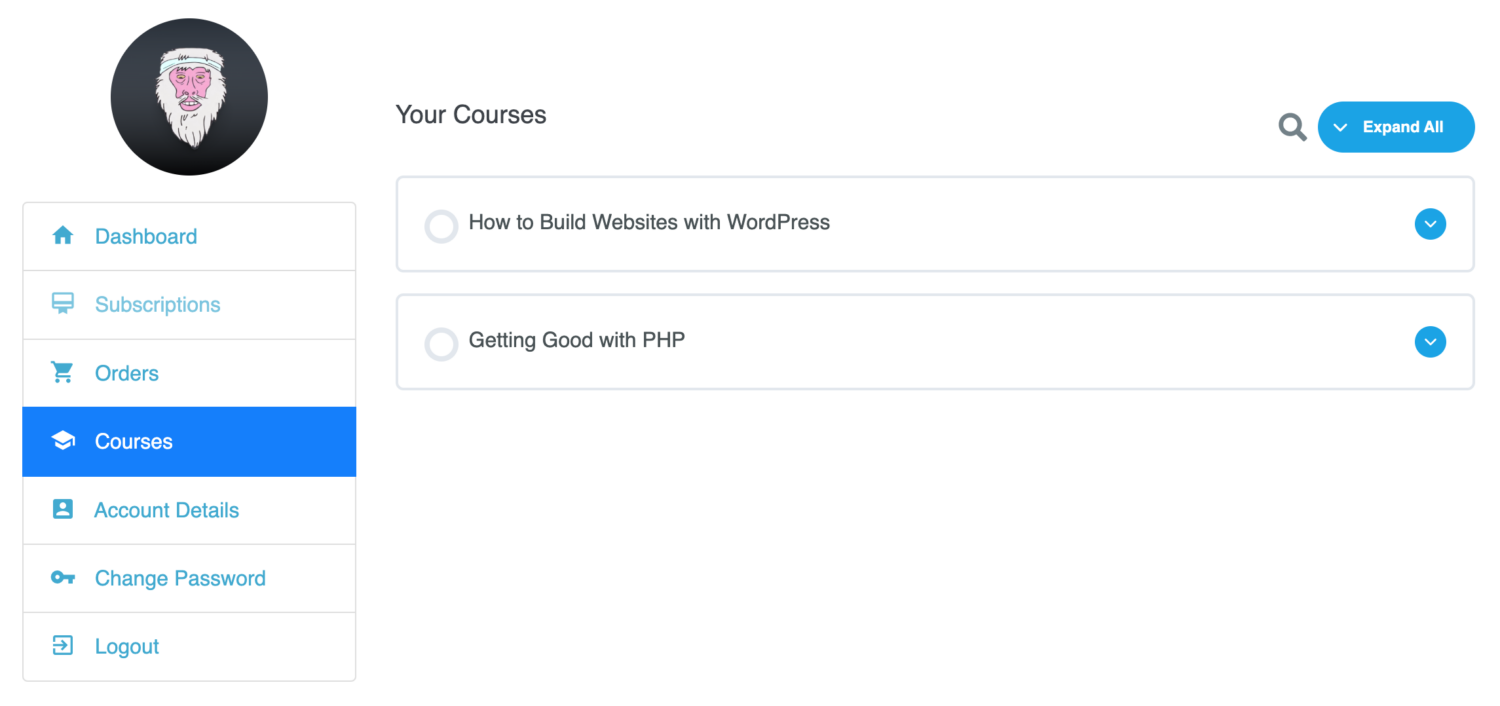
If you want to add a menu to the My Account page that displays users’ enrolled courses, like in the image below, enable the “Courses My Account Menu” setting.
Selling LearnDash Courses with ProfilePress
ProfilePress LearnDash addon lets you sell your courses and group access with ease. It works by associating one or multiple courses to a membership plan.
You can combine two or more related courses into a bundle, price it lower than the cost individually, and sell this to your users. There are a lot of things you can do with the ProfilePress integration.
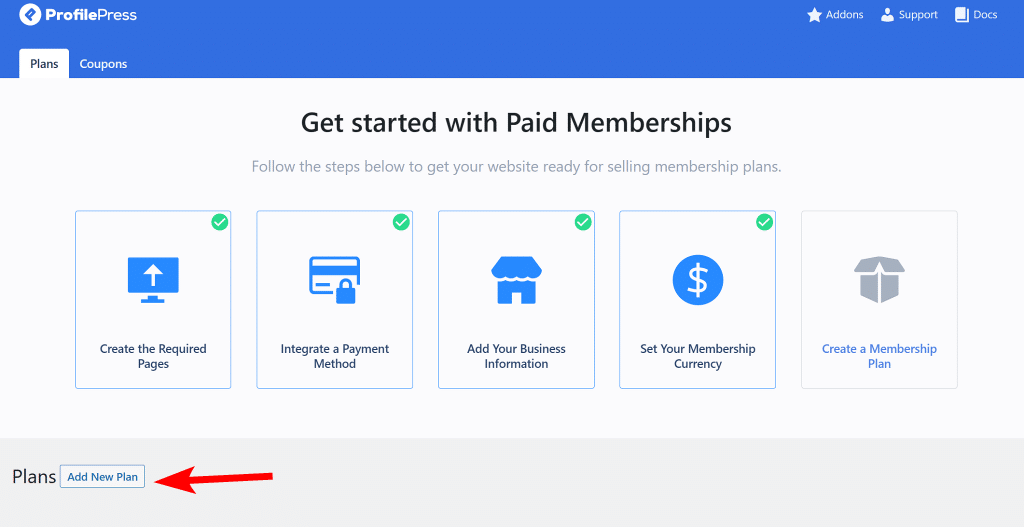
Navigate to ProfilePress > Membership Plans to create a new membership plan or open up the edit screen of an existing plan that you want to use to sell your course.
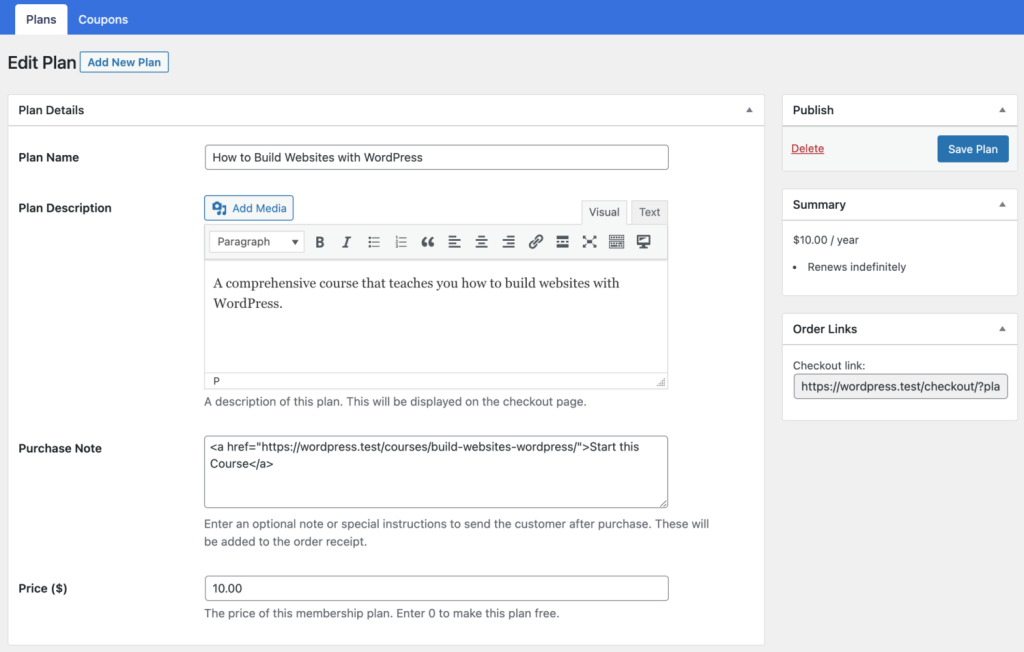
Provide the plan name, description, and price.
ProfilePress has a built-in field called “Purchase Note” shown to the customer after a successful purchase on the order confirmation page and in the customer’s receipt email. Consider using this field to provide instructions or the next steps for taking your course, along with a link to the course page.
This field accepts HTML so you can include a direct link to the course for the student. Here’s an example of creating a link to your course. Replace the URL with the URL to your specific course.
“<a href=”https://yoursite.com/courses/build-websites-101/”>Start this Course</a>”
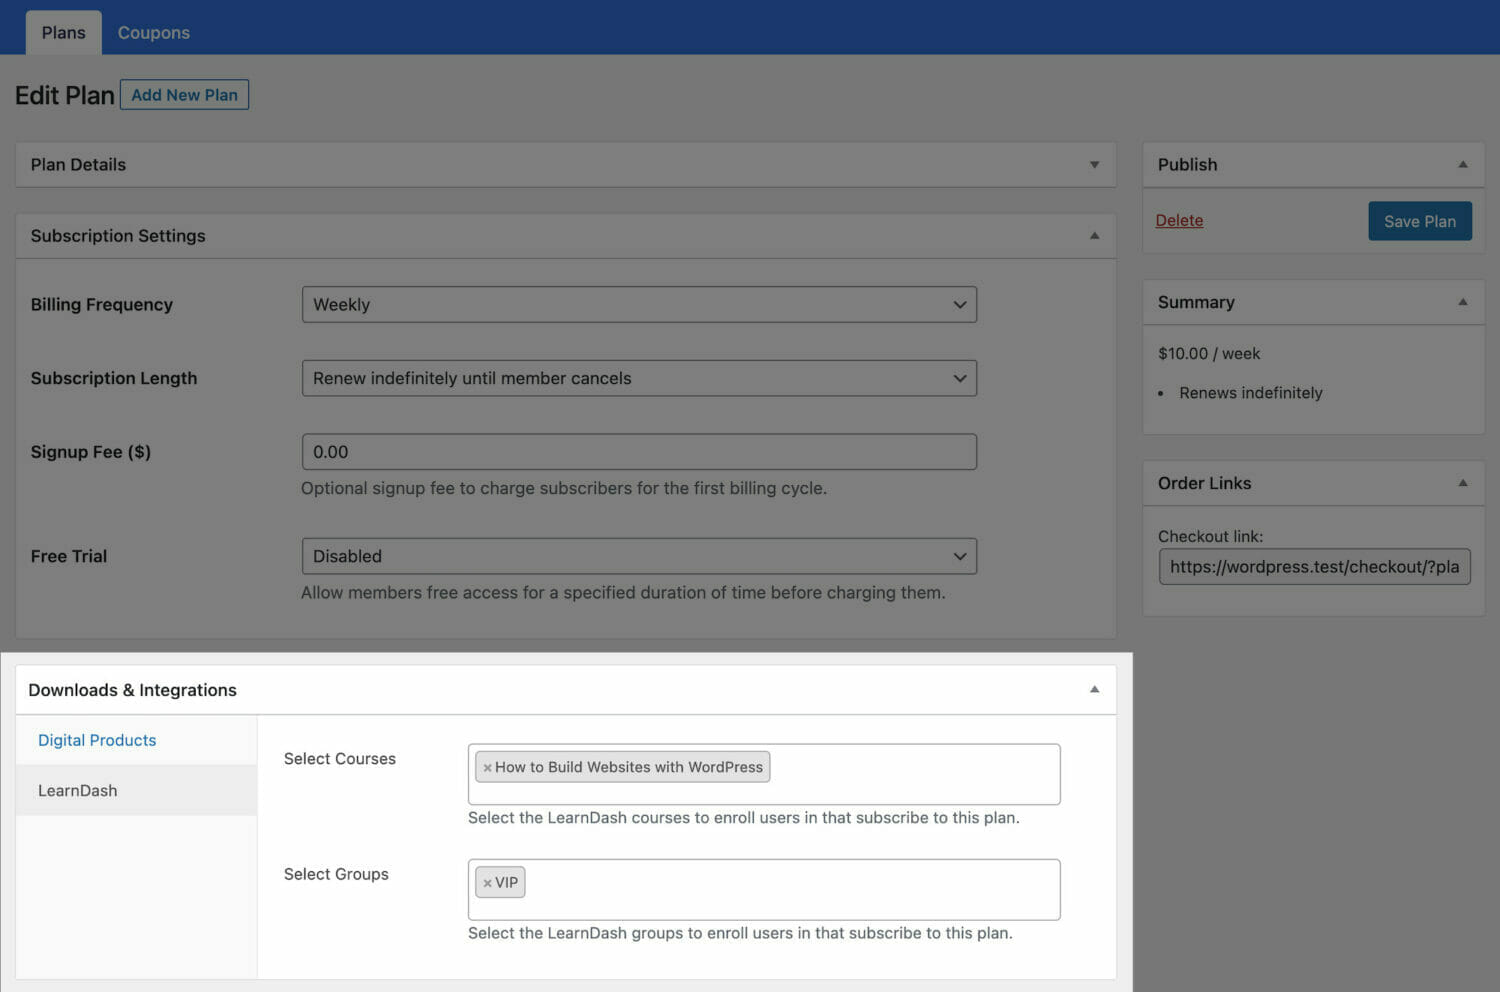
Scroll down to the Subscription Settings section to set the plan or course fee as a recurring payment that can be charged daily, weekly, monthly, quarterly, every six months, or yearly.
Finally, on the Downloads & Integrations section, select the LearnDash courses and groups to grant users access after purchasing the membership plan.
Select the course you created earlier to start charging a fee for it.
Save your changes, and your membership plan will be created. Note that if the membership plan is a subscription that charges a recurring fee, access is automatically revoked if the subscription is refunded or expired.
You should also take note of the Checkout URL on the right side of the page. You can include it on a pricing page on your website, send it to your prospective customer, or make it your course or group purchase button URL.
Setup LearnDash Courses and Groups
The next step is to set up the course and/or group settings in LearnDash. We need to adjust the courses and groups we intend to monetize or sell in LearnDash.
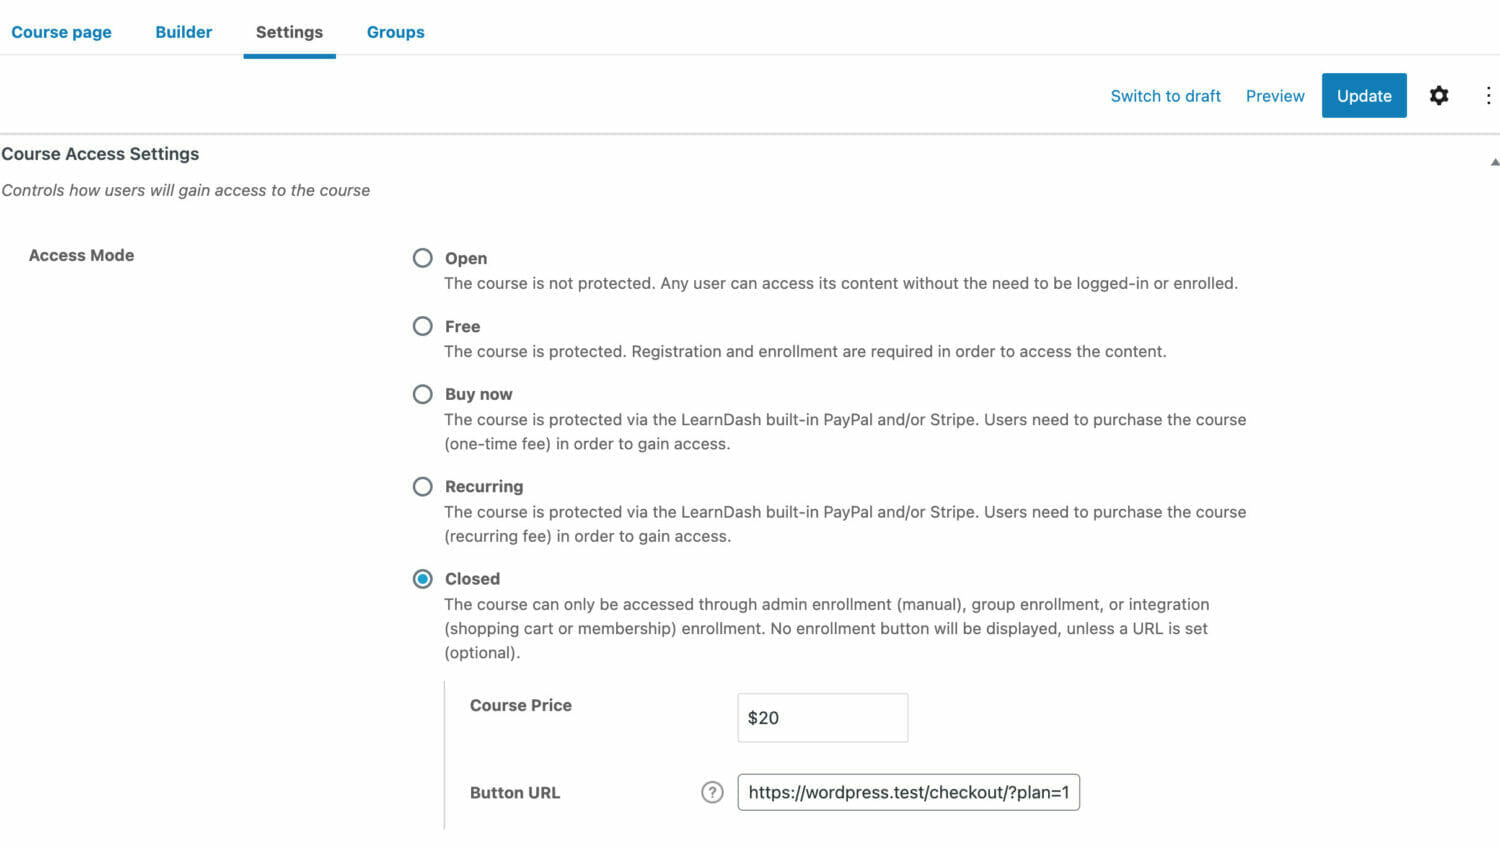
Navigate to LearnDash > Courses and open up the edit screen of the course. Click the Setting tab at the top.
Under Access Settings, look for Access Mode and set this to Closed. You will also see two fields to set the course/group price and the purchase button URL.
For groups, go to LearnDash > Groups and open up the edit screen of the group.
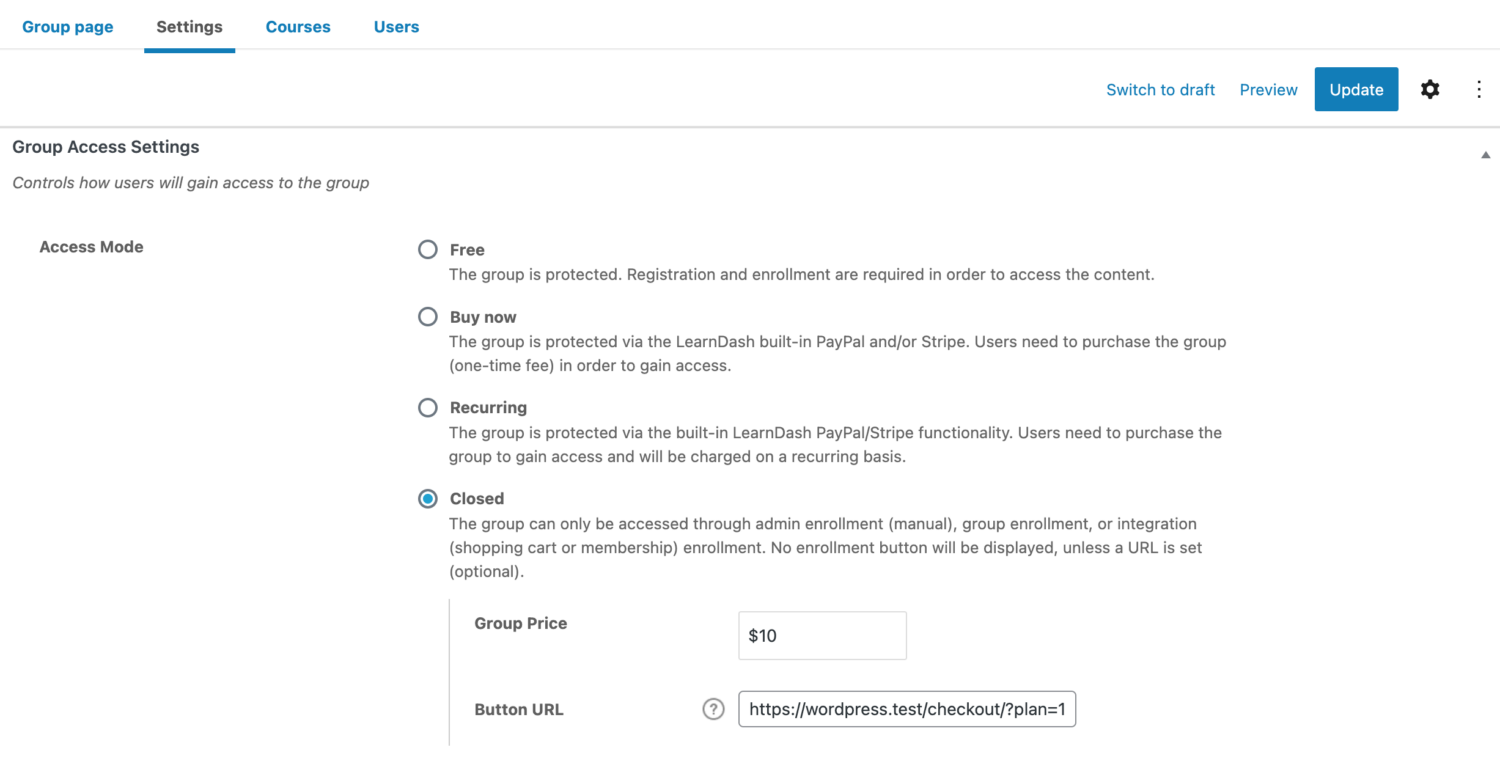
Note: Setting a course/group access to closed ensures that the users can only be enrolled by ProfilePress after membership checkout.
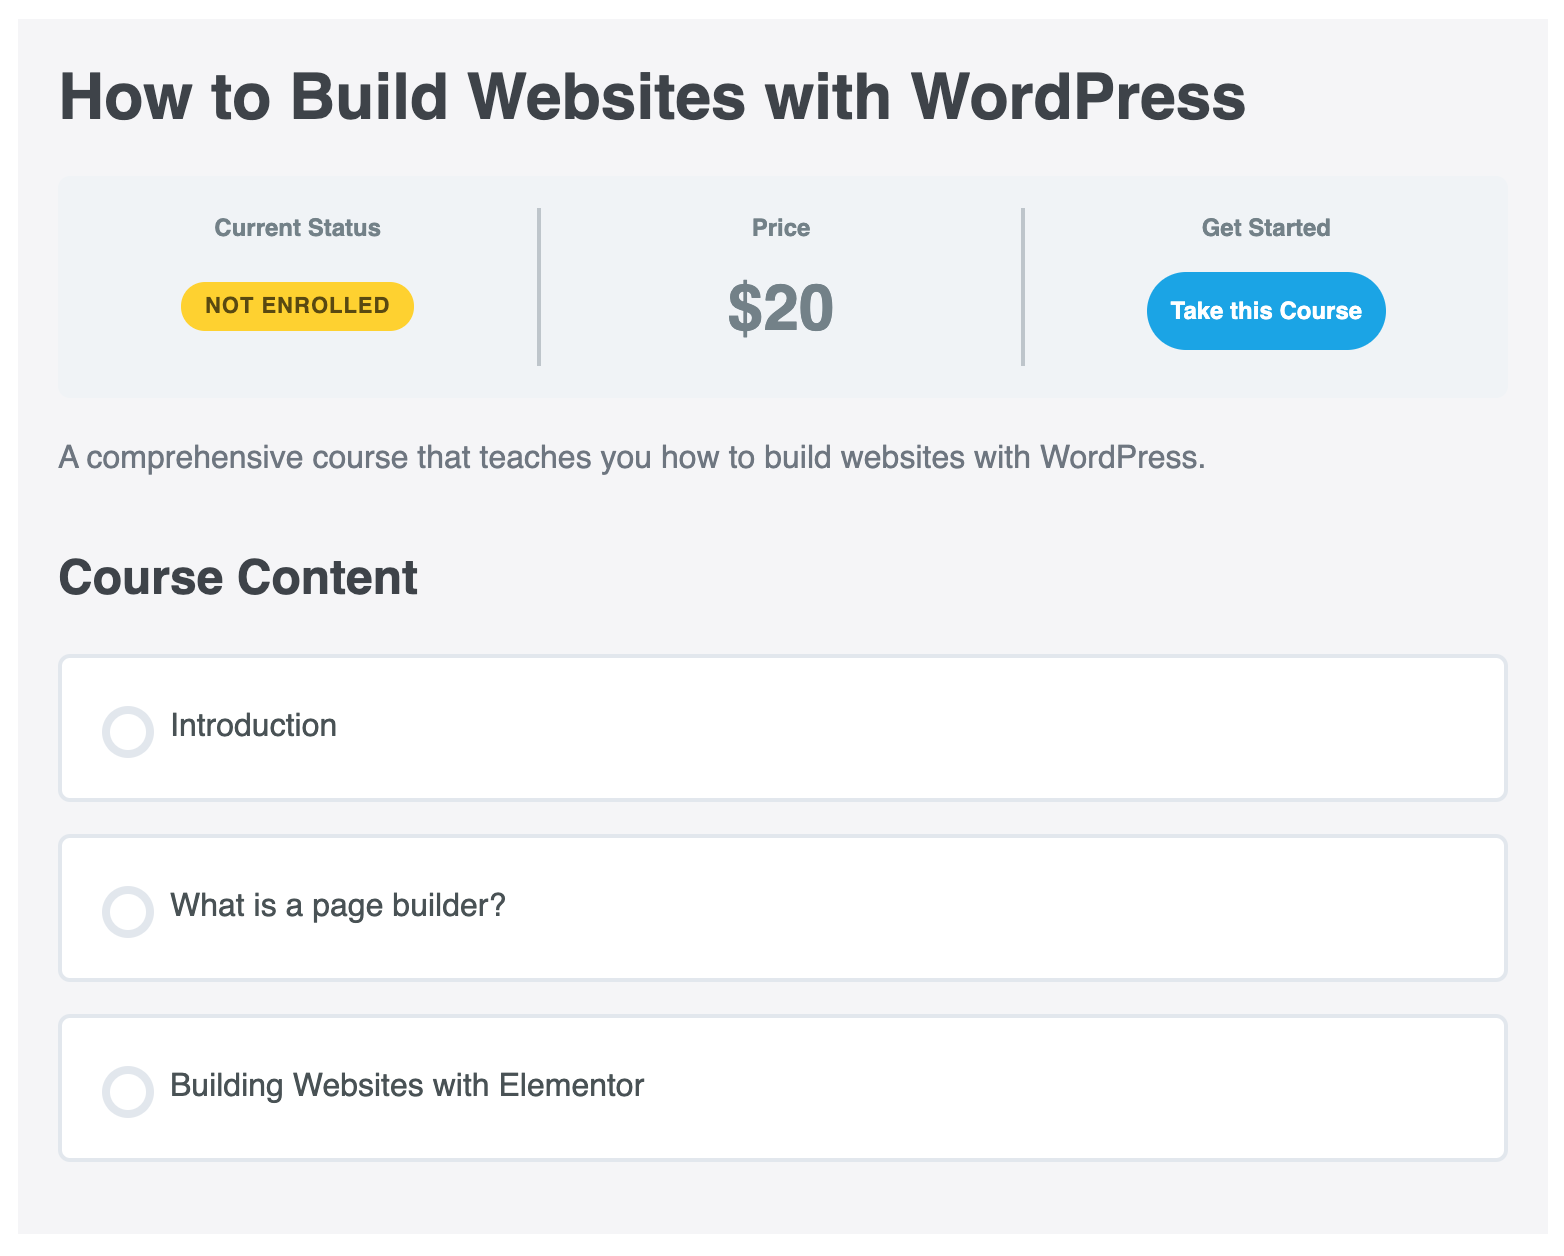
With this done, When a user visits any course page protected by a ProfilePress membership plan, they will see the “Take this Course” or “Enroll in Group” button, which will send them to the corresponding membership plan’s checkout page for them to complete the checkout process.
Thats it. You have monetized your LearnDash online course website with the ProfilePress membership plugin.
Conclusion
Creating an online course website does not need to be expensive or tasking. With WordPress, LearnDash, and ProfilePress, you can quickly build a robust online course website with payment options.
LearnDash is a versatile tool you can quickly deploy for your Learning Management System. When combined with ProfilePress, your online course platforms become more supercharged, especially with the Payments Integrations available through ProfilePress LearnDash Addon.