Are you searching for a solution to monetize premium content for your website? Consider creating a paid membership site.
This approach simplifies the process for business owners to generate revenue by creating and selling membership plans that grant access to exclusive content.
WordPress does not have the native capability for creating paid membership sites; therefore, a WordPress membership plugin such as ProfilePress is required to implement this feature.
This post shows you how to create a paid membership site in WordPress.
How to create a paid membership site with WordPress
ProfilePress offers an all-in-one solution for creating a paid membership site in WordPress.
You can create membership tiers, restrict content based on user role or membership plan, and integrate popular payment methods like PayPal and Stripe into your WordPress paid membership site. In addition, it lets you create a conversion-optimized checkout page to let users subscribe to a paid membership plan.
With a WordPress paid membership site, you can establish different membership levels and limit content access based on user roles or plans. You can also integrate payment methods like PayPal and Stripe. Moreover, it allows you to create a checkout page tailored to maximize conversions, thus enabling users to subscribe to paid plans.
Here’s what you need to do to get started:
Step #1: Install and activate the ProfilePress plugin
Get the ProfilePress plugin and install it on your WordPress site. Navigate to Plugins → Add New and upload the plugin’s ZIP file.
Install and activate the plugin. Once that’s done, navigate to ProfilePress → Settings and click on the License tab.
Enter your license key in the text field and click the Activate License button to continue.
Step #2: Create a paid membership plan
Next, navigate to ProfilePress → Membership Plans and click the Add New button.
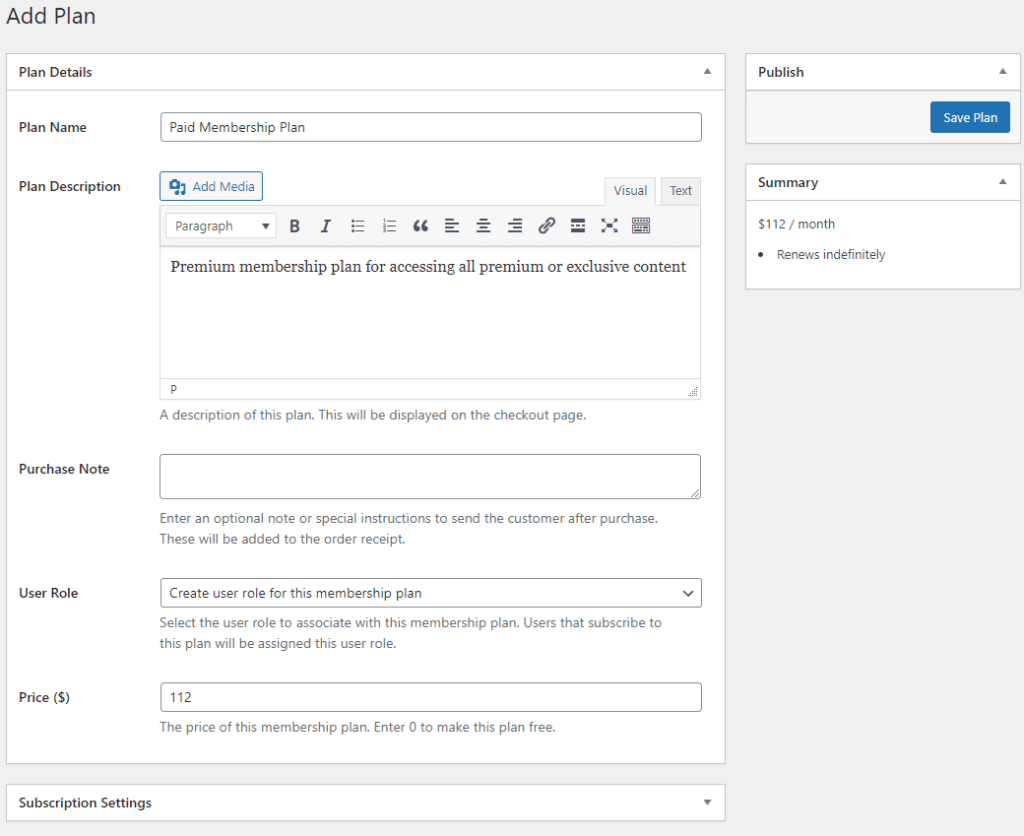
Give your paid membership plan a title and enter a description. You can also include a special message for subscribers using the Purchase Note text field. Specify the price of your paid membership plan using the Price ($) field.
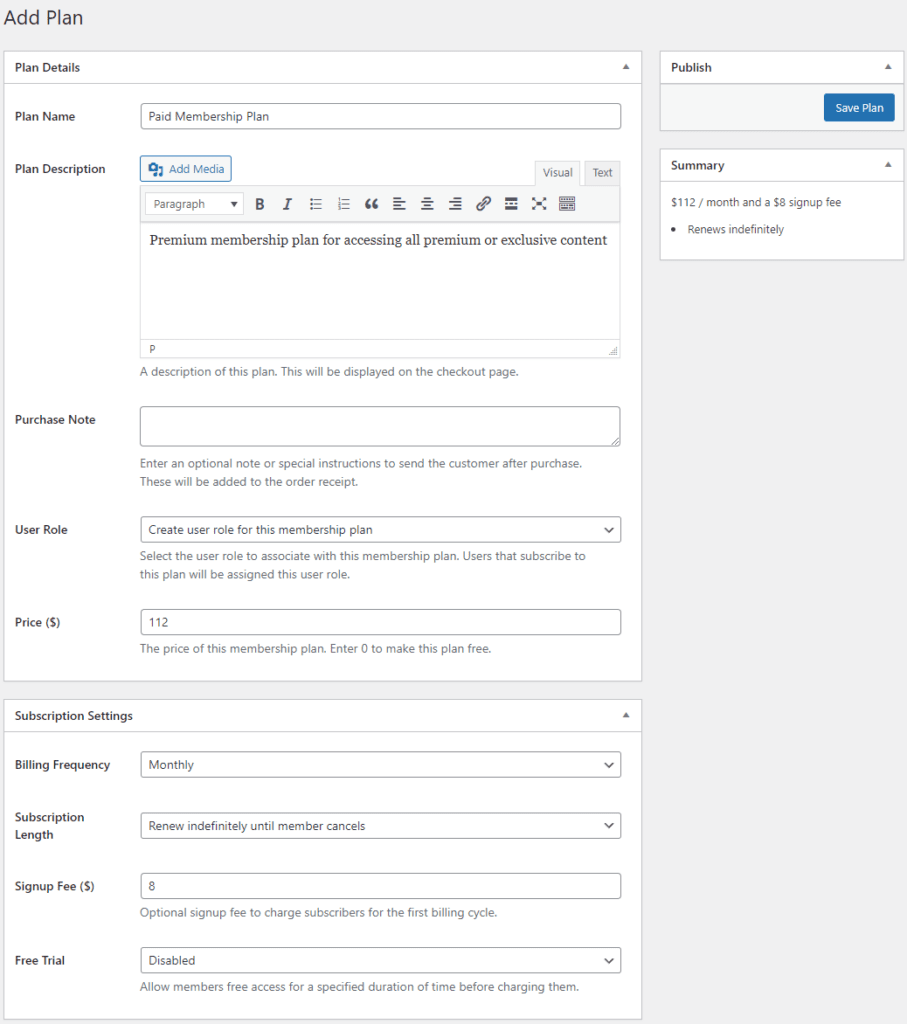
Using the Subscription Settings meta box, you can specify whether you want to create a paid membership plan that charges users weekly, monthly, or yearly. You can also set the Signup Fee ($) field to charge new registrants a small fee. This helps prevent spam subscriptions. Click on the Save Plan button under the Publish meta box.
Step #3: Integrate payment gateways
The great thing about ProfilePress is that it comes pre-built with all the functionality you need to accept subscription payments. Go to ProfilePress → Settings and click the Payments tab to get started.

From here, you can set the basic currency options and fine-tune settings according to your requirements. Click the Payment Methods link from the top to navigate the payment gateways setup page.
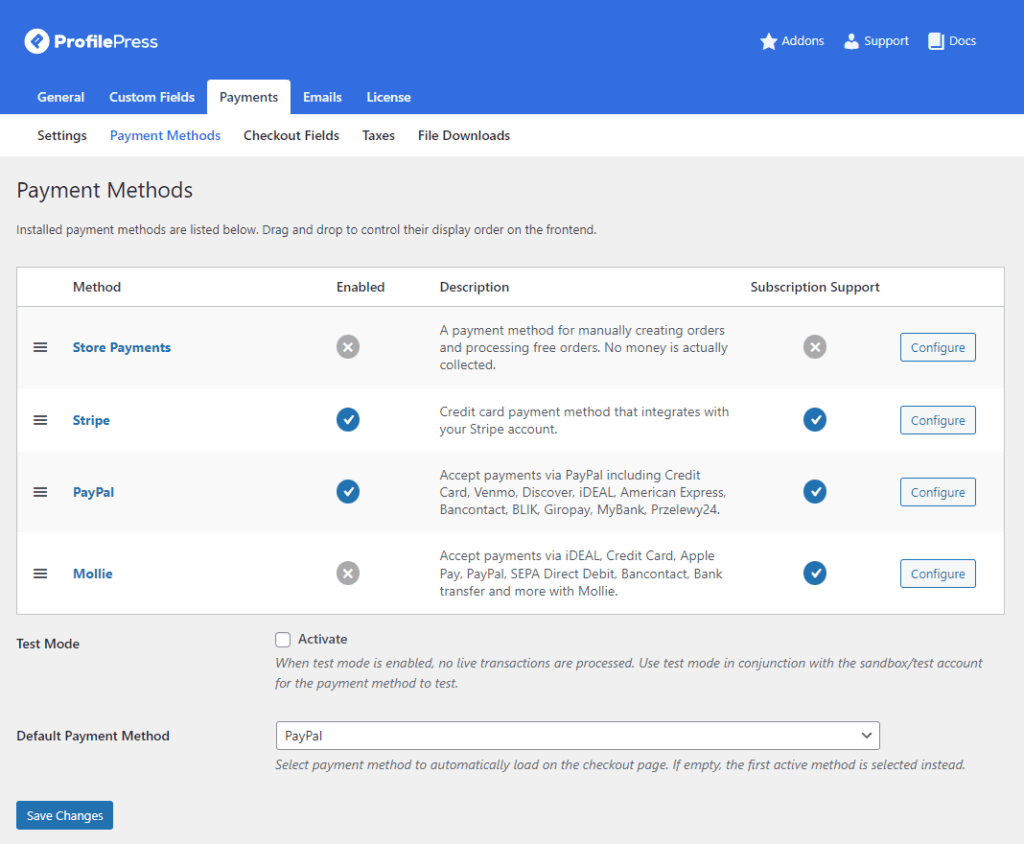
From this page, you can enable and configure popular payment methods such as PayPal and Stripe on your WordPress site. Click the Configure button next to the payment gateway to view its configuration settings.
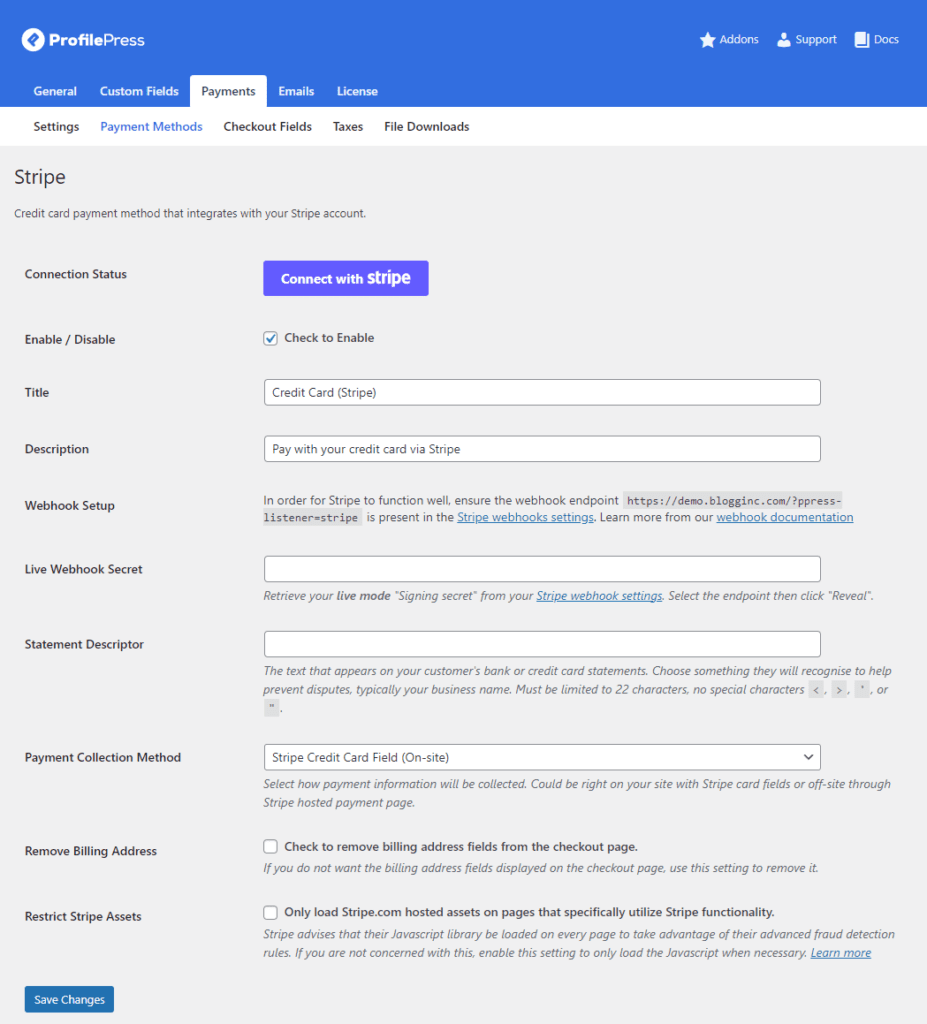
If you want to set up Stripe payments on your paid membership site, connect your Stripe account to your WordPress site and set basic payment gateway settings. Click on the Save Changes button to continue.
Step #4: Restrict content for paid users
Next, it’s time to restrict premium content behind a WordPress paywall. To do this, navigate to ProfilePress → Content Protection and click the Add a Protection Rule button.
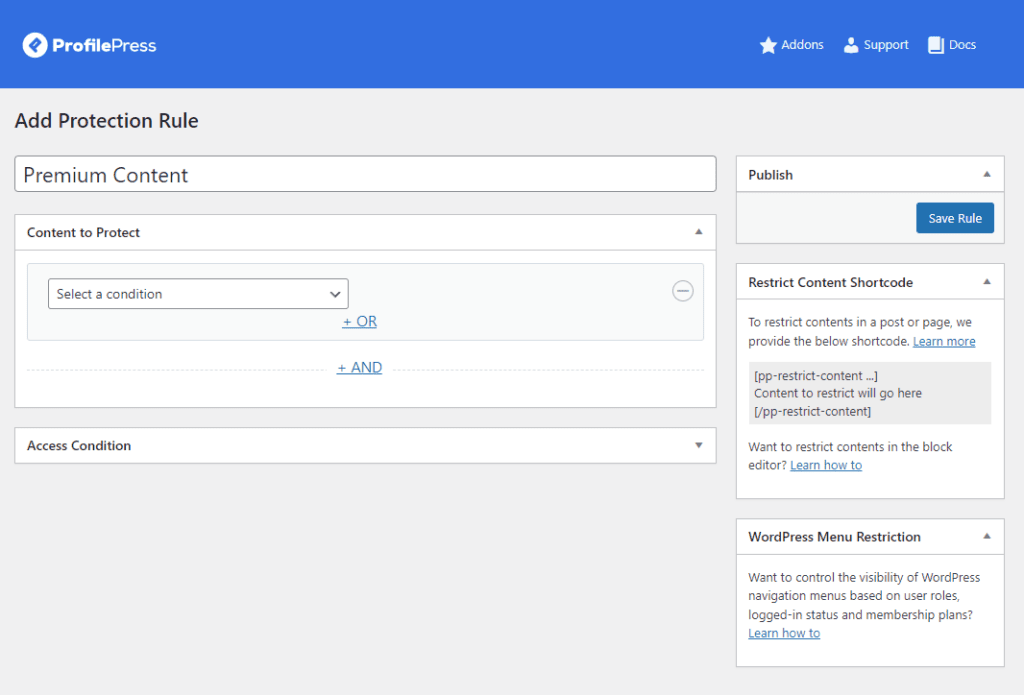
After giving your content protection rule a new name, specify the premium content you want to restrict on your WordPress site using the Content to Protect meta box.
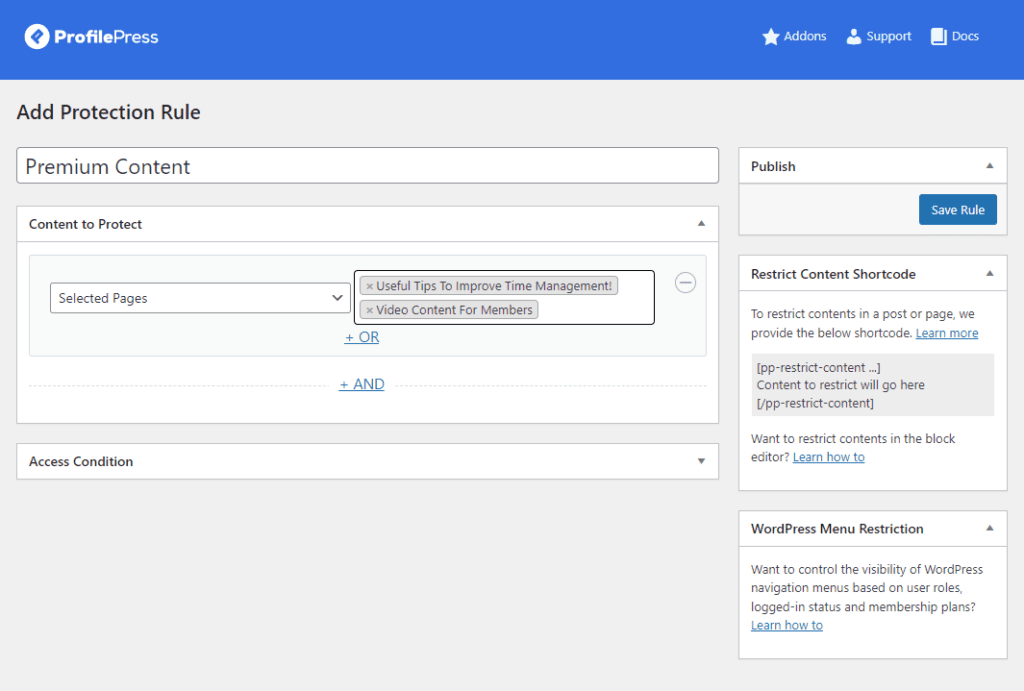
Using the Select a condition dropdown field, you can specify which part of your WordPress site will be restricted behind a paywall. You can narrow it down further using the text field beside the dropdown menu. For instance, if you want to hide premium content on specific pages of your WordPress site only, you can select Selected pages using the dropdown menu and specify the pages using the text field.

Select Logged in users using the Who can access the content? dropdown field under the Access Condition meta box. Now, specify the paid membership plan using the Select Membership Plans that can access the content field. This will only let users who pay the membership fee access premium content.
In addition to this, ProfilePress also lets you set up a metered paywall for your paid membership site. This enables you to allow site visitors to view a limited number of protected content pieces before they are prompted to purchase a paid membership plan. To do this, you will need to enable the Metered Paywall addon by navigating to ProfilePress → Addons from the WordPress admin panel.
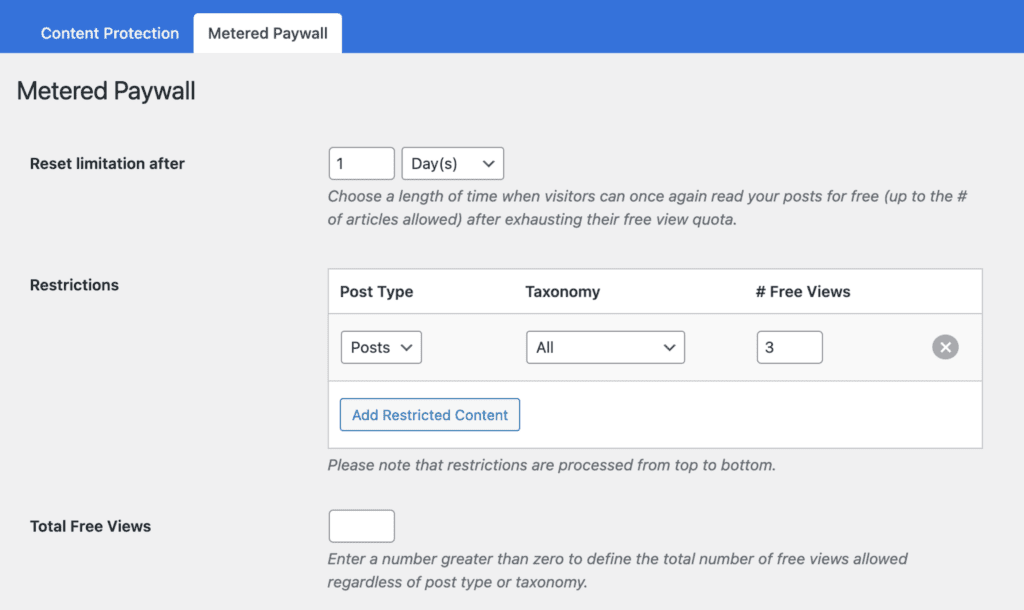
Once you enable the addon, you will see a new Metered Paywall tab on the content restriction rule settings page.
Step #5: Design a custom login and registration form
The best part about ProfilePress is its features that let you design a custom login and registration form for your paid membership site.
Navigate to ProfilePress → Forms & Profiles and click the Add New button.
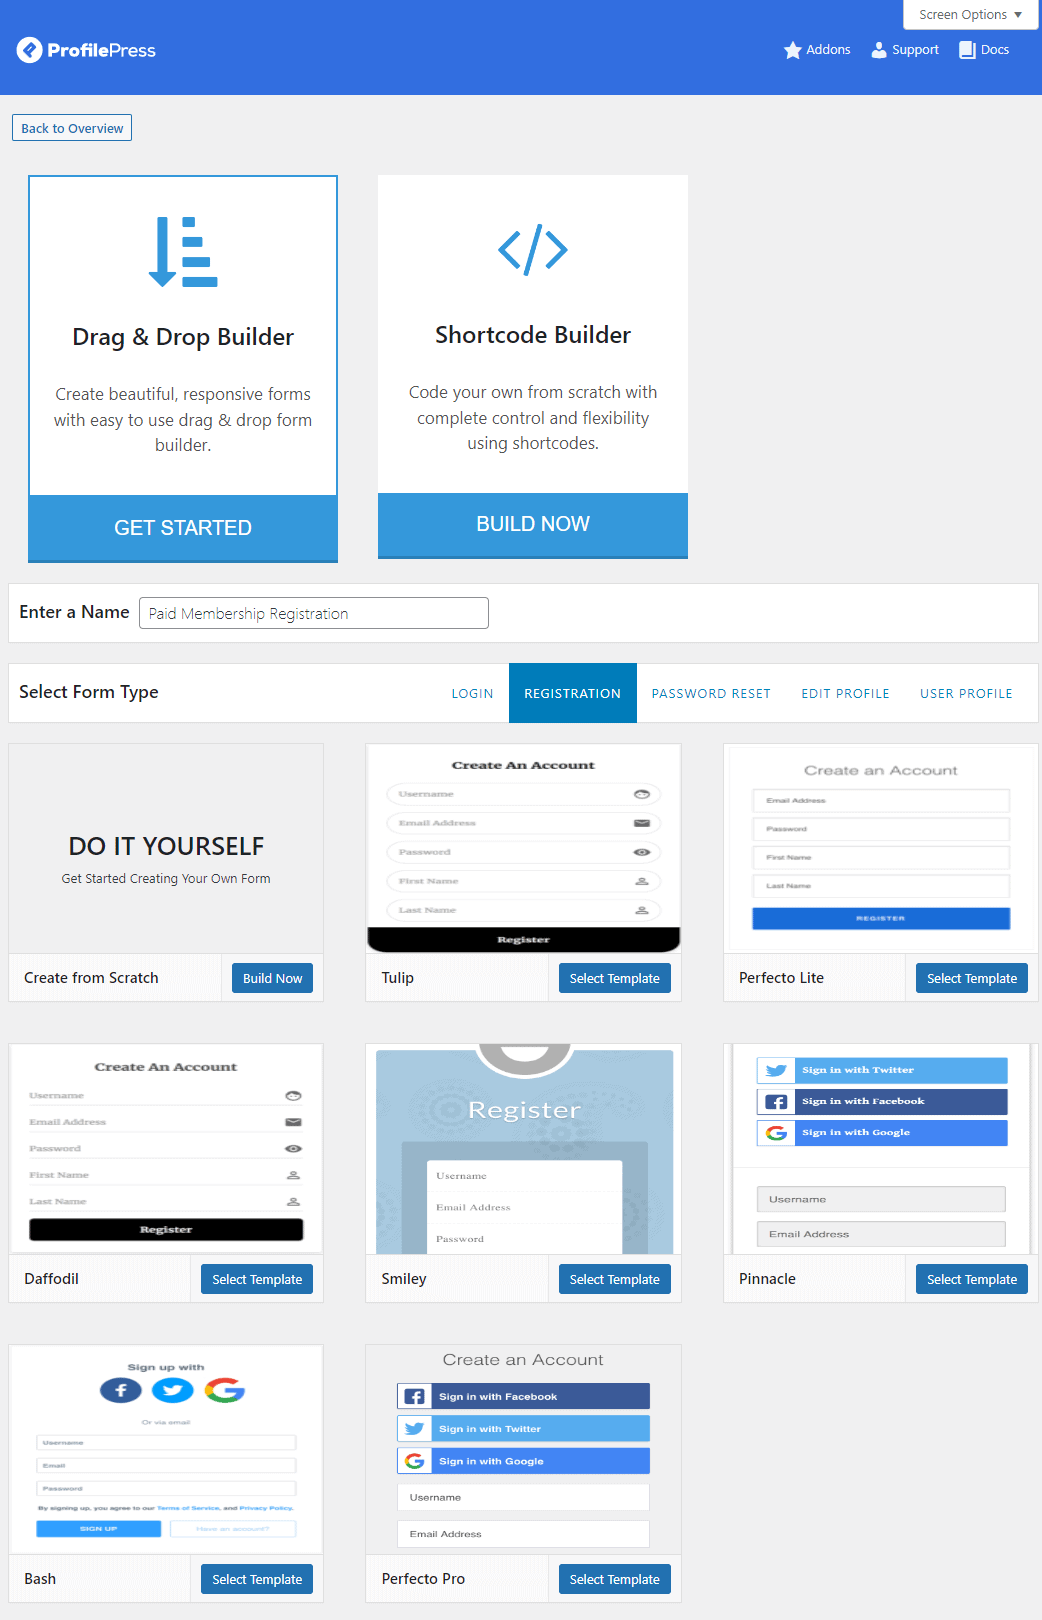
After selecting the Drag & Drop Builder, give your registration form a title and select Registration using the Select Form Type section. Now, select a pre-designed template and click the Select Template button to edit the registration form.
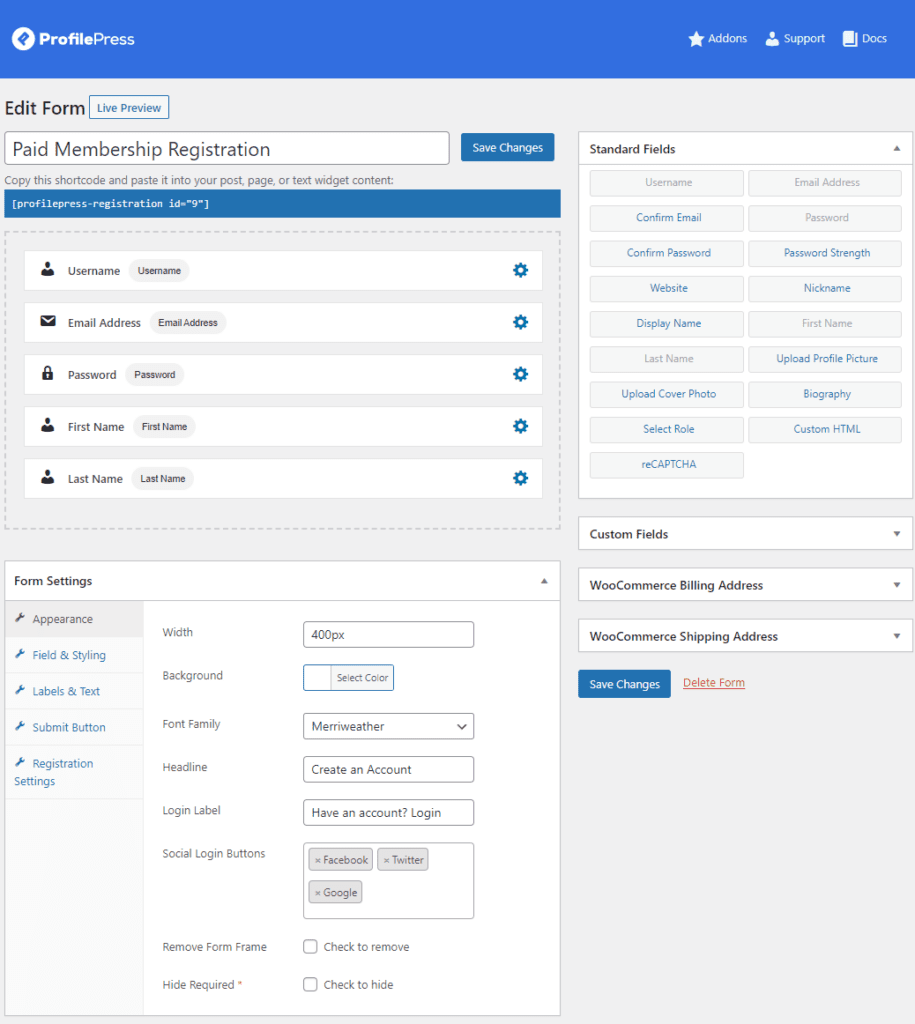
Drag-and-drop fields to display them on your registration form. You can edit the field labels and display custom fields for your paid membership site’s registration form. Click on the Save Changes button to continue. Make sure to copy the registration form’s ProfilePress shortcode to your clipboard.
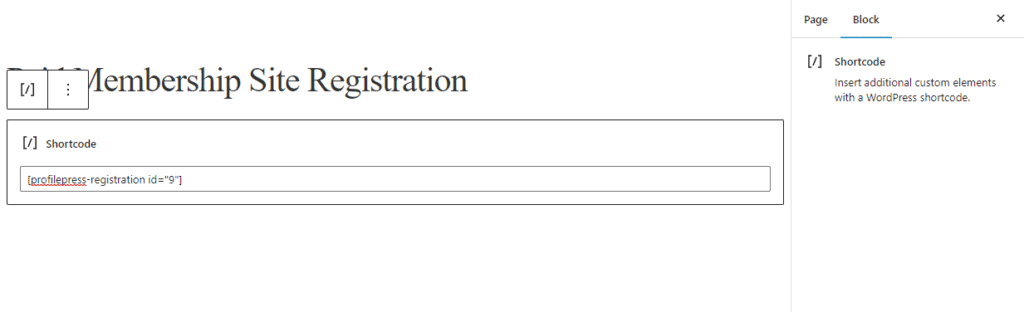
Now create a new registration page or navigate to your default WordPress registration page and paste it in a Shortcode block.
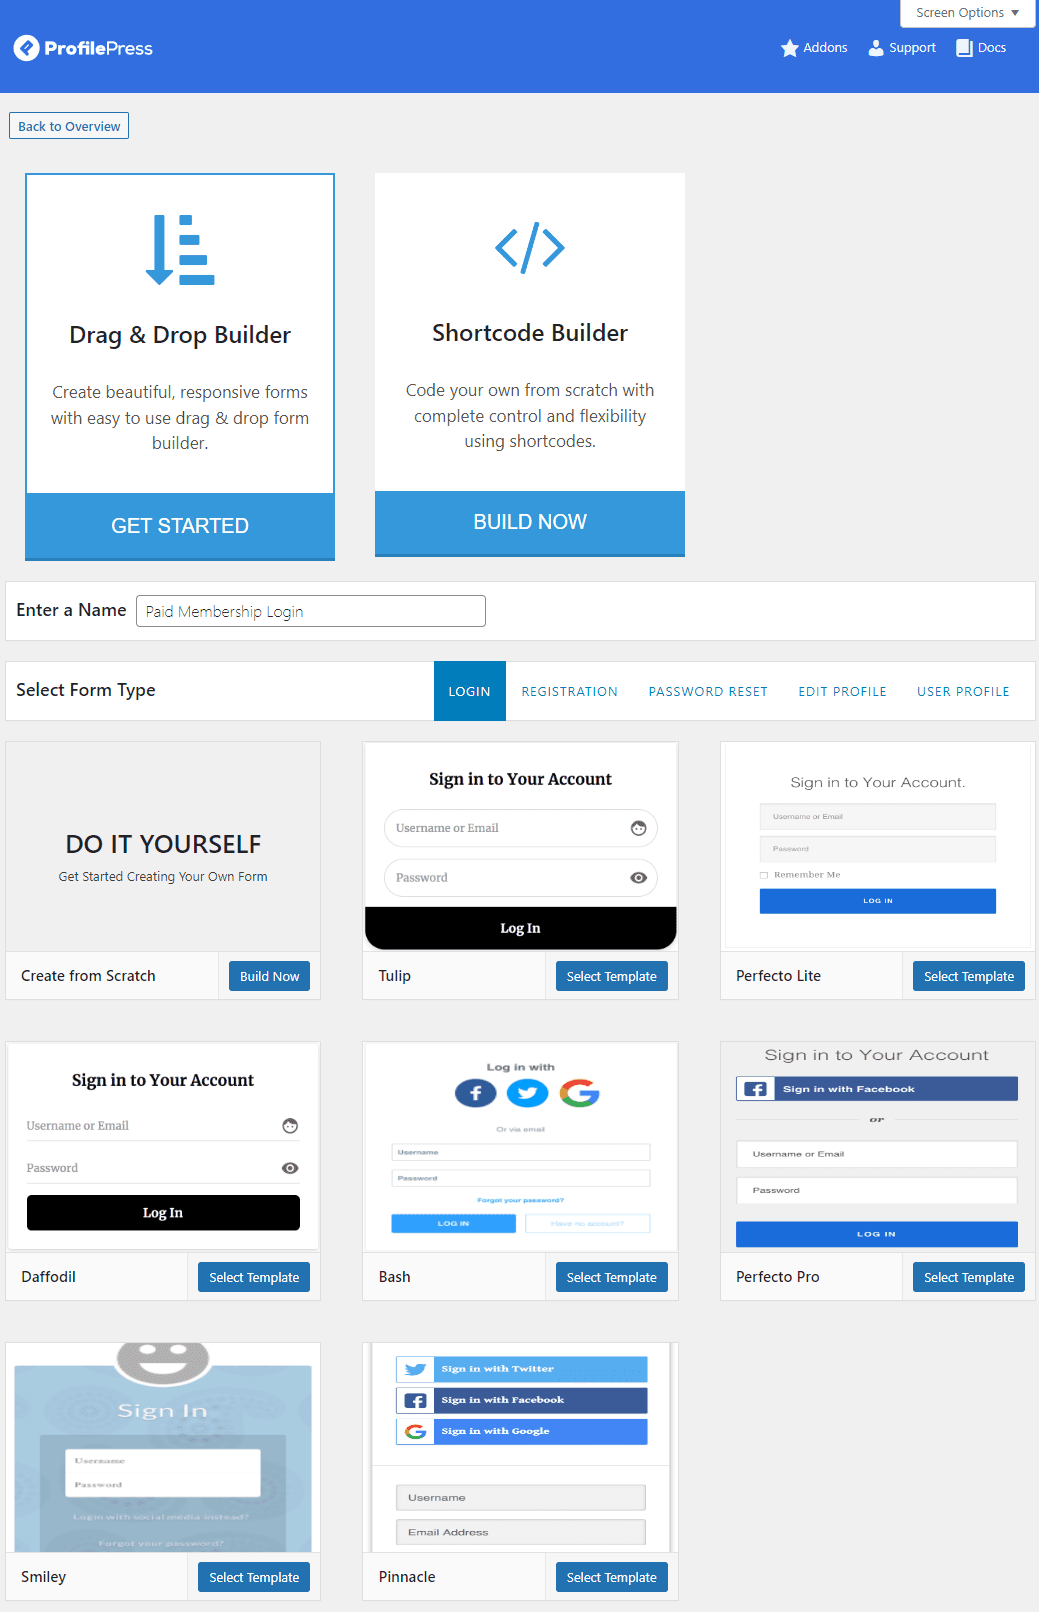
You can also create a login form by following these steps, but you have to select Login from the Select Form Type section.
Once you design a custom login form, paste its shortcode on a new page or replace it with your default WordPress registration shortcode.
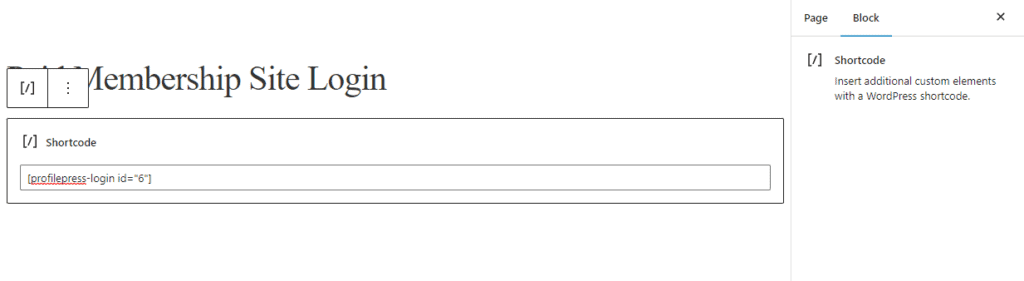
Now all that’s left to do is specify which pages contain the ProfilePress shortcodes using the plugin’s settings. To do this, navigate to ProfilePress → Settings, click on the General tab, and then the Pages section.
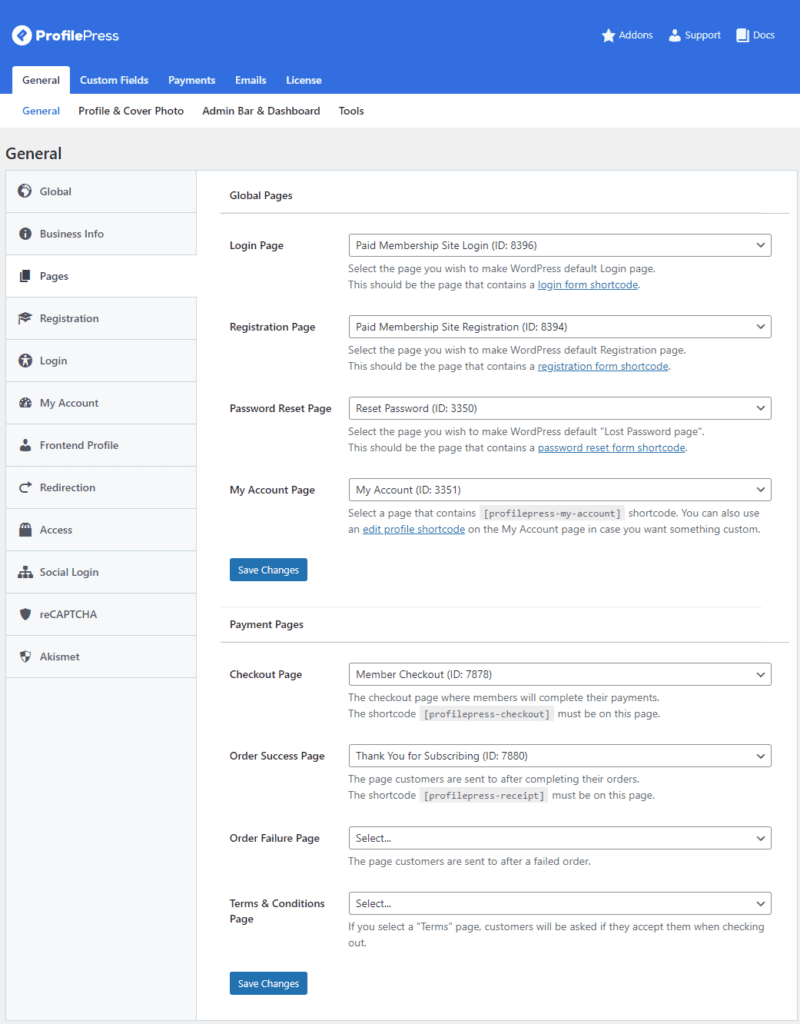
Using the Login Page dropdown menu, select the login page with the ProfilePress shortcode. Similarly, select the sign-up page you just created with the ProfilePress shortcode using the Registration Page dropdown menu.
Click on the Save Changes button.
Step #6: Let users subscribe to the paid membership plan
The last thing you’ll need to do is let users who have already logged in or registered on your paid membership site purchase the membership plan. For this, you will need to set up a new checkout page with the [profilepress-checkout] shortcode added to it.
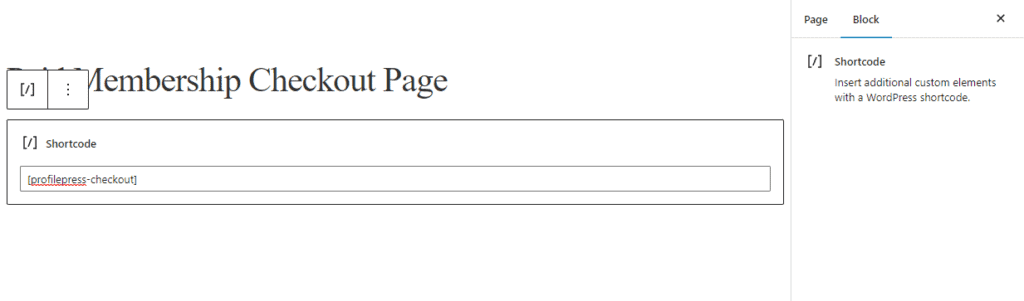
Once that’s done, navigate to the Pages section in the plugin’s settings and select the payment page using the Checkout page dropdown menu.
This will make it easy for logged-in users to subscribe to a paid membership plan.
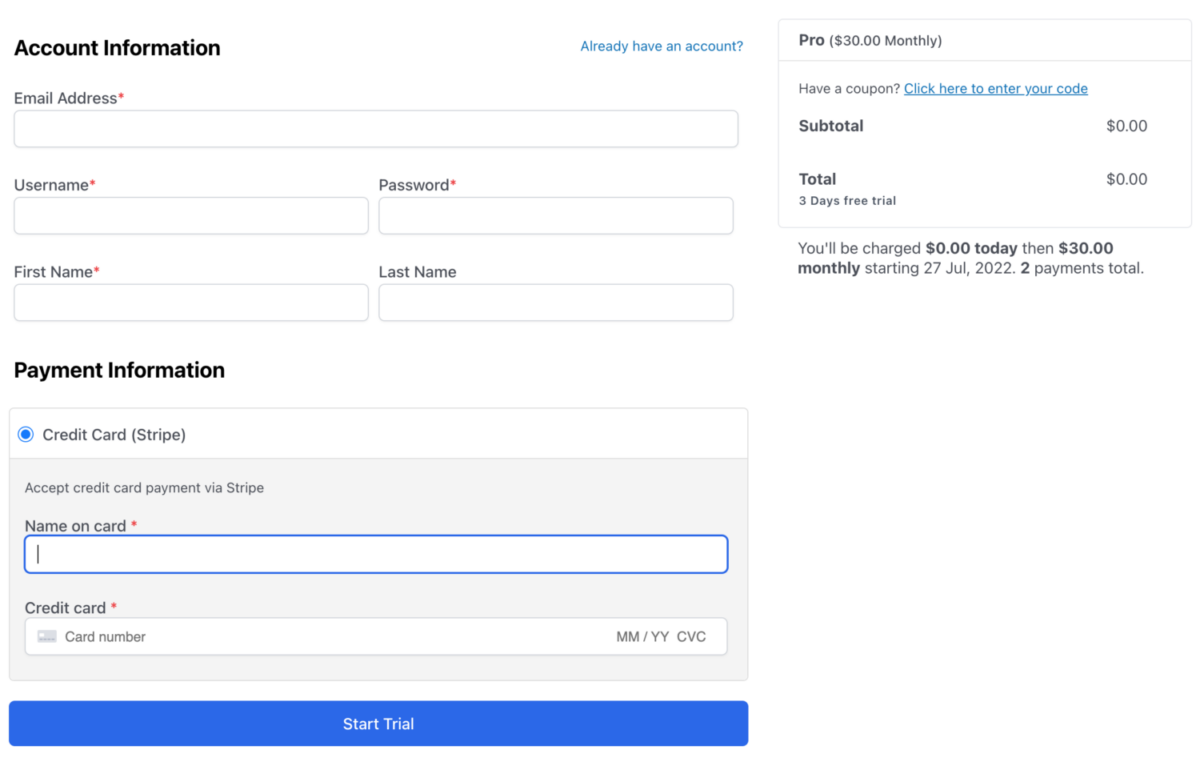
The pre-designed checkout page makes it very simple for users to purchase a membership plan directly from your WordPress site.
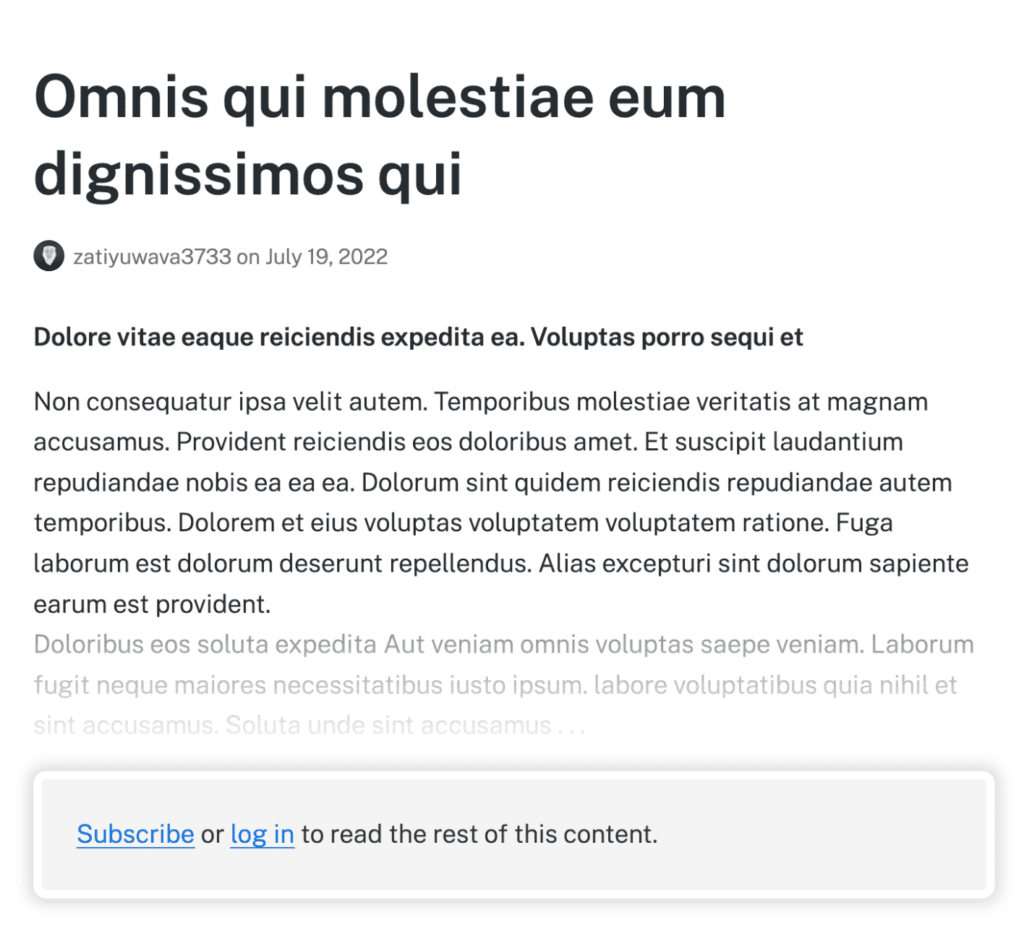
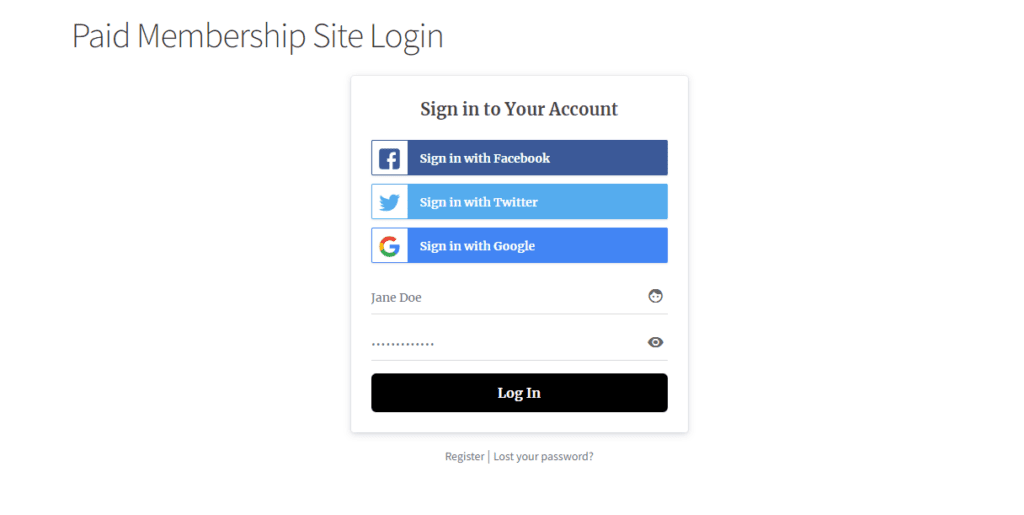
Users who are not logged in can use the custom paid membership sign-in page.
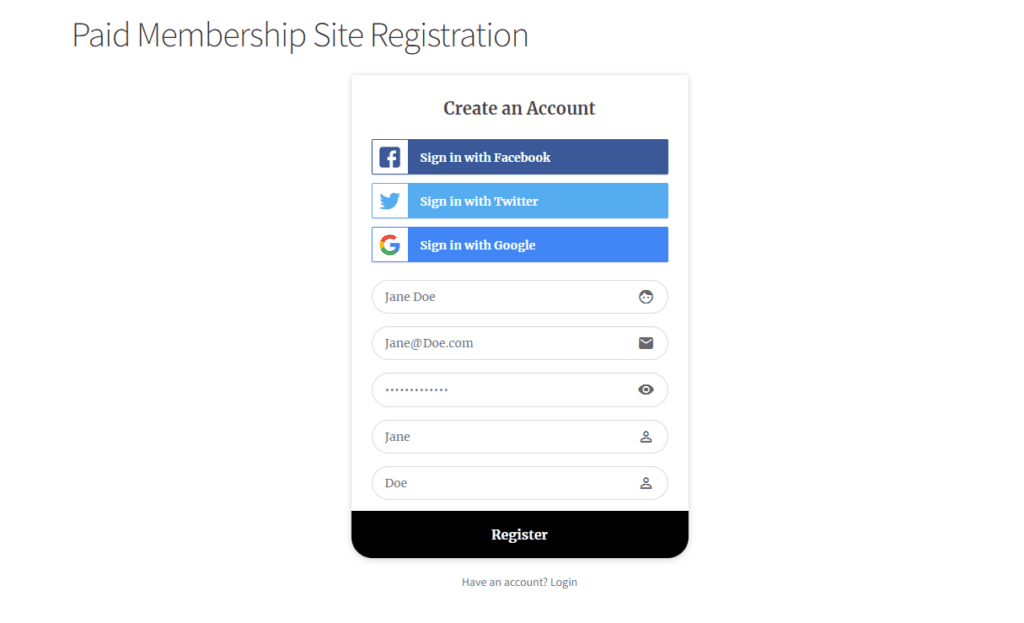
And users who don’t have an account on your paid WordPress membership site can sign-up using the registration form.
Conclusion
Creating a paid membership site with WordPress can be challenging, especially if this is your first time. This is why it’s essential to use a robust membership plugin like ProfilePress that makes it easy to create a paid membership site using WordPress.
ProfilePress offers basic membership functionality, such as creating membership tiers and setting up payment methods, and lets you create custom login and registration pages. It’s the perfect solution for businesses that want to set up a paid membership site in WordPress without worrying about using multiple plugins to add functionality.
Ready to start creating a WordPress paid membership site? Get ProfilePress today!