As a content creator or publisher, you may have considered implementing a paywall to monetize your website and protect your valuable content. If you are uncertain how to add one to your website, this article will provide all the information you need about paywalls.
A paywall is a system that blocks access to content until the user pays a specific fee or subscribes to the site. There are various types of paywalls available, including soft, hard, and metered paywalls. Each option allows access to premium content in different ways, depending on your specific needs.
In this article, we will guide you through the process of setting up these three types of paywalls for your WordPress content using ProfilePress, the best WordPress paywall plugin in the market. By the end of this article, you will have a reliable paywall that will enable you to start monetizing your site and protecting your content.
Let’s get started!
What is a Paywall, and Why Add One to WordPress?
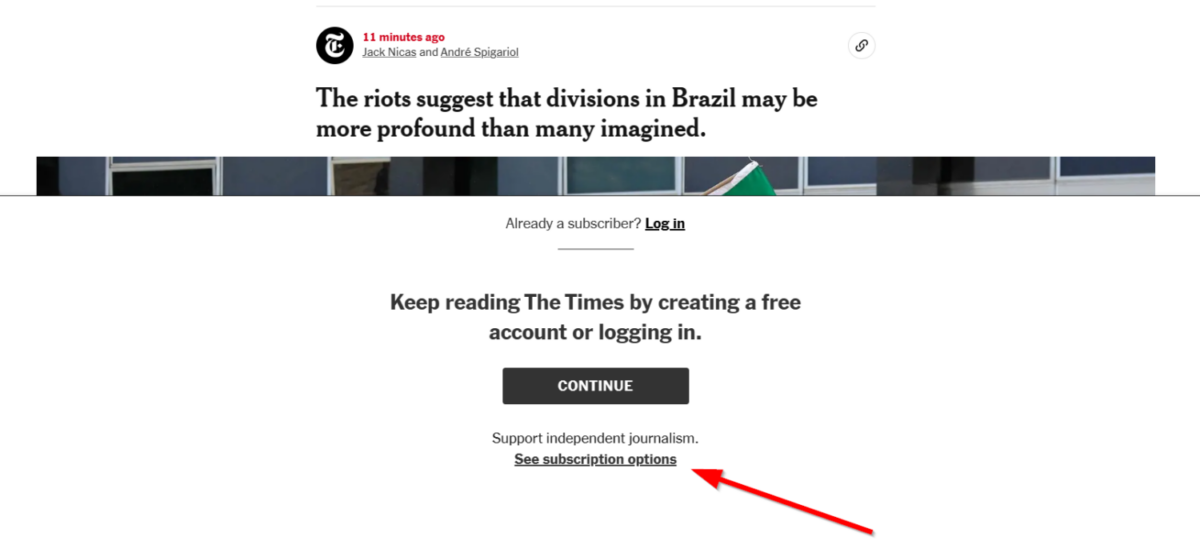
Have you visited a significant online publication like the New York Times requiring you to pay a fee before viewing its content? Then you already have an idea of what a content paywall is. It’s simply a feature that hides or restricts access to certain content on your website. Your site visitors or readers would then have to pay to view this content.
But with a WordPress paywall, you can offer premium content on your website in various ways. One common approach is to provide free content and then charge for higher-quality premium content, known as the freemium model. Another option is to offer a digital subscription, which allows paying customers access to exclusive content via a recurring payment structure. In the next section, we will delve deeper into WordPress websites’ most popular paywall types.
Adding a paywall to your website is an excellent way to earn money while providing high-value content over the Internet.
Benefits of Adding a Paywall to a WordPress Site
- Generate revenue by charging users a fee to access certain content on the site.
- Create and manage exclusive content, which can drive subscriptions and create a sense of exclusivity for paying customers.
- Control access to specific sections or categories of your site content.
- Manage content distribution by offering different content types to other customers based on their paid subscriptions.
While WordPress does not offer a paywall feature by default, you can use a plugin like ProfilePress to implement one without coding or hiring a developer quickly. The plugin also enables you to create multiple types of paywalls. Let’s explore the most popular types in more detail.
Different Types of WordPress Paywalls (When to Use Them)
When choosing a paywall for your WordPress site, it’s important to consider the type of content you offer and your target audience. Several popular types of paywalls are available, including hard paywalls, soft paywalls, and metered paywalls. Every kind of paywall has its advantages and use cases.
Hard Paywall
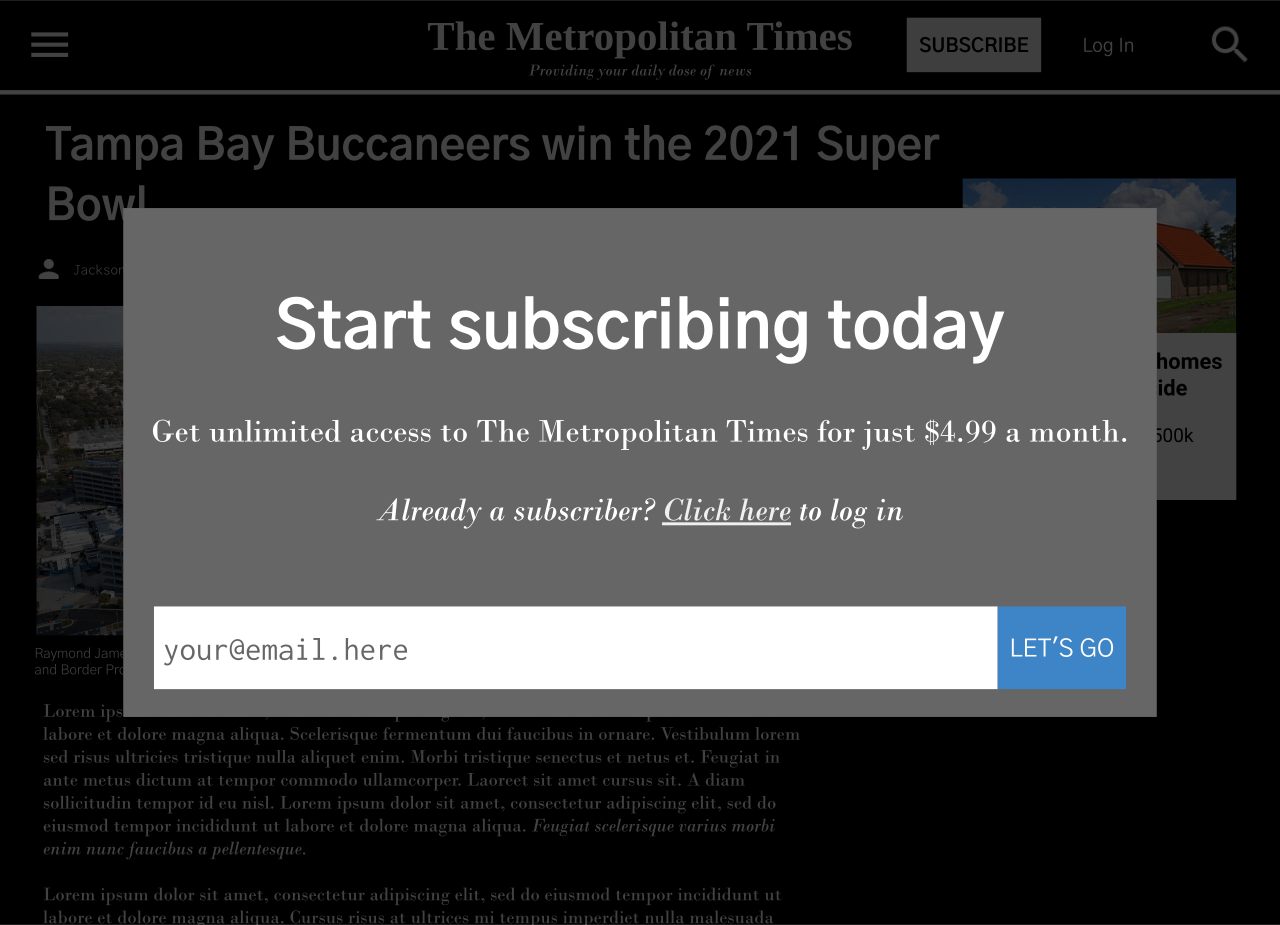
This paywall completely blocks access to content until the user pays for it. This type of paywall is less common as it may deter users from viewing the content. Still, it can be useful for monetizing exclusive content for niche publications with a dedicated readership.
Soft Paywall
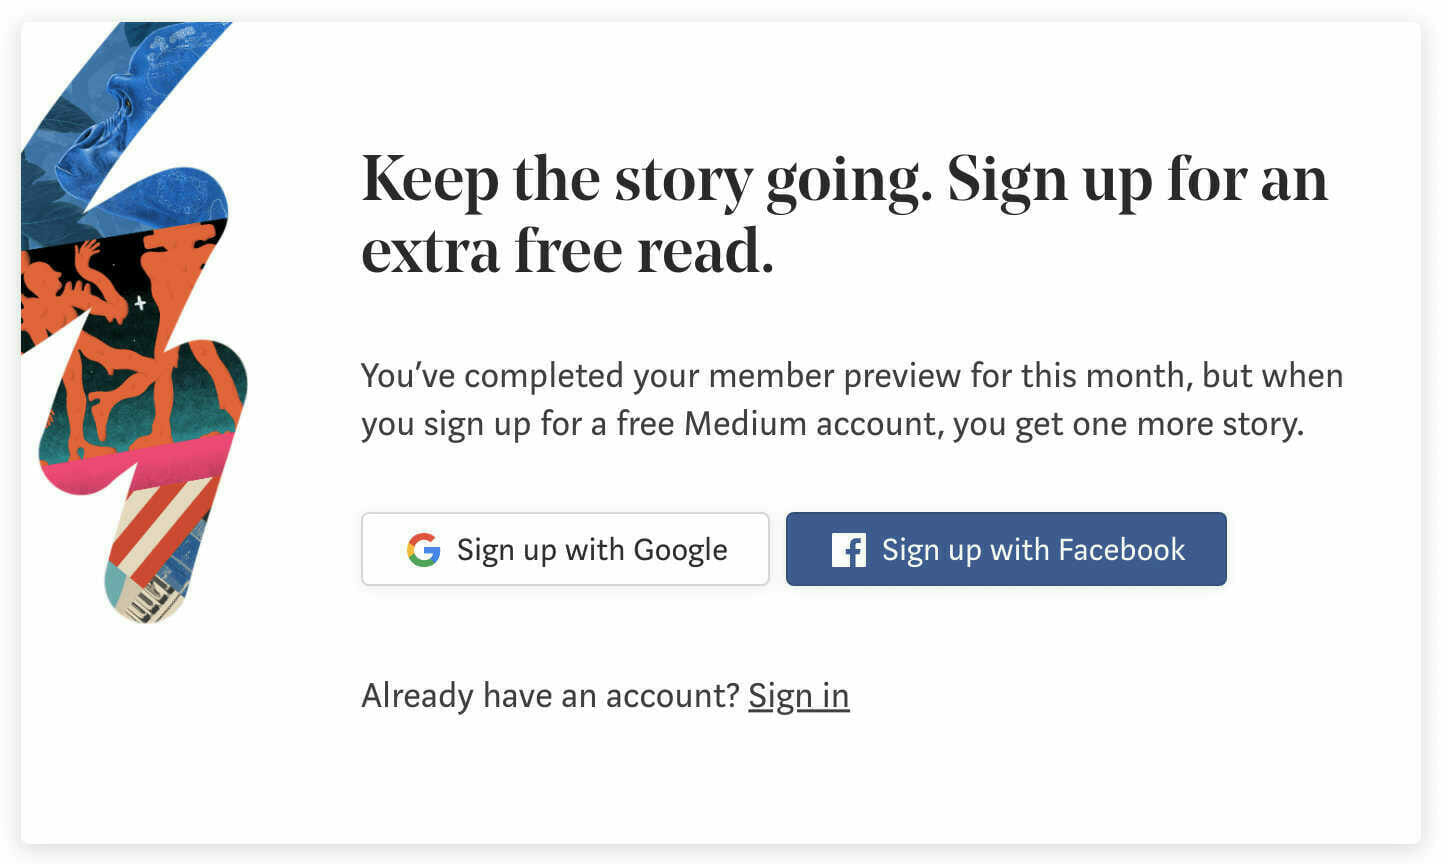
This paywall allows users to view some content for free but requires them to pay for access to other premium content. This can entice users to visit a site and see the benefits of subscribing.
It’s also useful for publishers with a large archive of content that wants to monetize it while allowing users free access to some of it. This type is common among News websites, blogs, magazines, online learning platforms, and podcasts.
Metered Paywall
This soft paywall allows users to view a certain amount of content for free before requiring them to pay for access. This can be measured in a specific number of articles, amount of data, or time period. This paywall can be used for the same purposes as a soft paywall.
Consider experimenting with different paywall strategies to find the best fit for your audience and business model. It may also be helpful to try a dynamic paywall, which can adapt its level of restrictiveness depending on the user’s characteristics.
Overall, a successful paywall balances providing value to the user and generating revenue for the publisher. With that in mind, let’s explore how to add each of these paywall types to your WordPress site.
How to Set Up a WordPress Paywall
Ready to create your first WordPress paywall? Follows these five simple steps below.
Step 1: Install and Activate ProfilePress
To get started, get your copy of ProfilePress here. Once you have your copy, you’ll receive the plugin’s downloadable ZIP and the license key in your registered email.
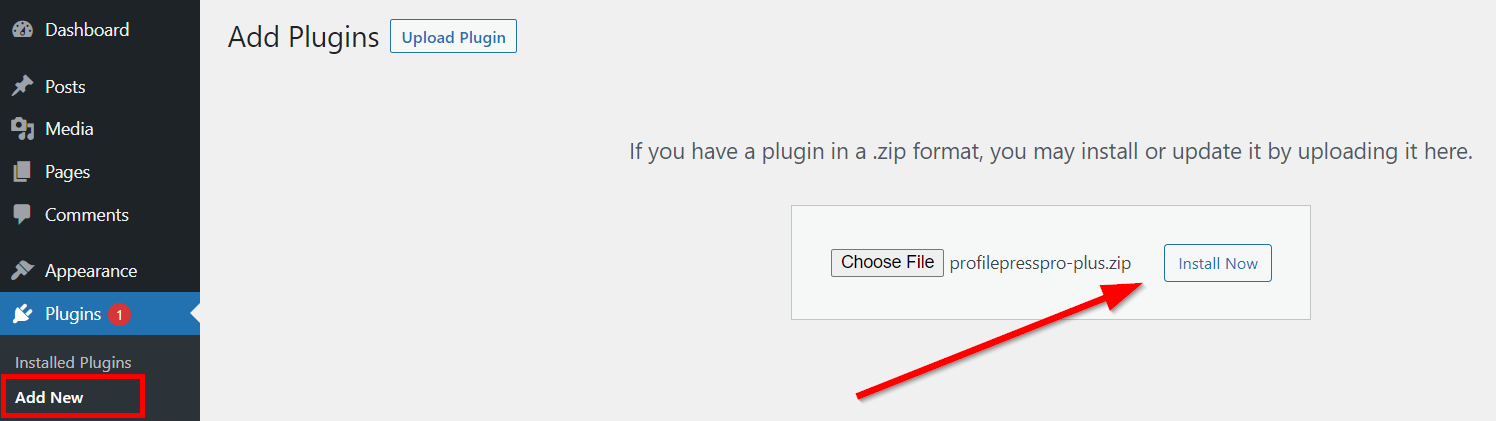
Download this file and log into your WordPress admin dashboard. Next, go to Plugins > Add New > Upload Plugin. Select the ZIP file and click Install Now.
Next, click Activate Plugin.
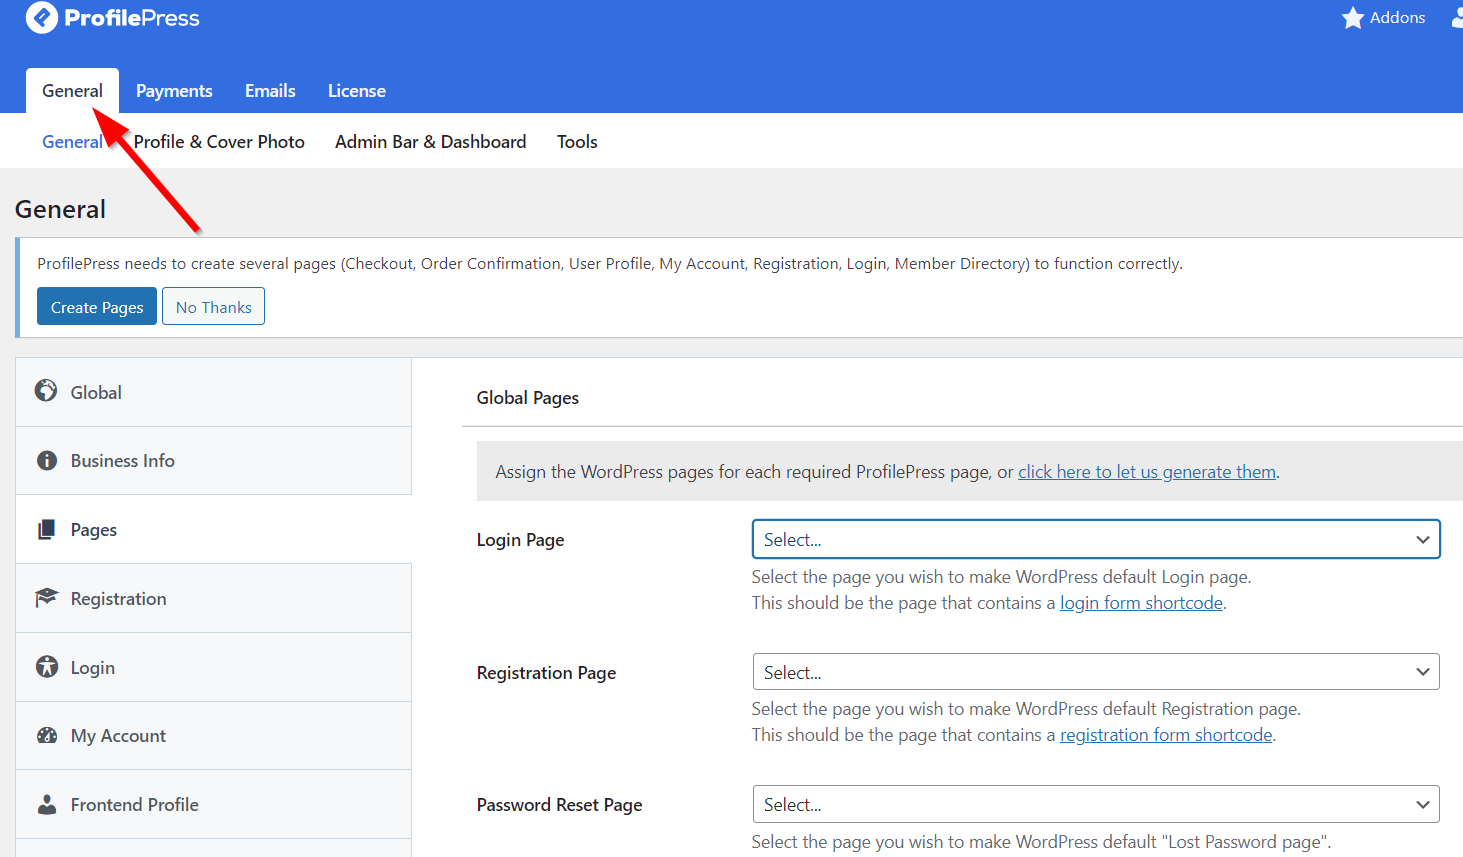
You can also configure other necessary settings here, such as setting up the Checkout, Registration, and User Profile pages. You can do these in the General tab.
Next, it’s time to set up your WordPress paywall. But before then, let’s set up the payment settings.
Step 2: Configure the Payment Settings
To start accepting payment on your paywall, you need to first set up a payment gateway and a membership plan.
To set up payment, go to ProfilePress > Settings > Payments > Payment Methods.
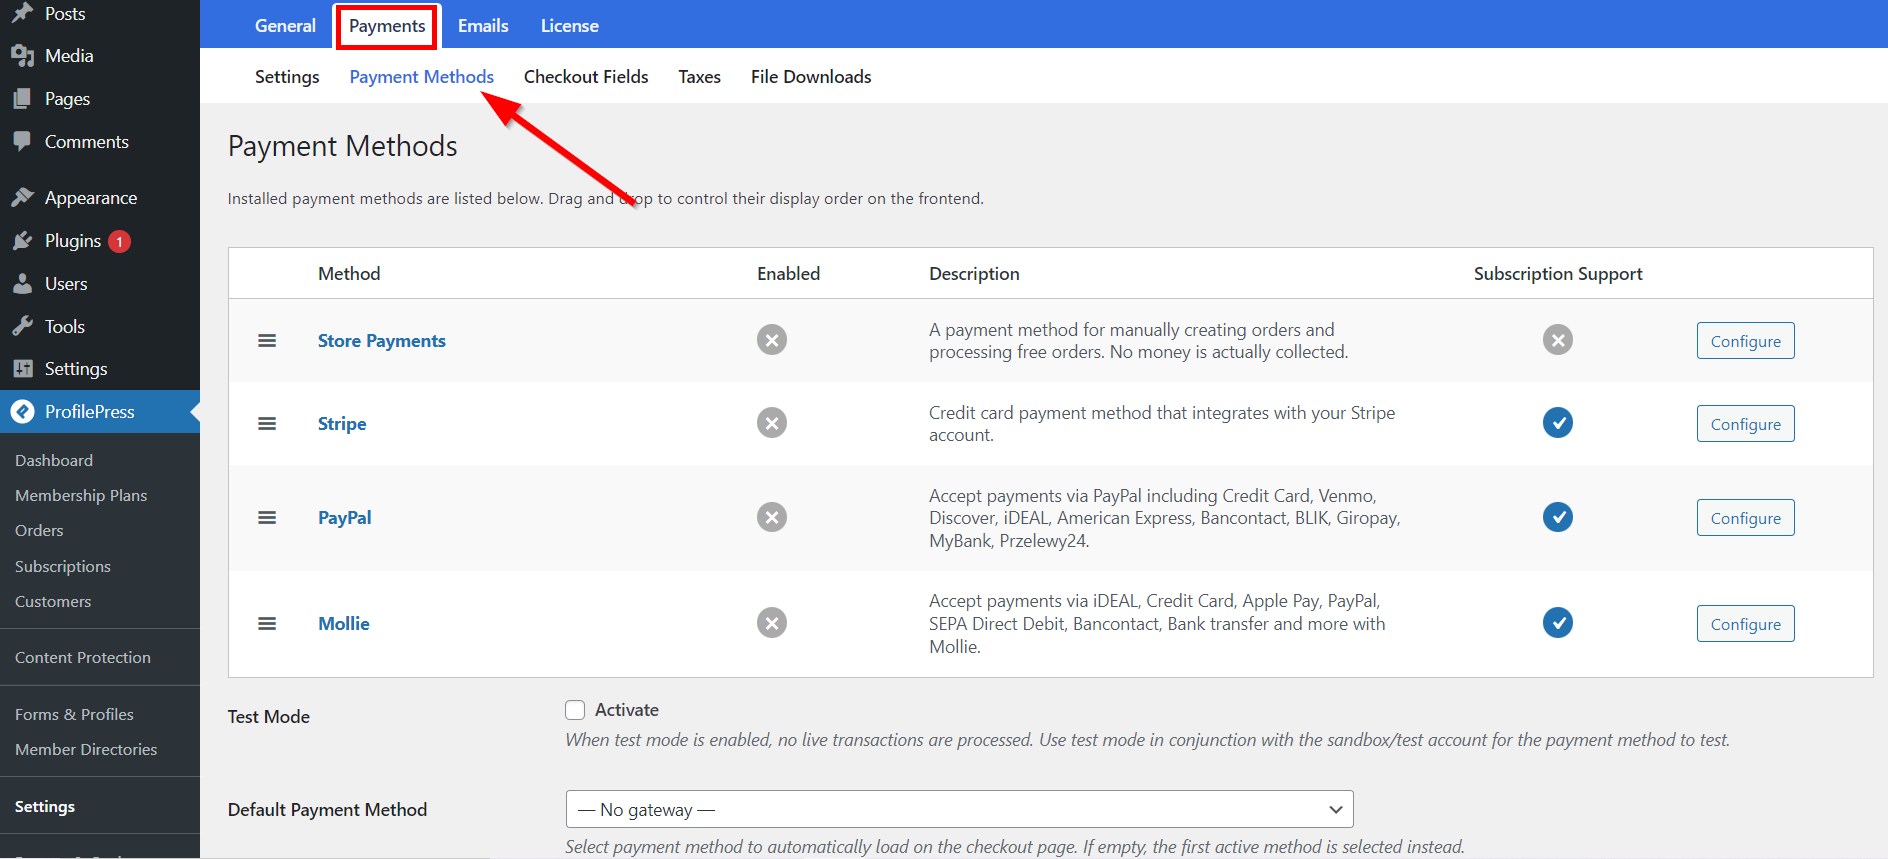
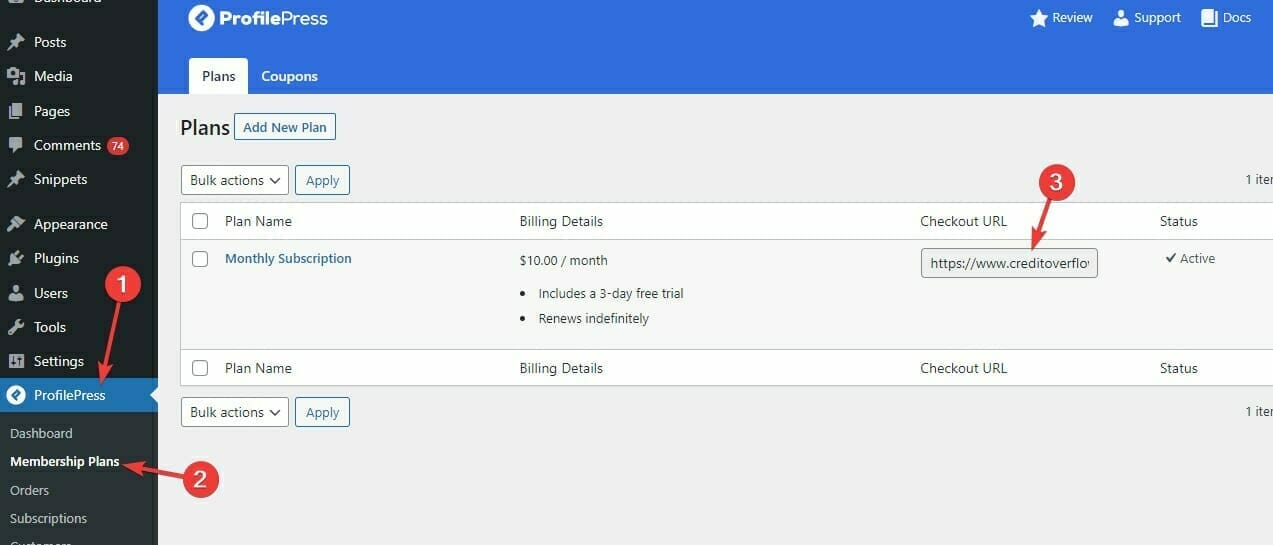
Configure as many payment methods as you want. Then head to ProfilePress > Membership plans to create WordPress membership plans for paying customers. Now, you can add a membership plan to any content protection rule to give subscribers access to that content category.
After creating the membership plan, copy the checkout URL.
Step 3: Create a WordPress Paywall
To create your first WordPress paywall, click ProfilePress > Content Protection and Add a Protection Rule.

That’s it! You’ve successfully added a paywall to your WordPress site. Now, let’s configure it!
Step 4: Configure Your WordPress Paywall Settings
After adding a protection rule, you need to decide which content to protect and who can access this content. To set up a hard paywall, select All Posts and/or All Pages under the Content to Protect section.
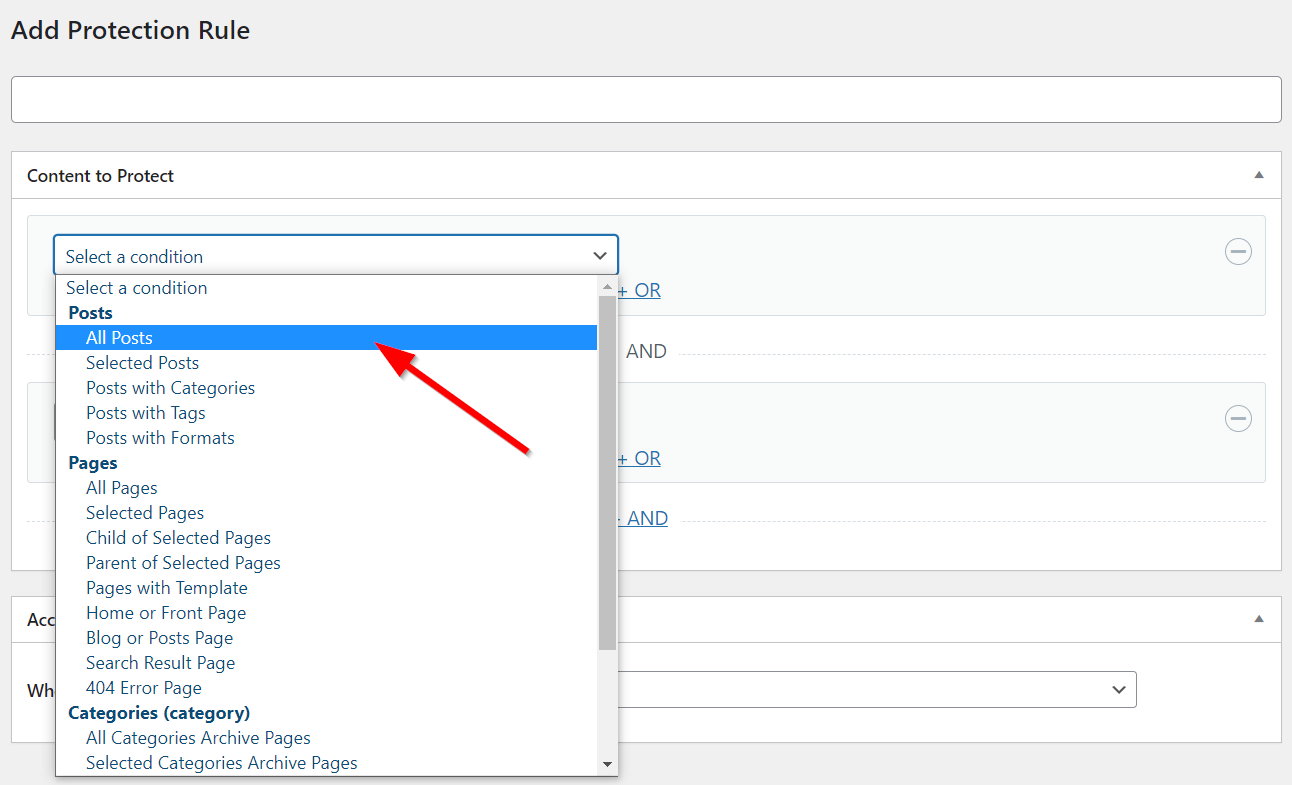
Otherwise, choose Selected Posts, Posts with Categories, etc., to create a soft paywall.
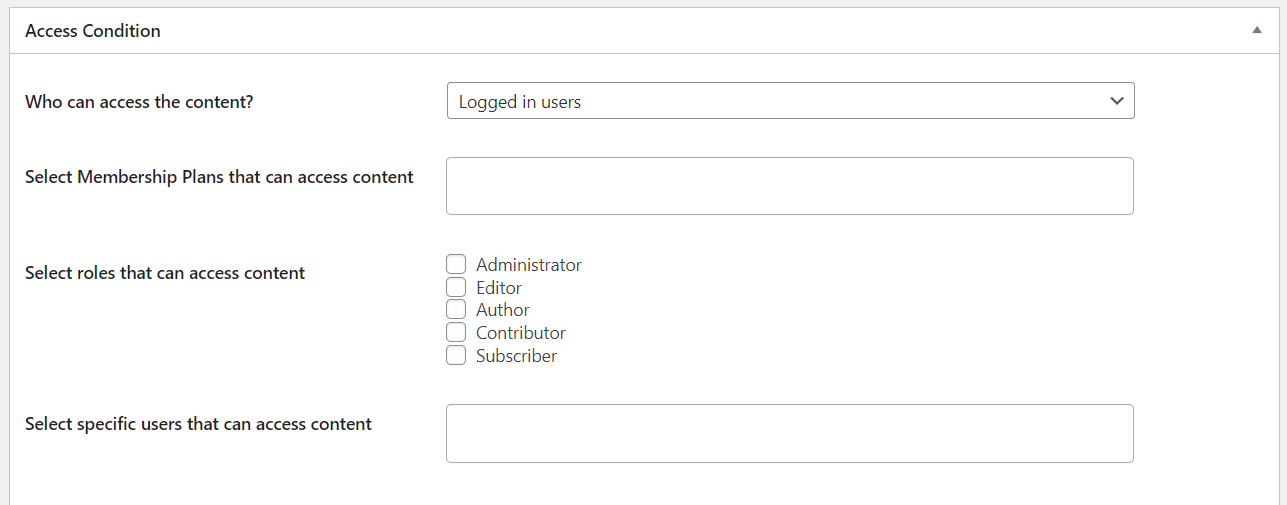
Under Access Condition, select Logged in users. You can restrict access to this content based on a membership plan, user role, or specific user IDs.
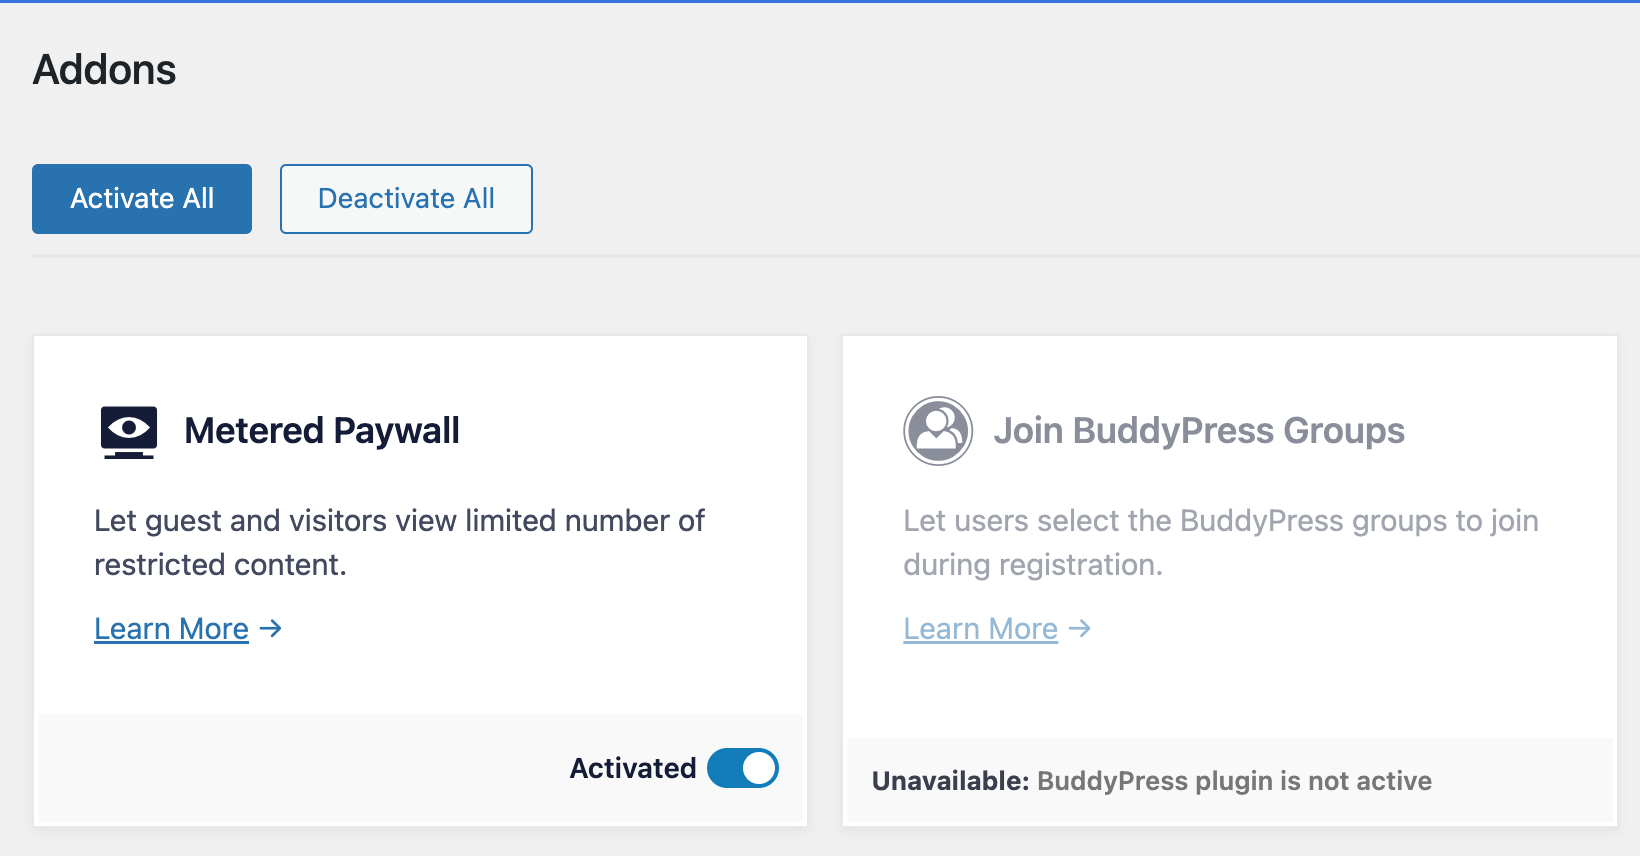
To set up a metered paywall with a specific number of free articles or pageviews, you’ll need to activate the Metered Paywall addon. You can do this by going to ProfilePress > Addons.
Check out our guide on how to set up a metered paywall in WordPress to learn more.
Step 5: Customize the Restricted Content Message
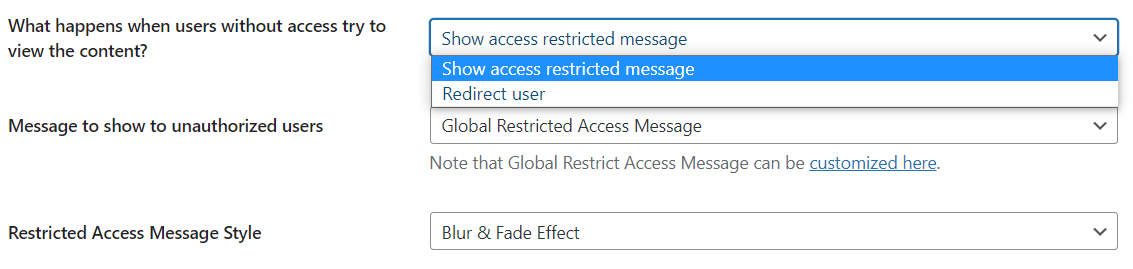
Still, on the protection rule settings page, you can decide what happens when users want to view content they don’t have access to. You can either show a ‘restricted access’ message or redirect the user.
Next, choose the message to show unauthorized users. Then customize the content of the message. Remember to add a subscribe and login link in the message. The subscribe link should contain the membership plan’s checkout URL we copied earlier.
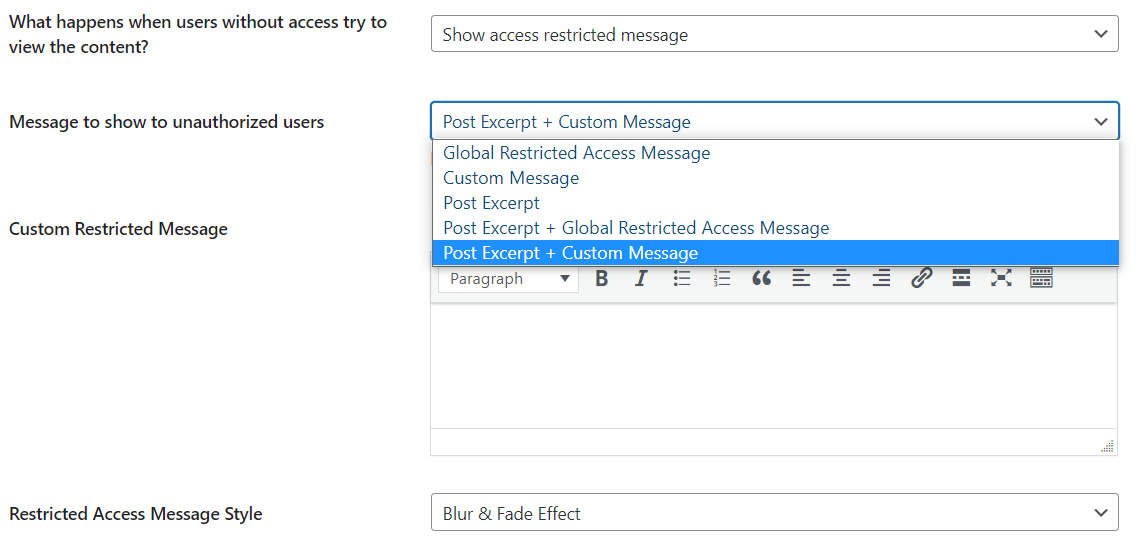
ProfilePress also allows you to add a blur & fade effect to the message. Once you’re done, click Save Rule.
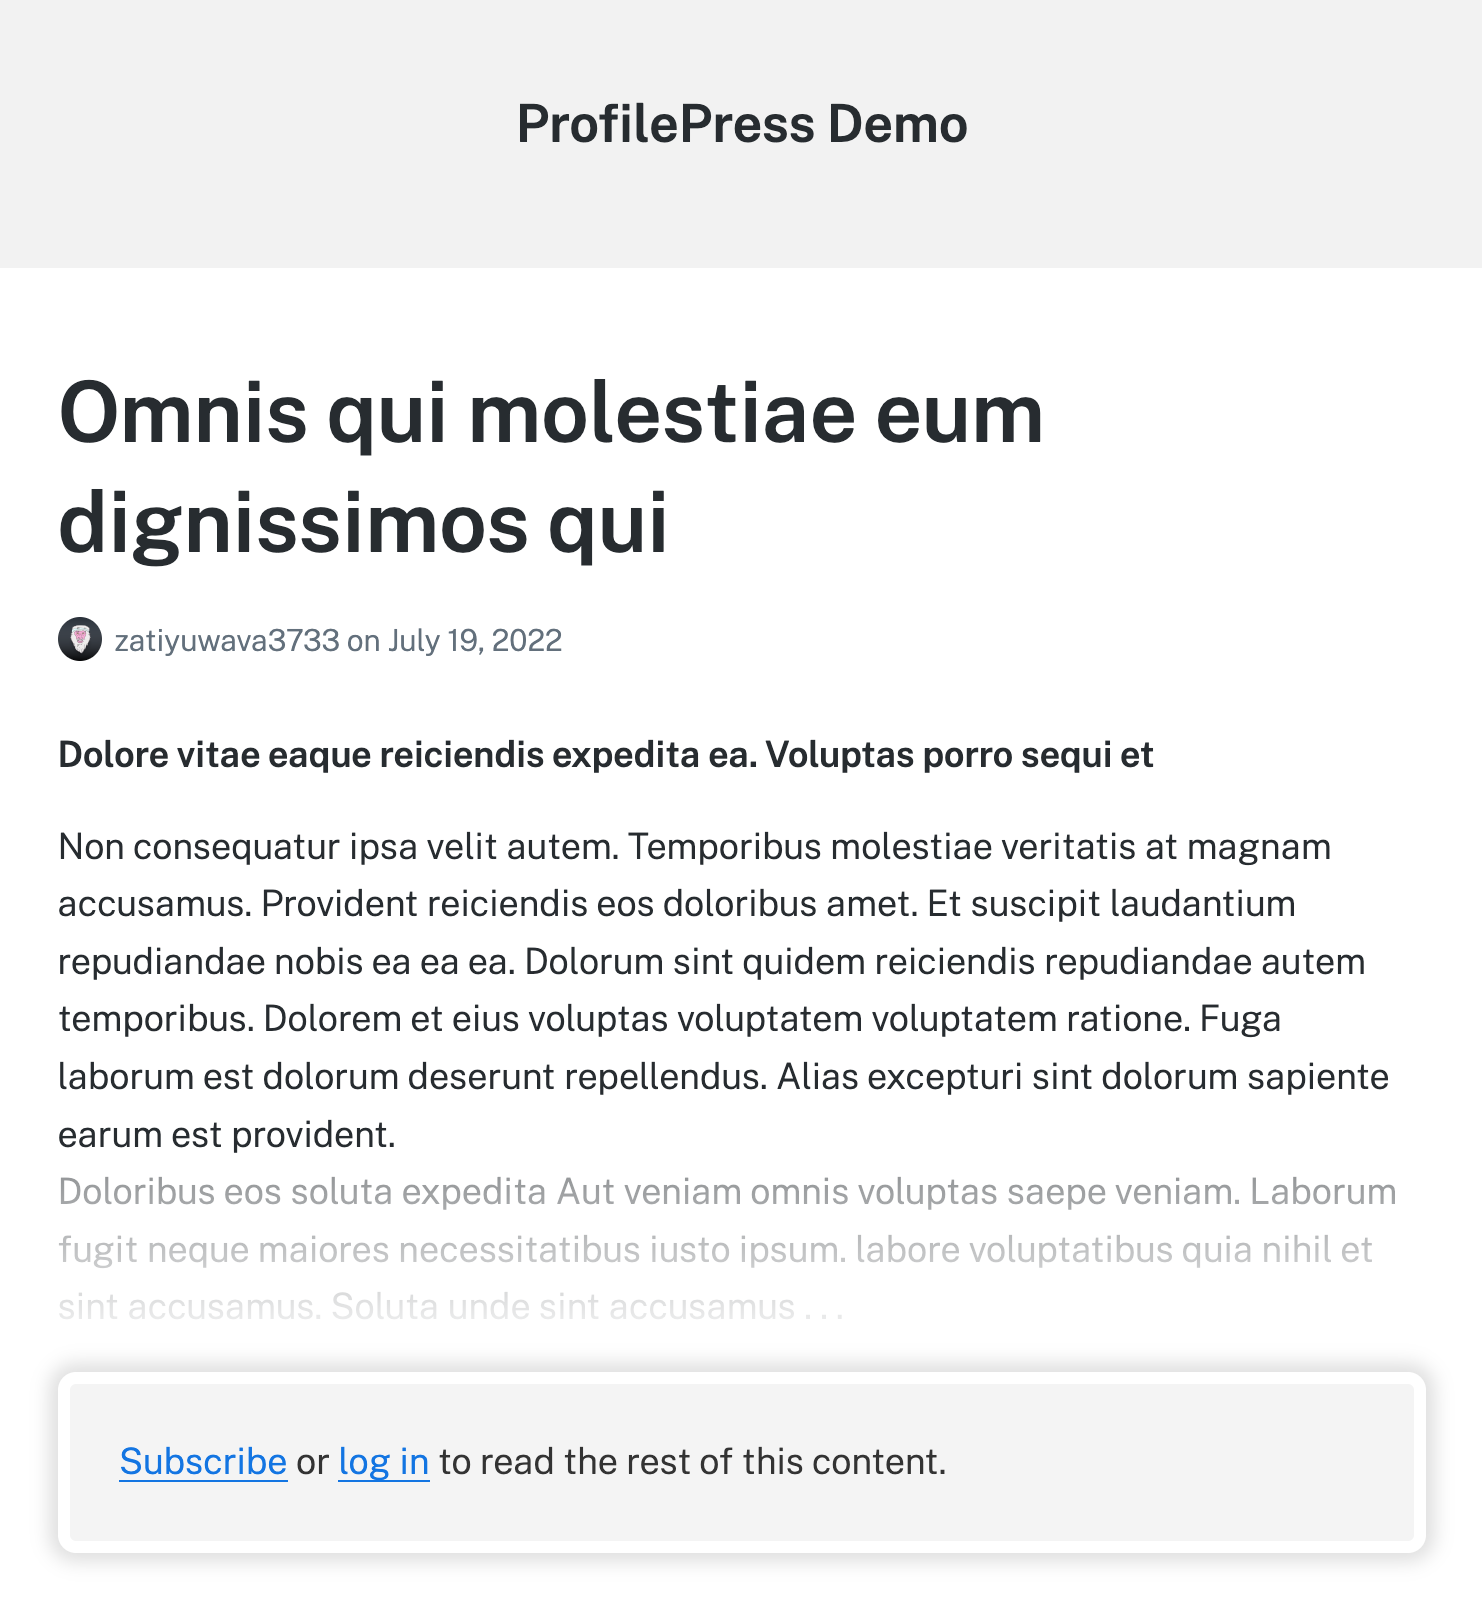
When unauthorized users visit the page, they’ll see something like this.
Conclusion
Implementing a paywall for your WordPress content is a fantastic way to boost your website’s revenue, cultivate a dedicated subscriber base, and establish a sustainable business model for your online content. Using ProfilePress, creating a paywall tailored to your website and requirements becomes simple.
Don’t hesitate any longer. Get ProfilePress and set up your first WordPress paywall today!