Are you looking to detect Adblock users on your WordPress website and display a message to them?
As a blogger, content creator, or website owner, ads are an essential source of revenue. However, this source may be threatened by Adblockers – software that blocks internet ads typically found as browser extensions or mobile apps.
If you rely on ads to generate income from your website, it is crucial to be aware of Adblockers and their potential impact on your revenue.
This article will provide you with information on Adblockers, how to detect them, and ways to encourage your users to disable Adblockers to support your website or blog.
What is Adblocker Software?
Did you know that Adblockers are software or browser extensions that can be installed on popular browsers like Chrome, Firefox, and Opera?
Their main function is to detect advertisement codes and block them, preventing ads from showing on web pages. Essentially, they create a barrier between Ad servers and the ad codes on your website, preventing the sending and receiving of advertisement data.
Recent research shows that approximately 43% of internet users actively use adblockers, which means that your website is at risk of being affected by them.
How to Detect Adblock Users in WordPress
Now that you have an understanding of what adblockers are and how they work, it’s time to learn how to identify them on your WordPress site.
Before you ask Adblock users to disable the software and support your website, you need to detect if they are using an Adblocker. Fortunately, you can easily do this with the MailOptin Adblocker detector plugin.
MailOptin is an all-in-one WordPress lead-generation plugin that allows you to create and customize professional opt-in boxes to convert site visitors into subscribers. Additionally, it comes with an Adblocker detection tool that can identify ad-blocking software such as AdBlock, AdBlock Plus, uBlock, uBlock Origin, and built-in browser ad-blockers.
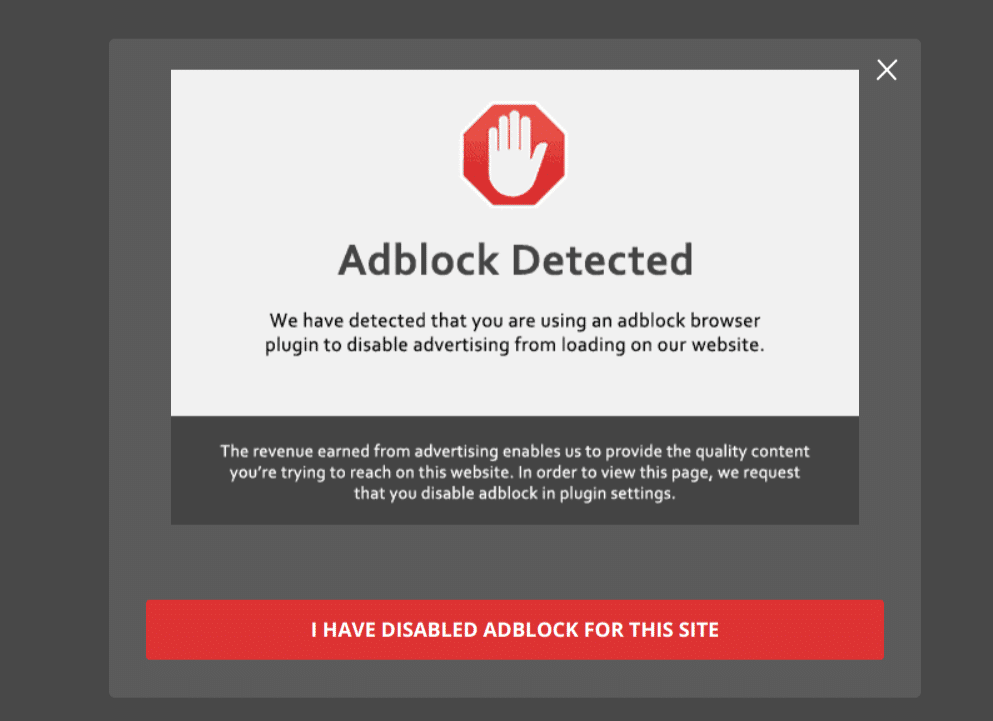
With MailOptin, you can show a friendly message to Adblock users and encourage them to disable it.
Let’s begin detecting and targeting Adblock users with the MailOptin plugin.
Install and Activate the MailOptin Plugin
The first step is installing the MailOptin plugin, which you can easily do from your WordPress dashboard.
You will need to purchase a MailOptin License and install the MailOptin plugin. To do that, head to the MailOptin website to purchase a suitable license plan.
After purchasing your copy of the MailOptin Plugin, you will receive a confirmation email with a link to download the plugin zip file and your license key. You can also download the plugin from your account page on the MailOptin website.
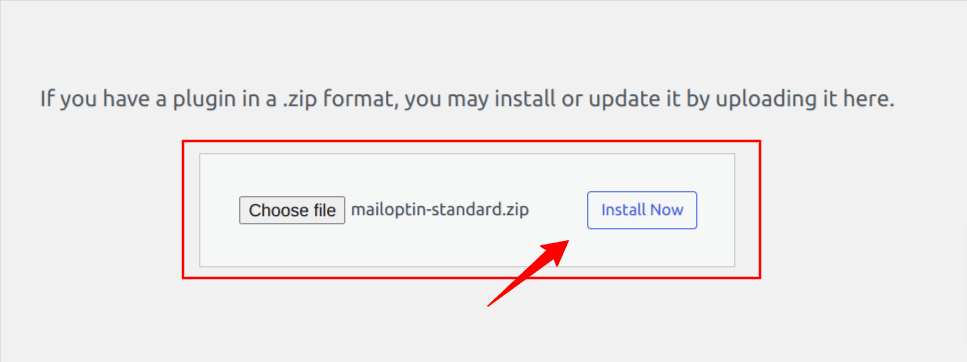
Once you have downloaded the plugin, login to your WordPress admin dashboard, and navigate to the Plugins page; click on the “Add New” button and click “Upload Plugin“. Upload the zip file and install and activate the plugin on your WordPress site.
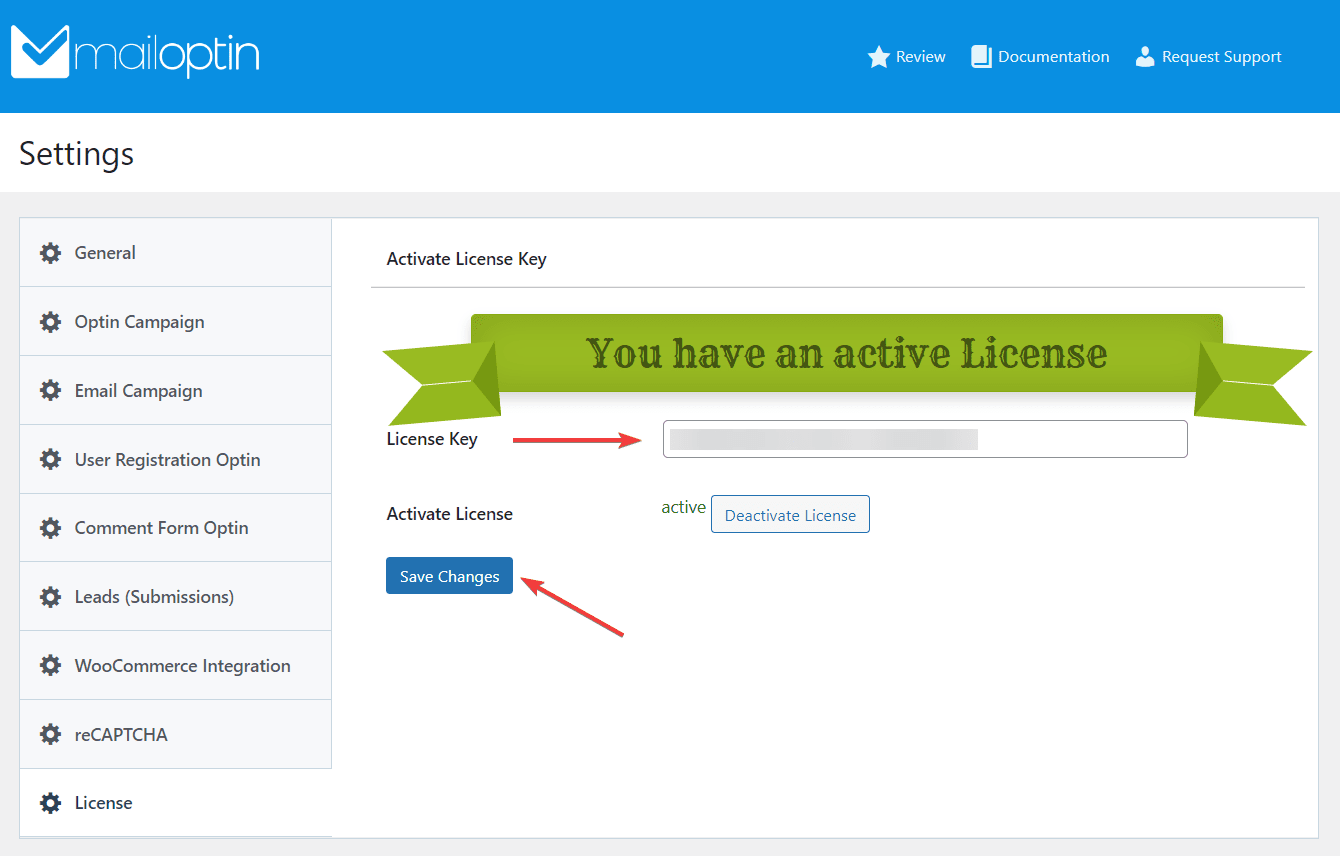
Next, activate the plugin by providing the license key previously sent to your email.
Create and Customize Your Opt-in Form
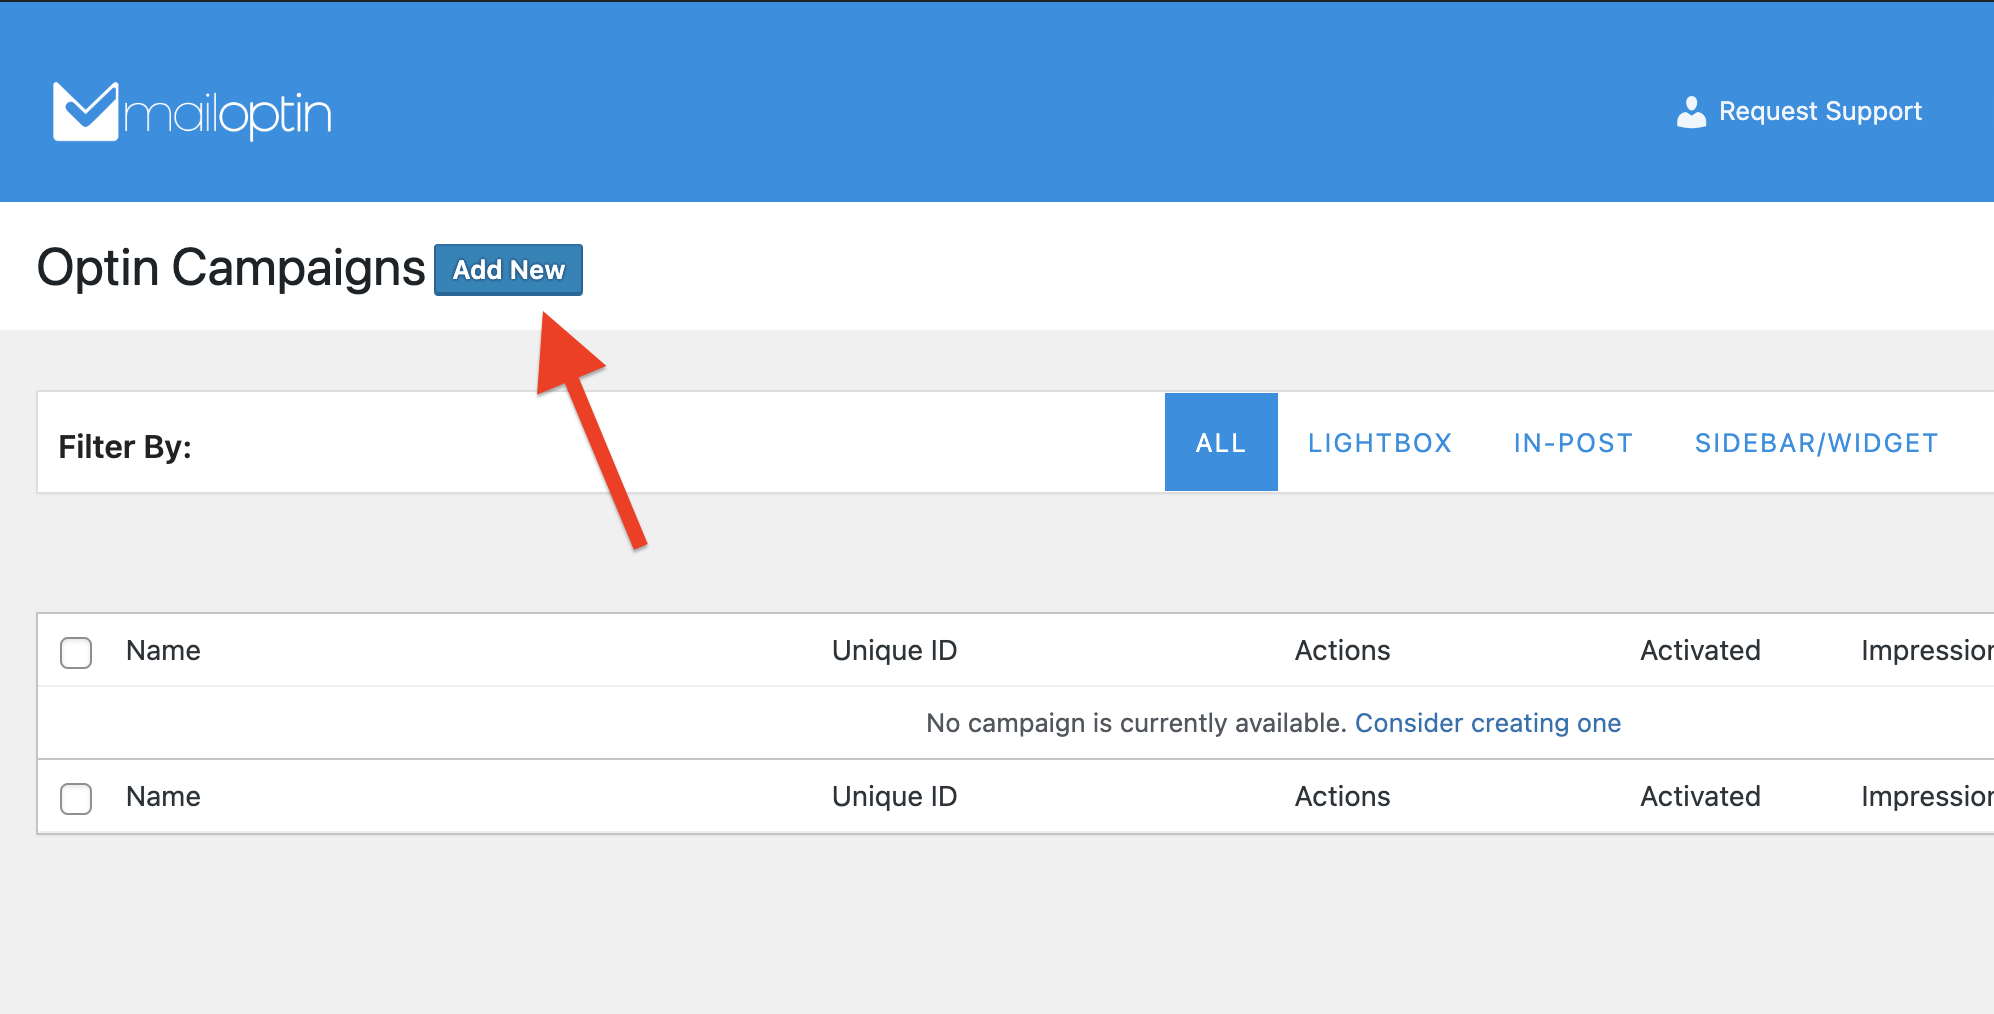
With the MailOptin plugin installed on your site, navigate to MailOptin > Optin Campaigns and click the Add New button.
Enter a title for the campaign, select the opt-in type, and click the opt-in form theme of your choice, and you will be redirected to the form builder.
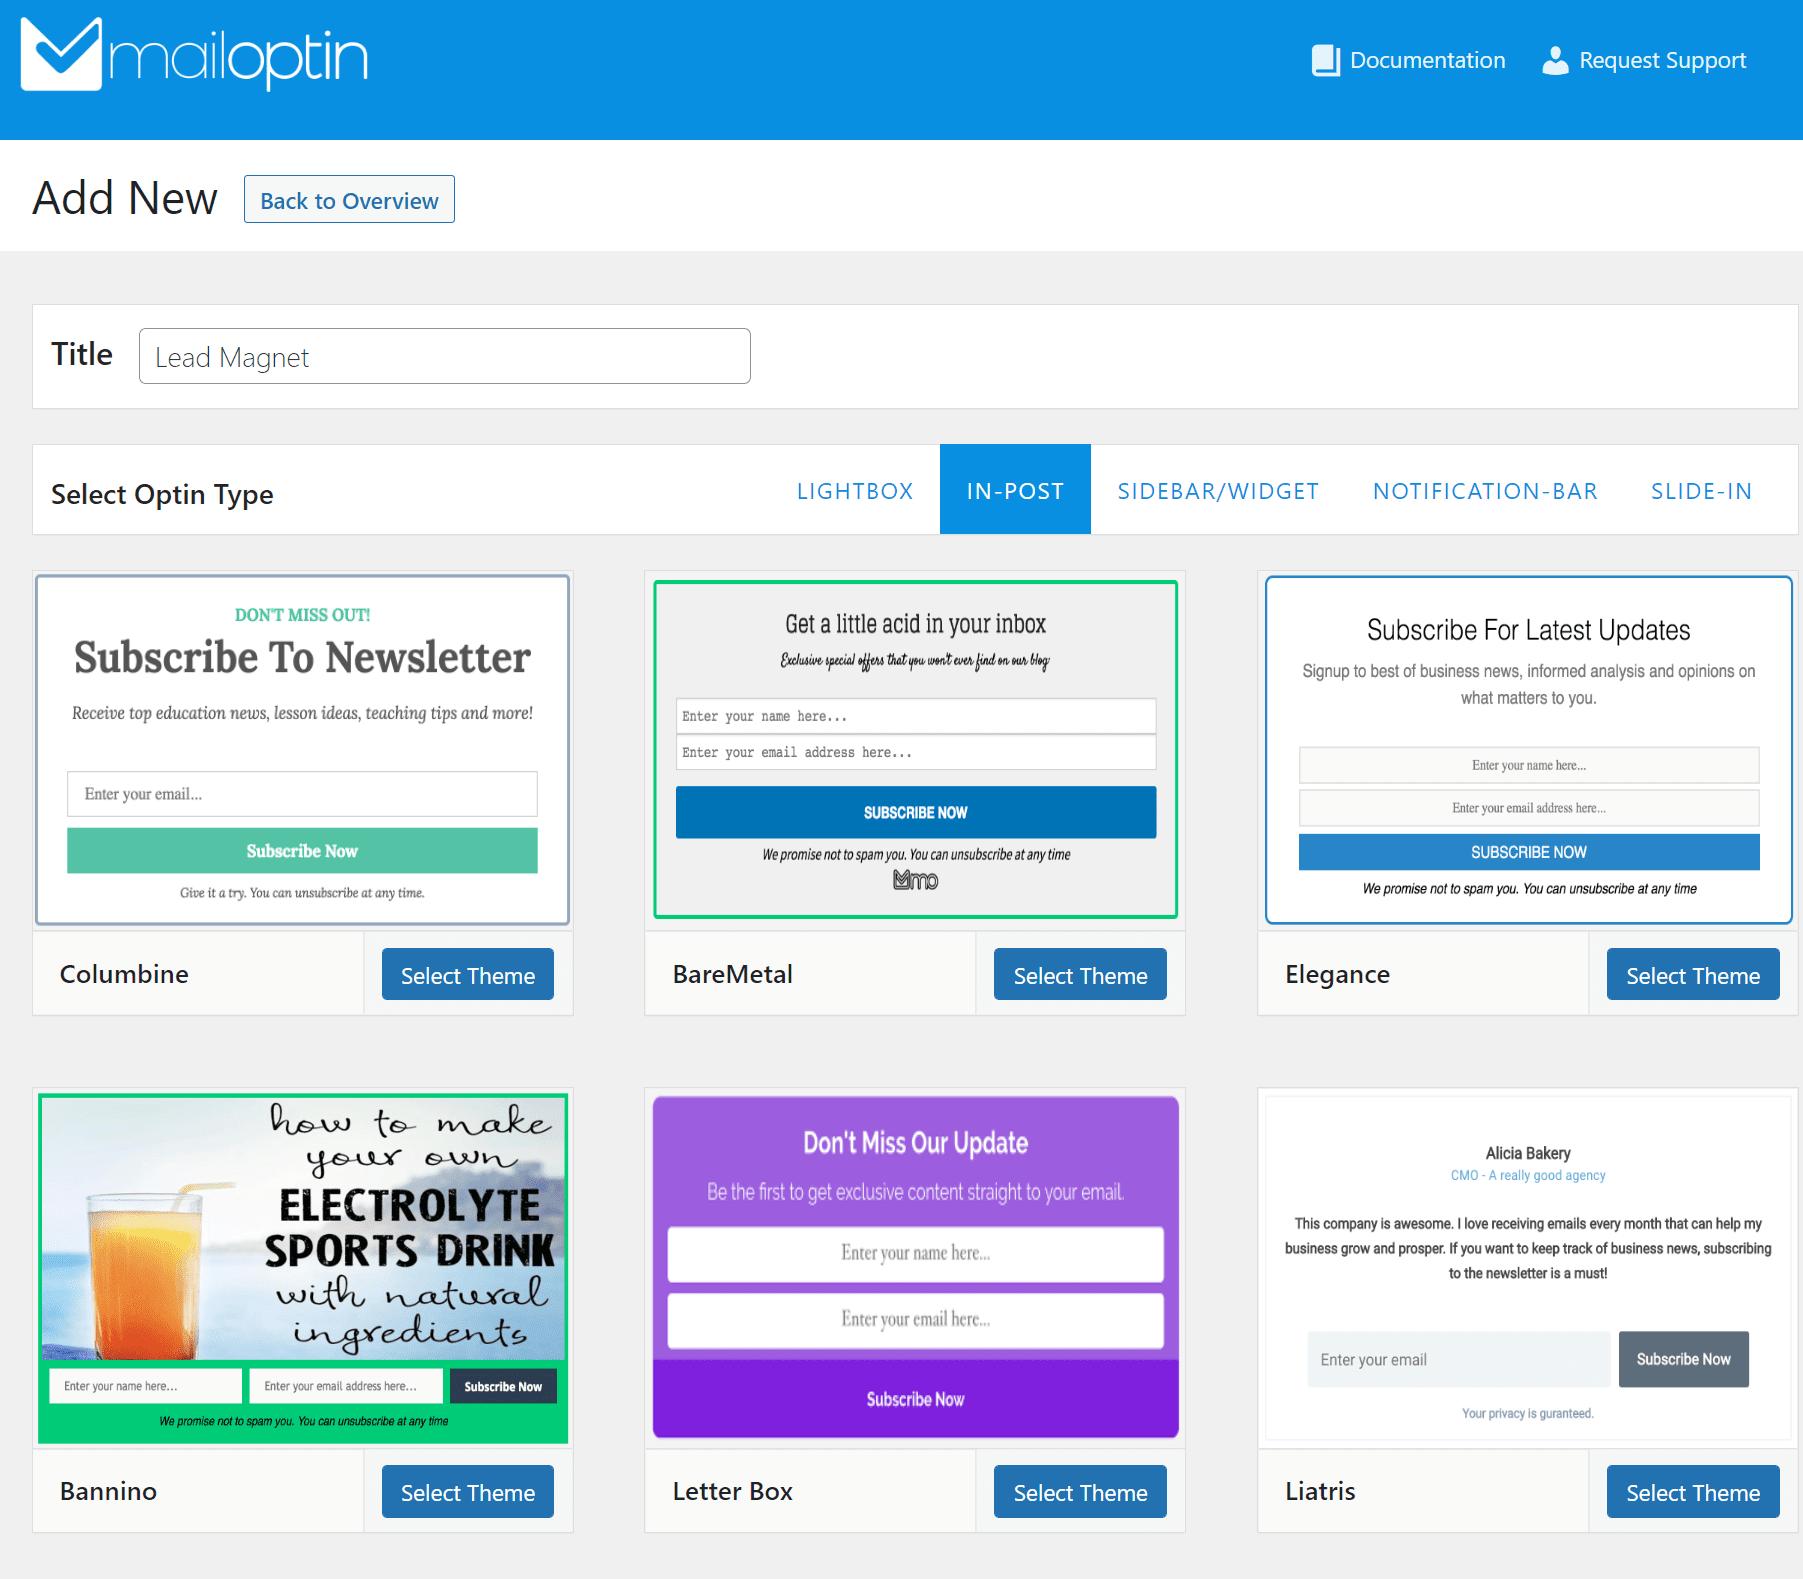
In this example, we’ll be creating a lightbox/popup. All opt-in types (such as the sidebar, before/after post, slide-in, and notification bar) support the AdBlock detection feature.
Use the lightbox form using the side panel to customize until you are satisfied with your design.
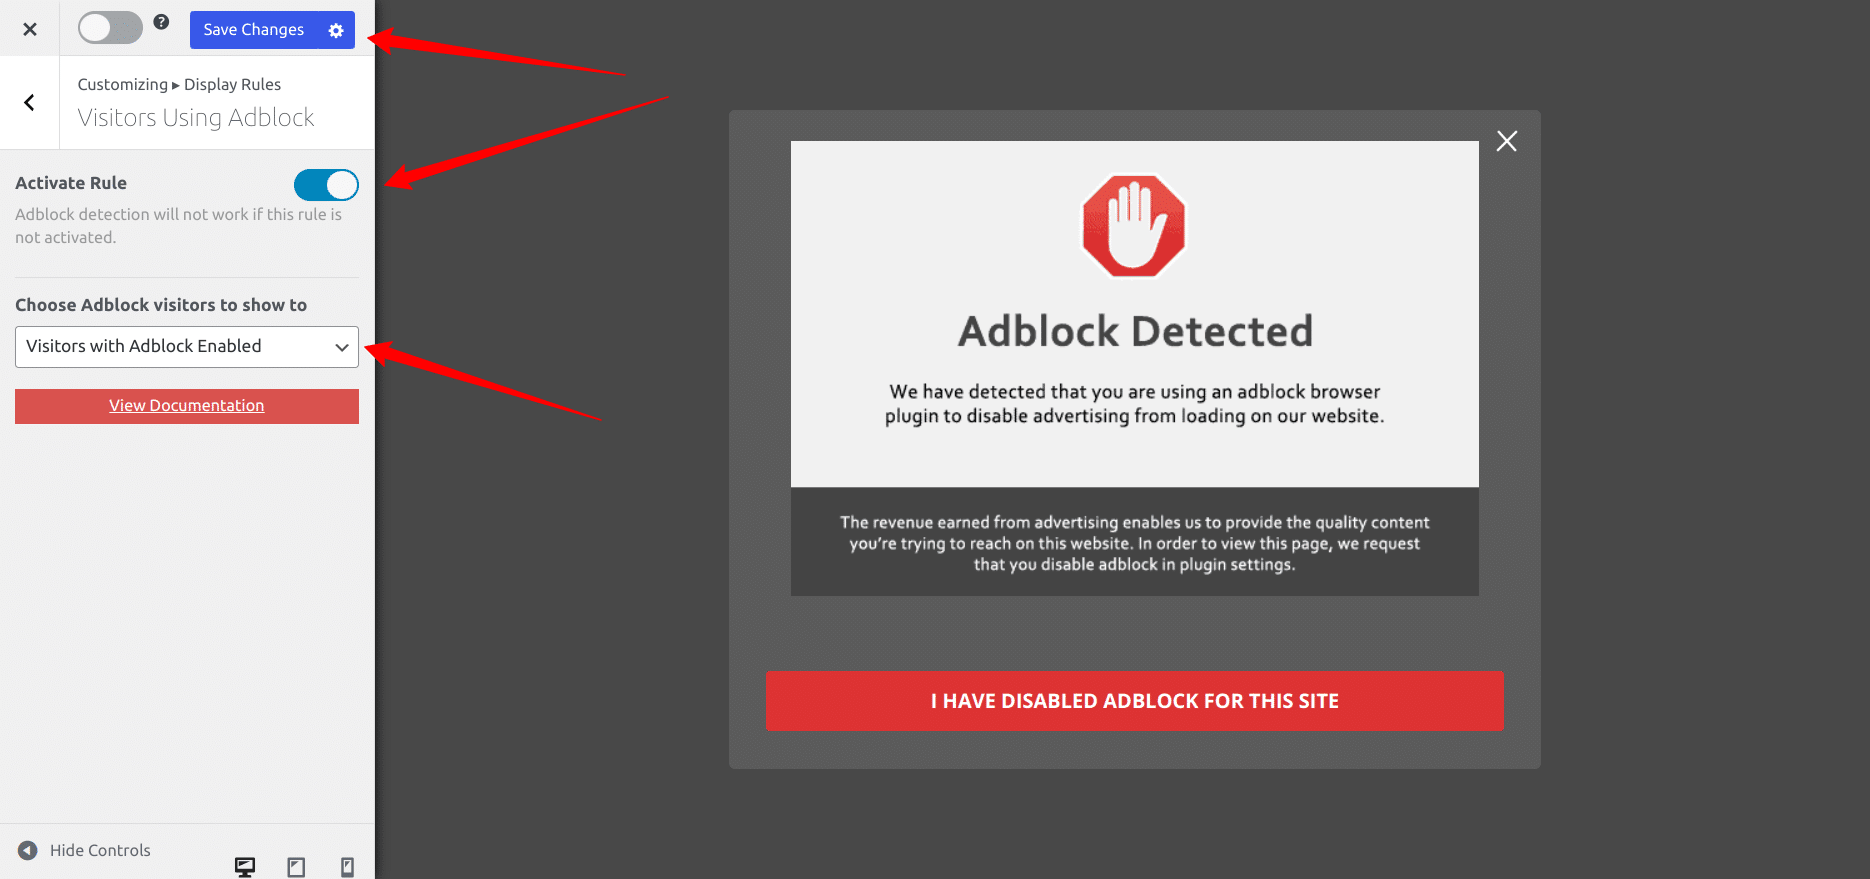
Open Display Rules and select the “Visitors Using the Adblock” panel, activate the rule and select whether to show to visitors with Adblock enabled or disabled.
If you are curious about how we achieve the above, we used the “Pansy lightbox theme” and uploaded this image. And finally, enable the call to action button.
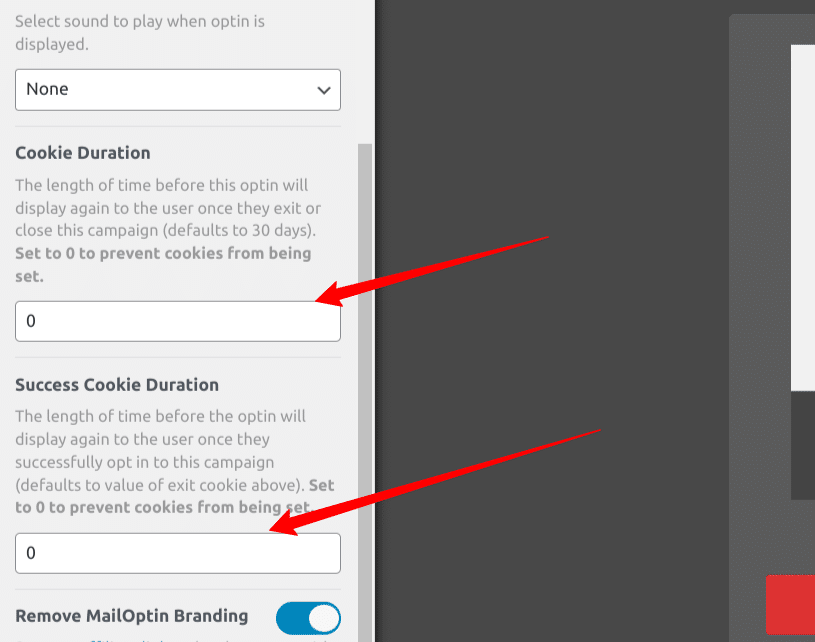
Helpful tip: if your users close the lightbox, they may not see it again for a certain amount of time, which depends on your cookie duration settings. However, if you would like to continue showing the popup to users until they disable Adblock or whitelist your WordPress site, there is a way to do so.
In that case, you will have to set Cookie Duration in the Configuration panel to “0” (zero).
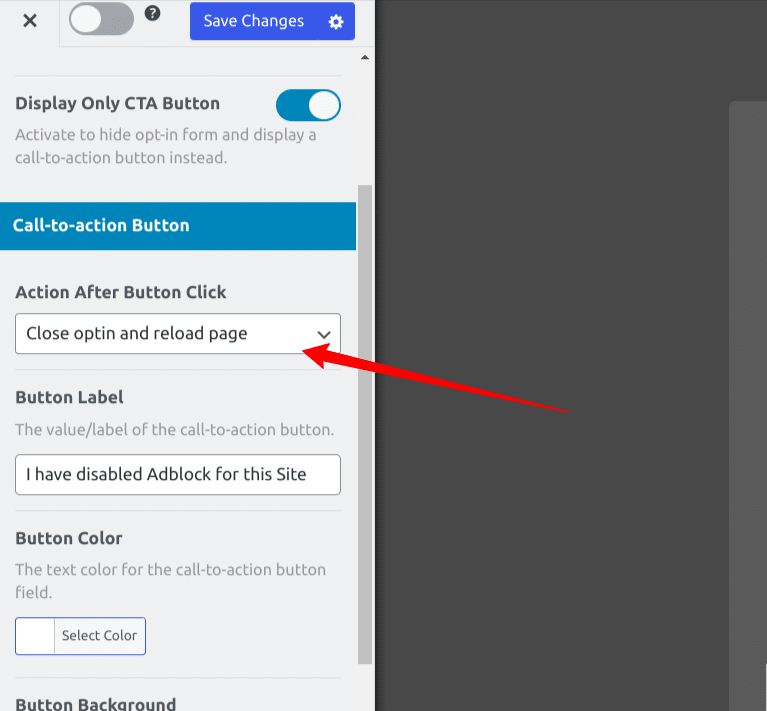
Then change the CTA “Action After Button Click” settings to “Close optin and reload the page.”
Remember that you can combine AdBlock detection with multiple of our other display rules available such as time on site, exit intent, page views, etc.
With this done, you have successfully set up an Adblocker detection and notification feature on your WordPress site.
Conclusion
Adblockers are useful for blocking ads on websites and providing an ad-free experience for users. However, this can negatively impact bloggers and website owners who have put in time and effort to create valuable content.
Fortunately, MailOptin offers an Adblock detector feature that encourages users to whitelist your website or turn off their Adblocker before viewing your content. It’s easy to use, with customizable templates and popup configurations.
In addition to the Adblock detector, MailOptin also provides other interactive and engaging popups and subscription forms for various website purposes.
Give MailOptin a try today, and let us know how it works for you!